Hyperbolic Ducky
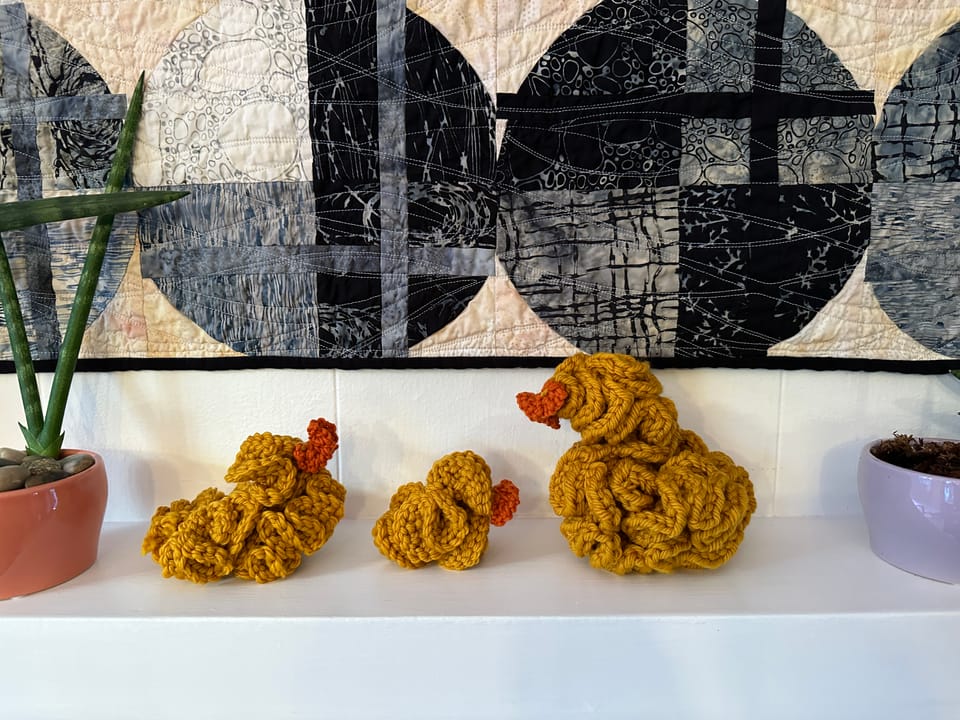

Got a bug in your code? Is there a proof giving you grief? Did you have a bad day? In the midst of a decision? Why not talk with a ducky? I have a hypothesis that these hyperbolic duckies are the best listeners.
Creating these ducks isn’t exact, and the instructions reflect that. I don’t like to count stitches, and I believe that yarn is just as good as clay to make scuptures. If you are going to make a duck, have fun, love its lumps, and mold it as you go. Hyperbolic bunnies are also a delight (along with nudebranches, cuddlefish, and more.)
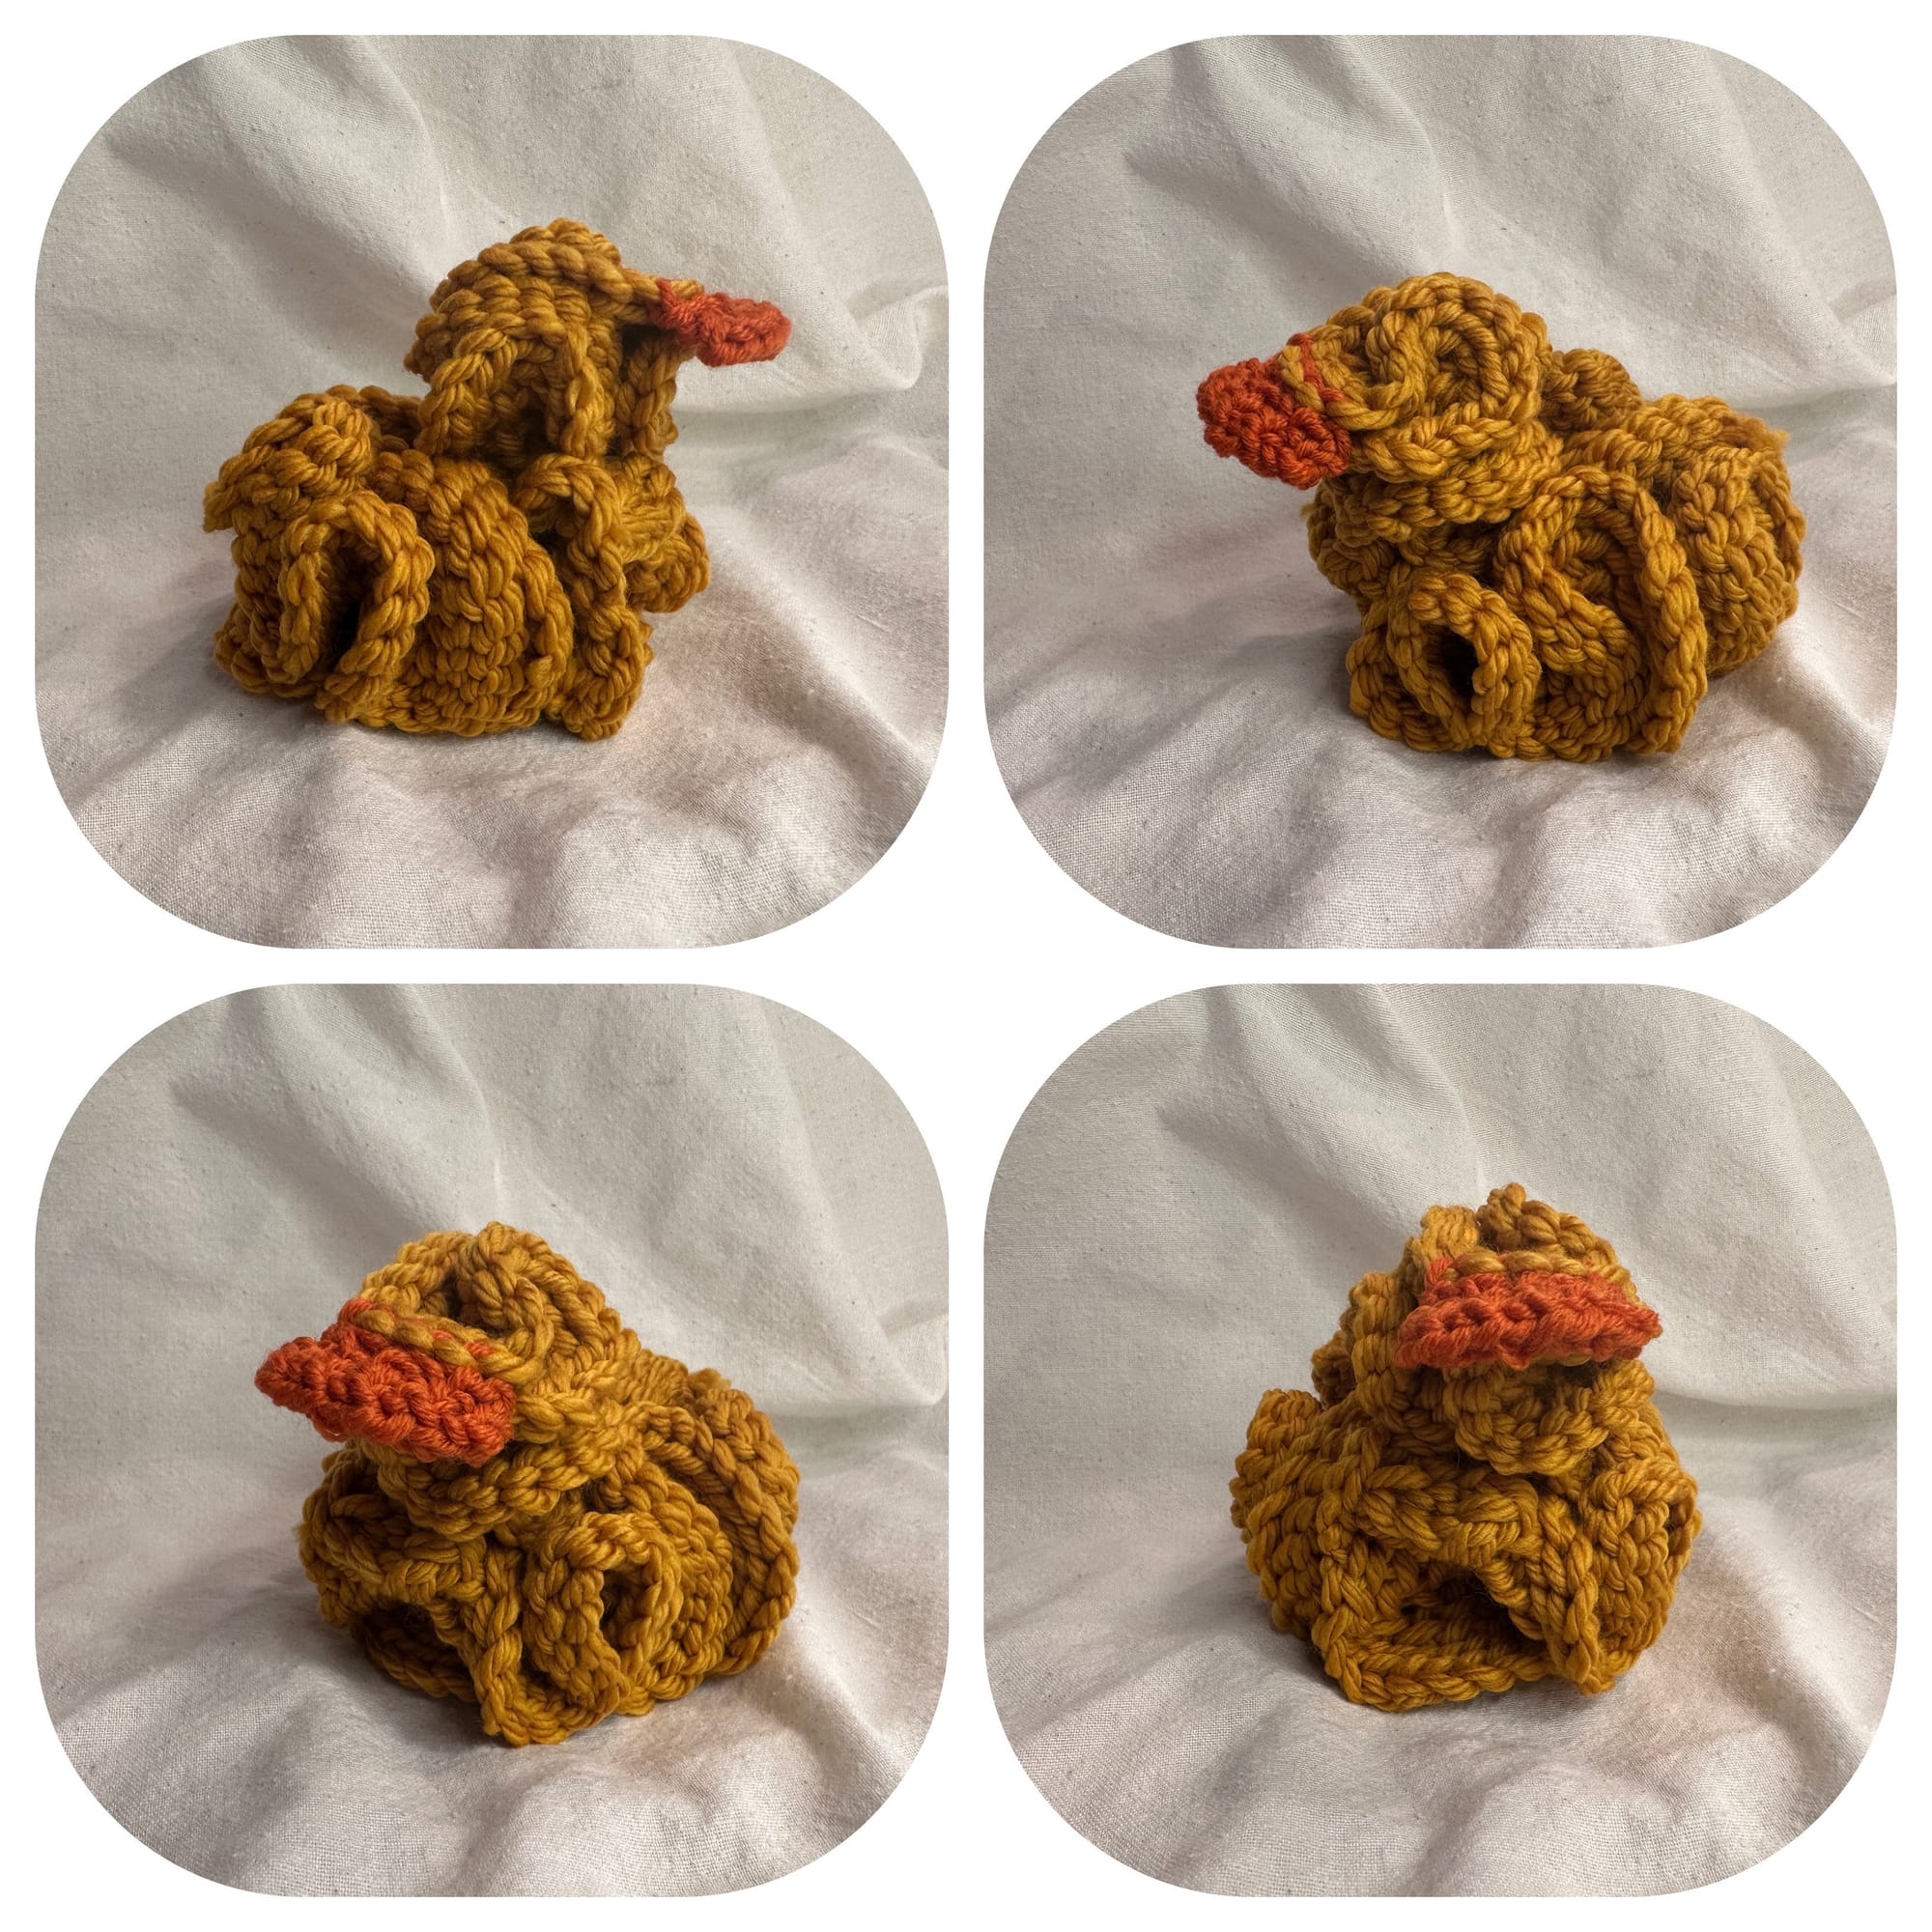
Here are some rough instructions:
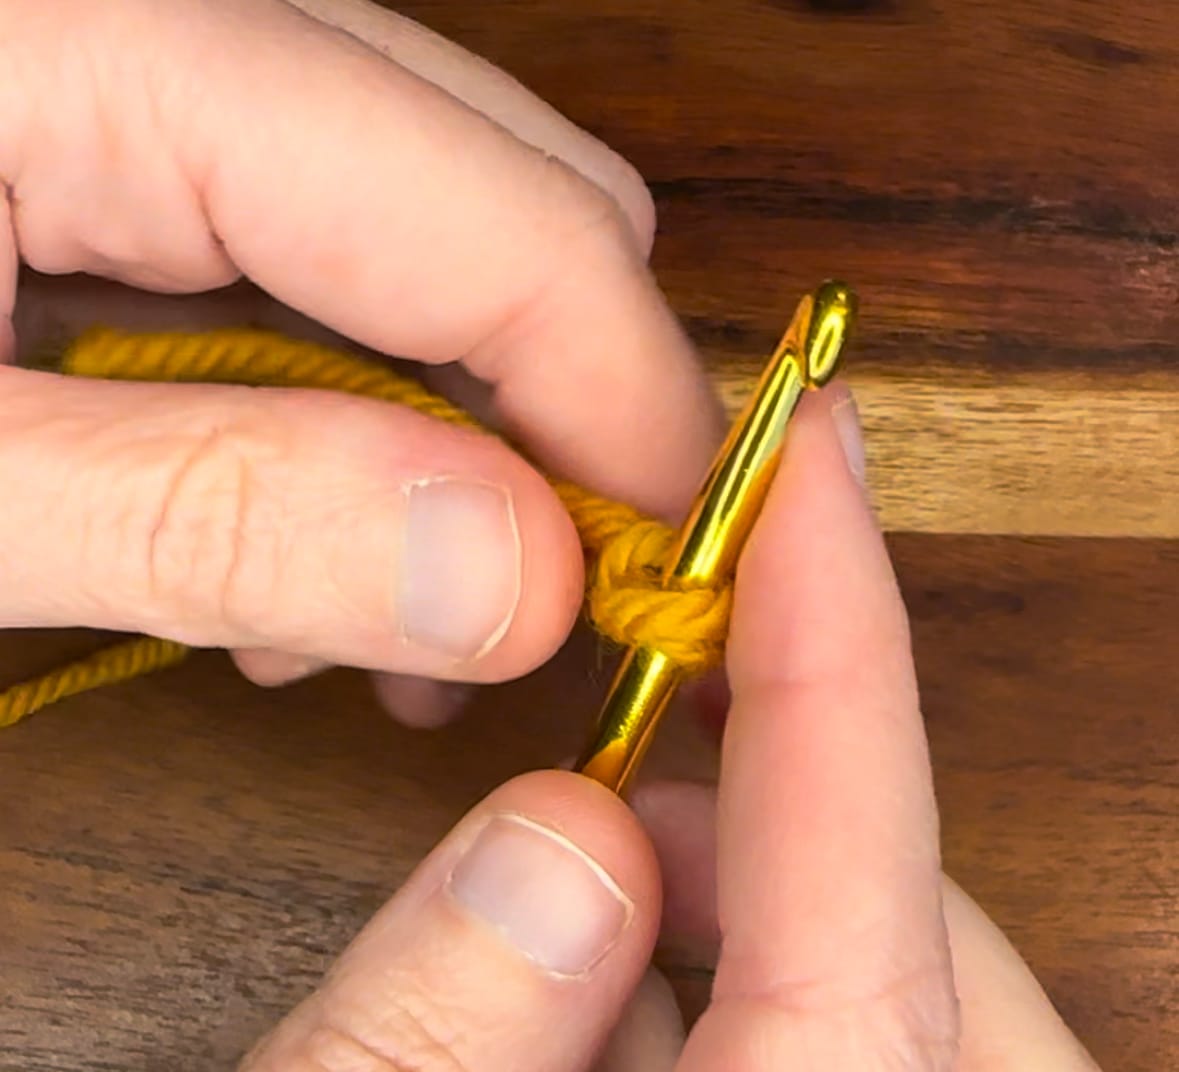
- 1.) Make a knot on your crochet hook.
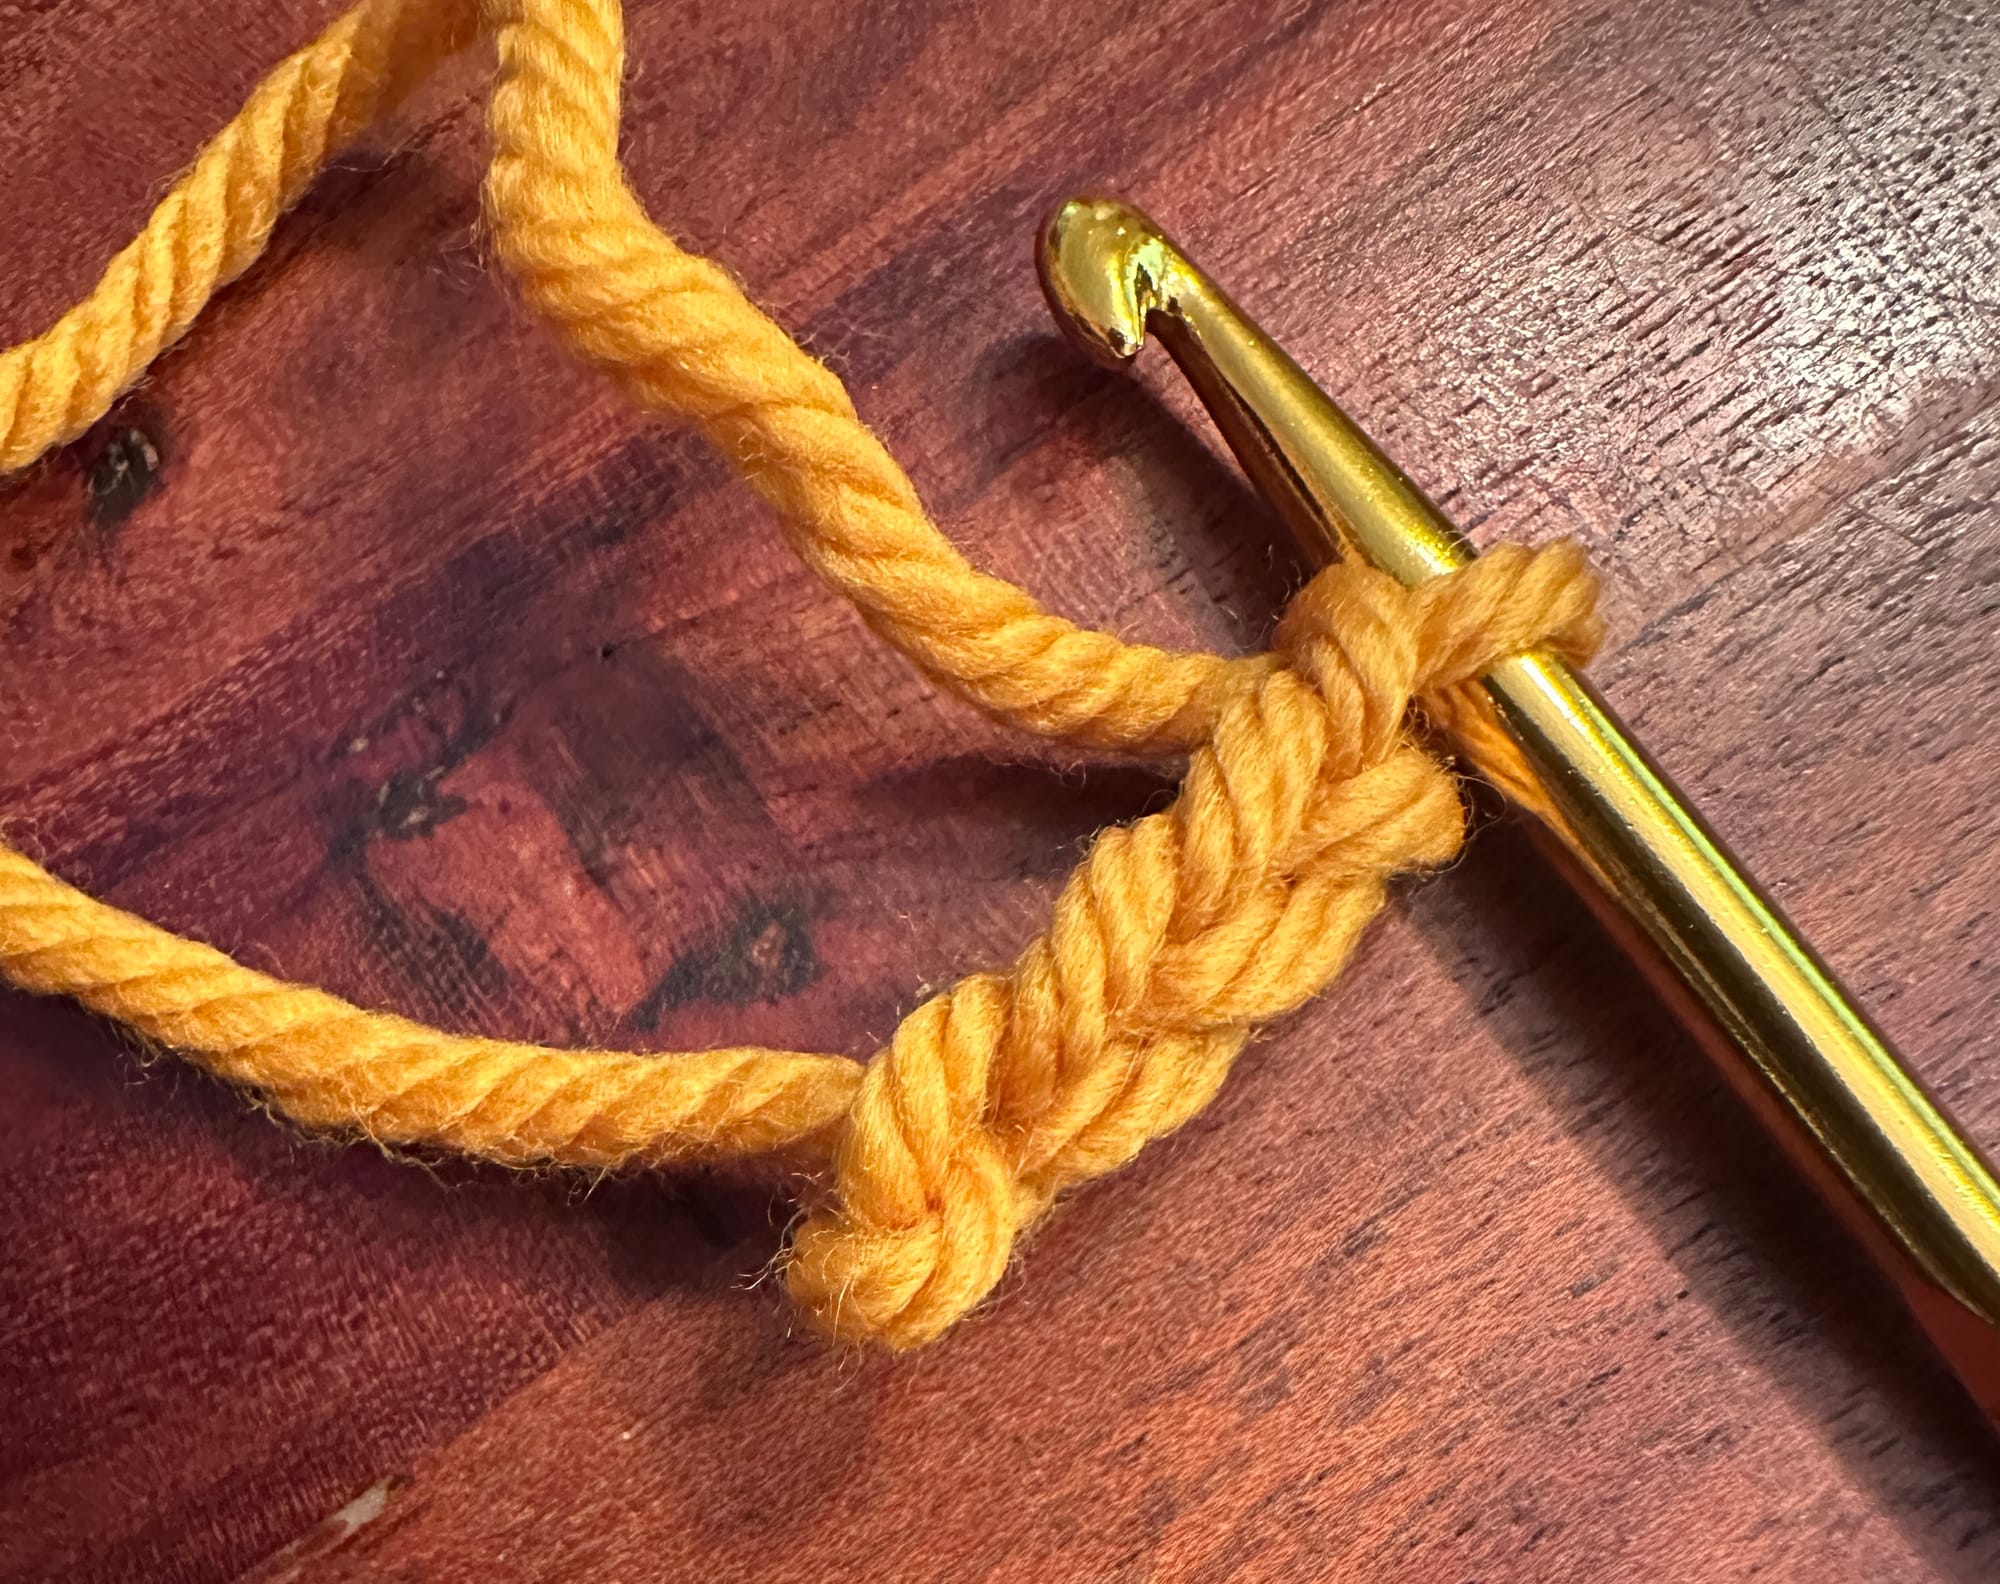
- 2.) Chain 4 stitches.
- 3.) Connect the first and last stitch to make a ring.
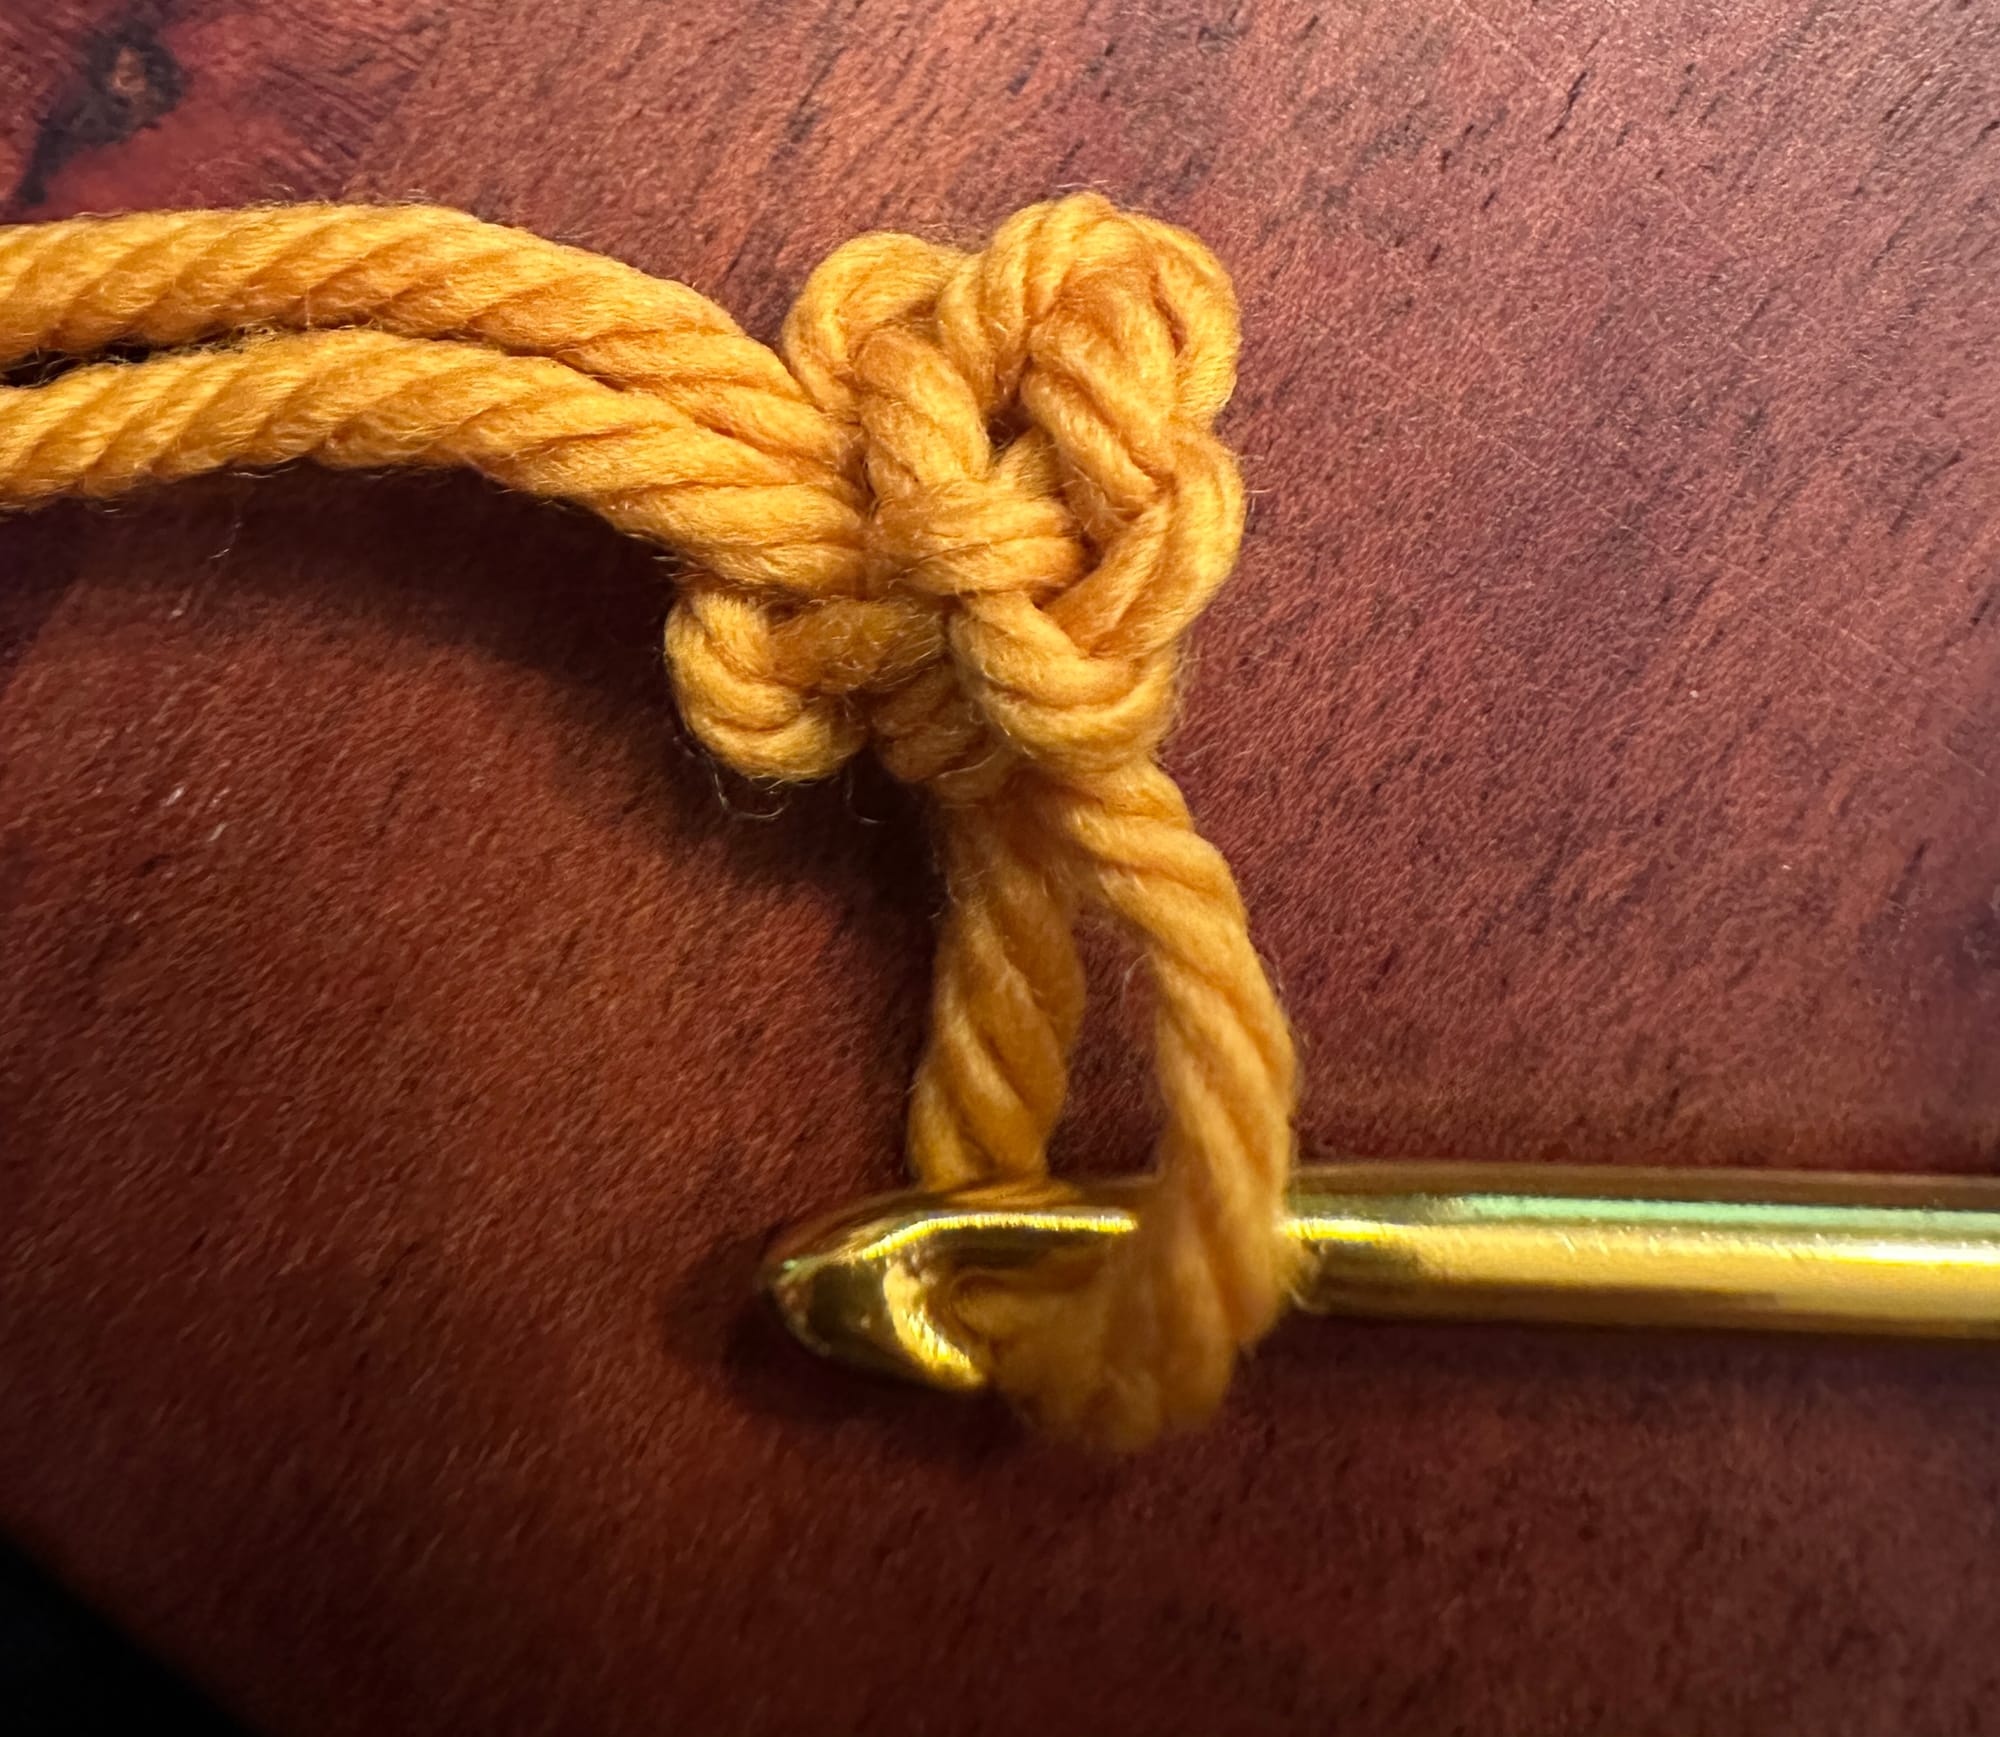
- 4.) Crochet around the ring while increasing stitches (either double or quadruple each stitch).
- You can increase your stitches by a power of 2 by stitch 1, then chain 1 into each stitch.
- 5.)Continue to go around and around and around while increasing stitches until your duck starts to feel like the right size (3inches – but maybe bigger if you want). You should have a semi-sphere.
- 6.)Once your duck is getting close to the size you want, you have two choices to make a head:
- Choice a.
- Create a smaller version of what you just did – a smaller semi-sphere that is a little smaller than the headsize you want.
- attatch 4-6 stitches from the two pieces and then move on to step 7.
- Choice b.
- Choose a small section of the edge(6-10 stitches) and go back and forth while doubling or quadrupling stitches to form a bulbous area for a head. When the head seems big enough move to the next step. Note- squeeze the duck into different positions to make sure the sizing feels right.
- Choice a.
- 7.)Do a slip stitch all the way around the entire piece including the head to get a smooth rim.
- Option – you can add to the duck with multiple rounds prior to this step by doubling stitches if desired.
- 8.) Tie off yarn
- 9.) On the head play around until you find a good place for a beak.
- 10.)In the place you find, start the beak color yarn and start the yarn and stitch 4-8 stitches (depends on size) where you double/increase with each stitch.
- 11.) go back and forth over the beak stitches 3-5 times until a hyperbolic curvy beak is formed.
Rough youtube crochet-along (sound is only on for first 4min because I didn’t plan well and video is not my thing – obviously):
let sizeOfDuckBody = 0;

//makebody
let knot = 1;

//chain 4 stitches
for (let i=0;i<4;i++){
  chain[i]=1
}

//connect the start and end into a loop.
ring = knot+chain[3];

/*double each stitch in the ring until the duck measures about 3 inches or 8cm. */
while(sizeOfDuckBody < 8){
  slip stitch
  chain
}

//cut yarn and tie off
cutYarn = true;

//make head
let sizeOfDuckHead = 0;
let knotHead = 1;

//chain 4 stitches
for (let i=0;i<4;i++){
  chainHead[i]=1
}

//connect the start and end into a loop.
ring = knot+chainHead[3];

/*double each stitch in the ring until the duck measures about 2cm
while(sizeOfDuckBody < 2){
  slip stitch
  chain
}

//cut yarn and tie off
cutYarn = true;

//attach head and body
stitch 6 stitches of duckBody and duckhead together

//smooth edge
for(1 round){
slip stitch
}

//add beak with different yarn
for(let i = 0;i<5;i++){
  slip stitch
  chain
}
//in the other direction
for(let i = 0;i<10;i++){
  slip stitch
  chain
}
//turn around again
for(let i = 0;i<20;i++){
  slip stitch
  chain
}

//cut yarn and tie off

//weave in tails
Additional thought/fun fact (added 2/6/23):
A skein isn’t just a bundle of wool, it is the collective noun for flying ducks. You can take a skein to make a skein as long as you throw your creation.



Member discussion