Makings: Wave Pendulum
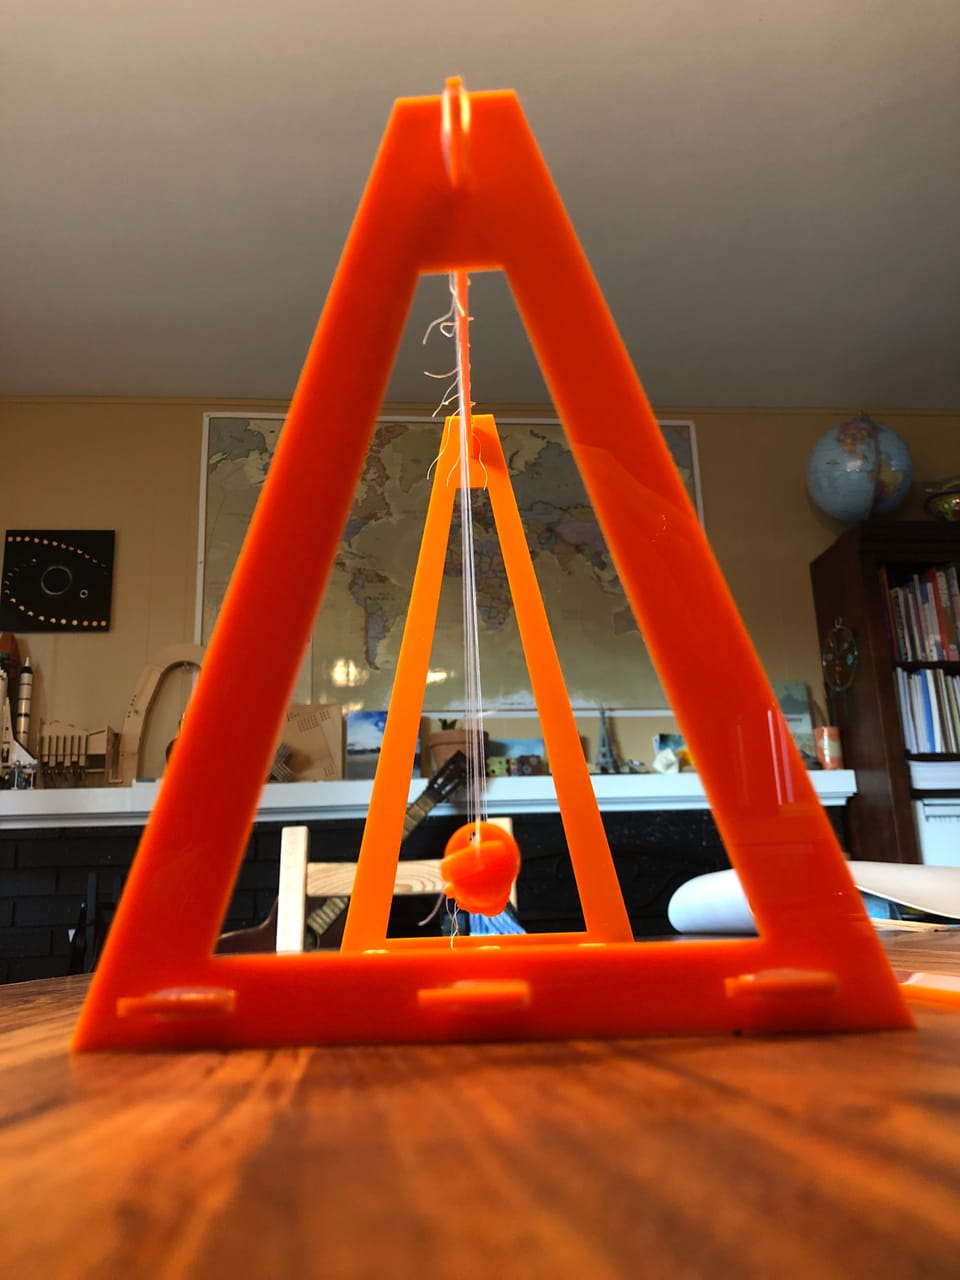
I have decided to start a new category on this blog for my “makings” – items and projects that I have designed/created for classroom use, art, fiber musings, or just because.
Today I decided to create an easy to store, easy to demonstrate, easy to build wave pendulum. I’ve built these in STEM classes, homeschool, and in groups with wood, broom sticks, tennis balls, and a whole bunch of nuts (hardware).
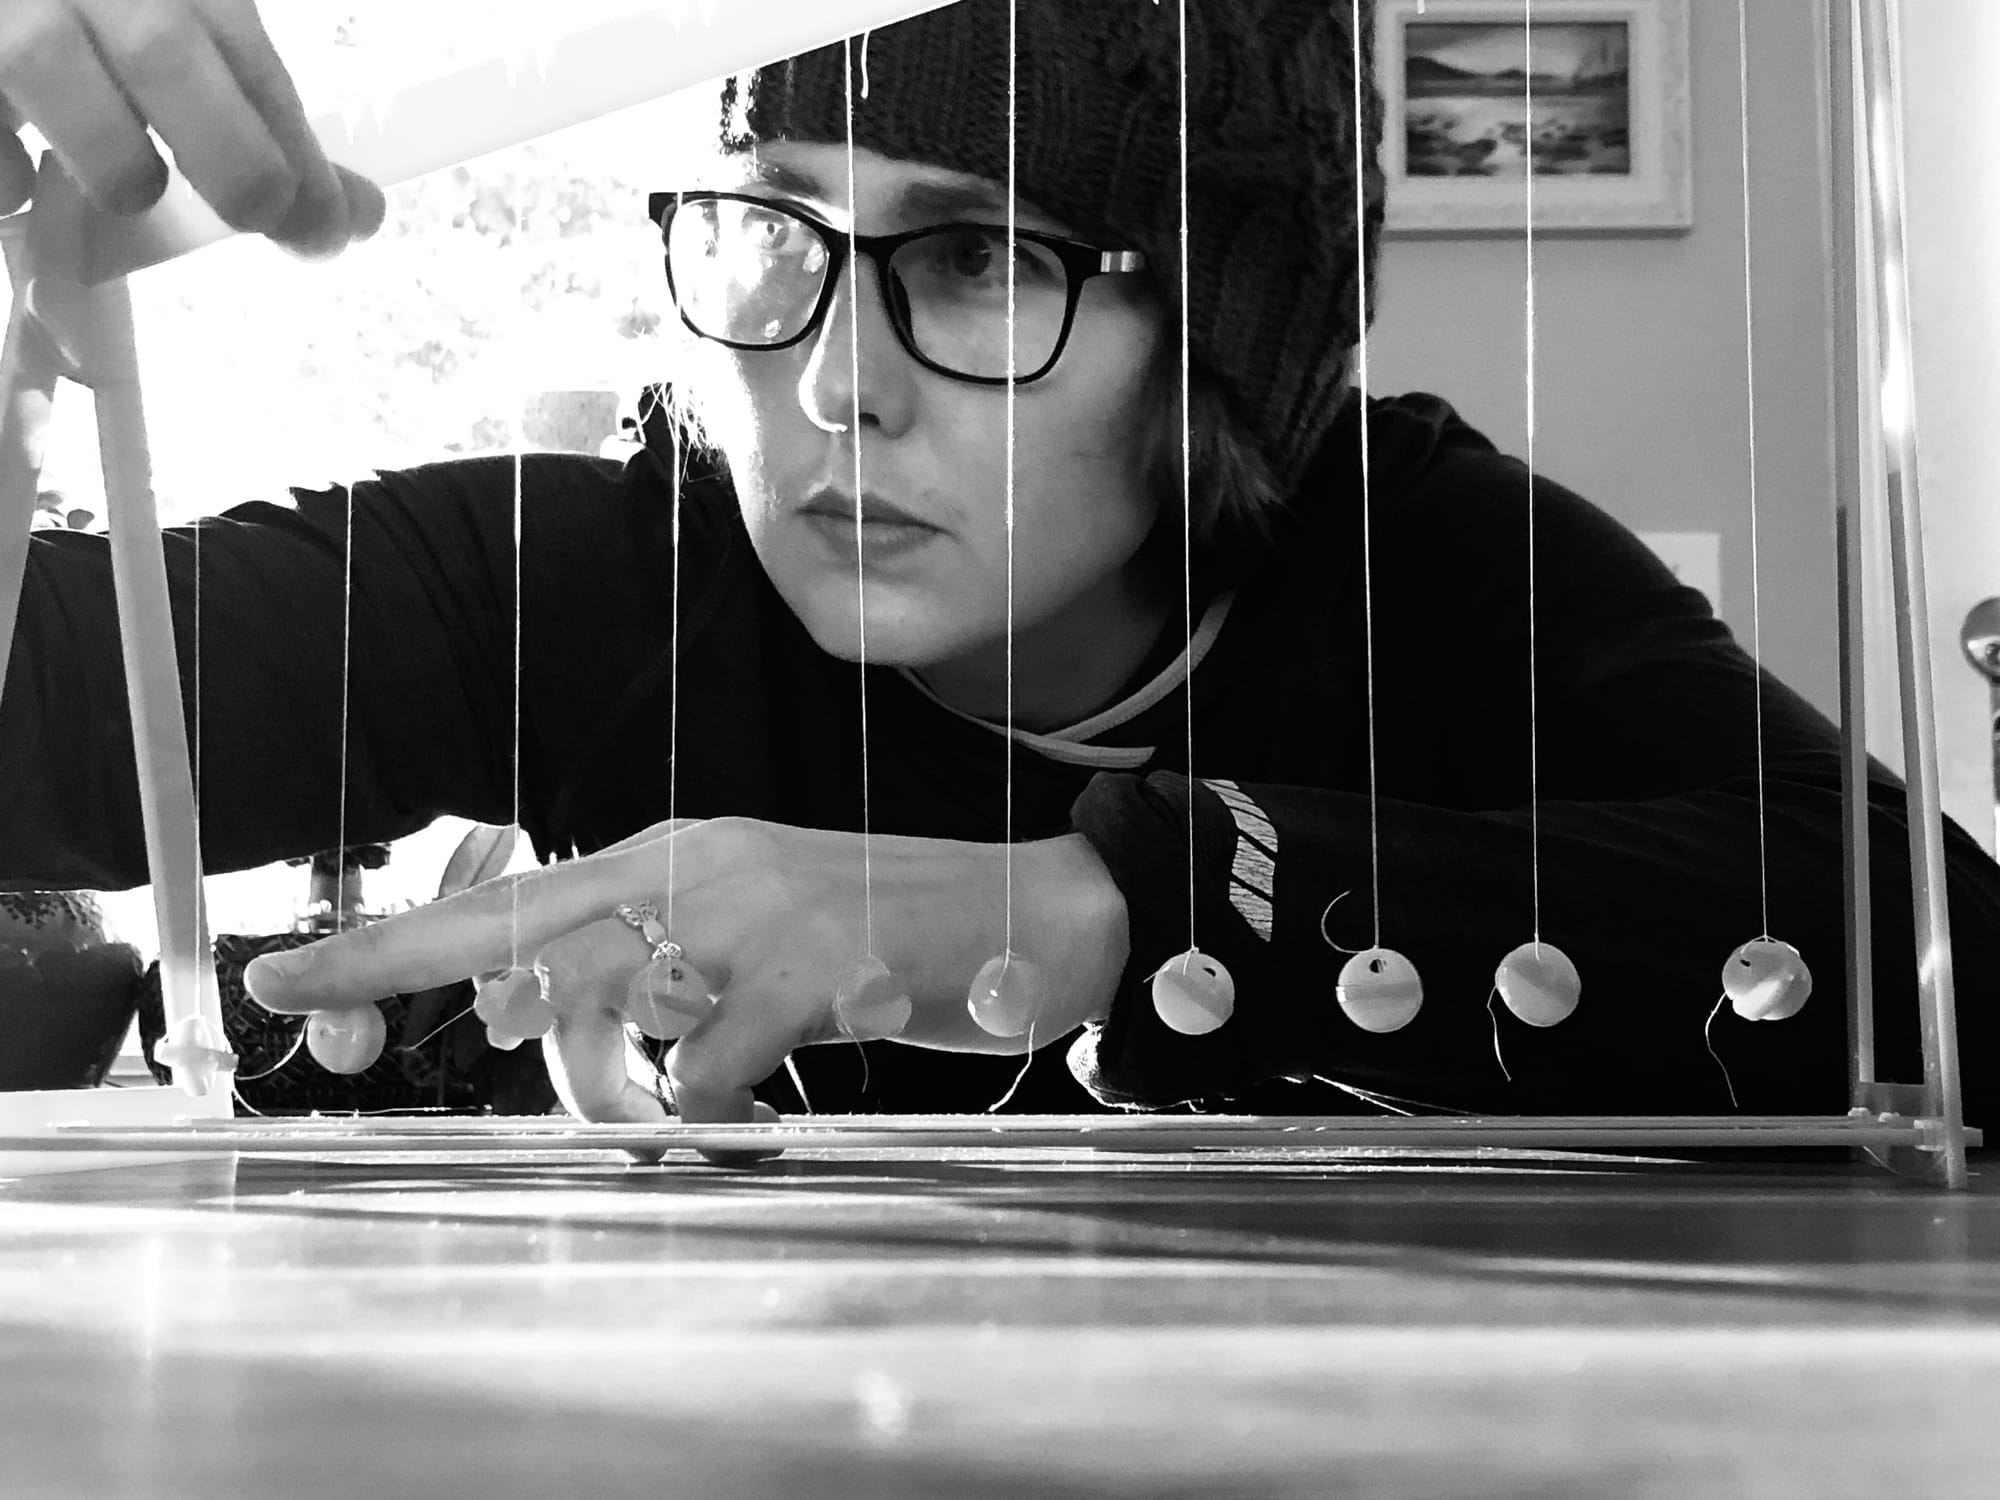
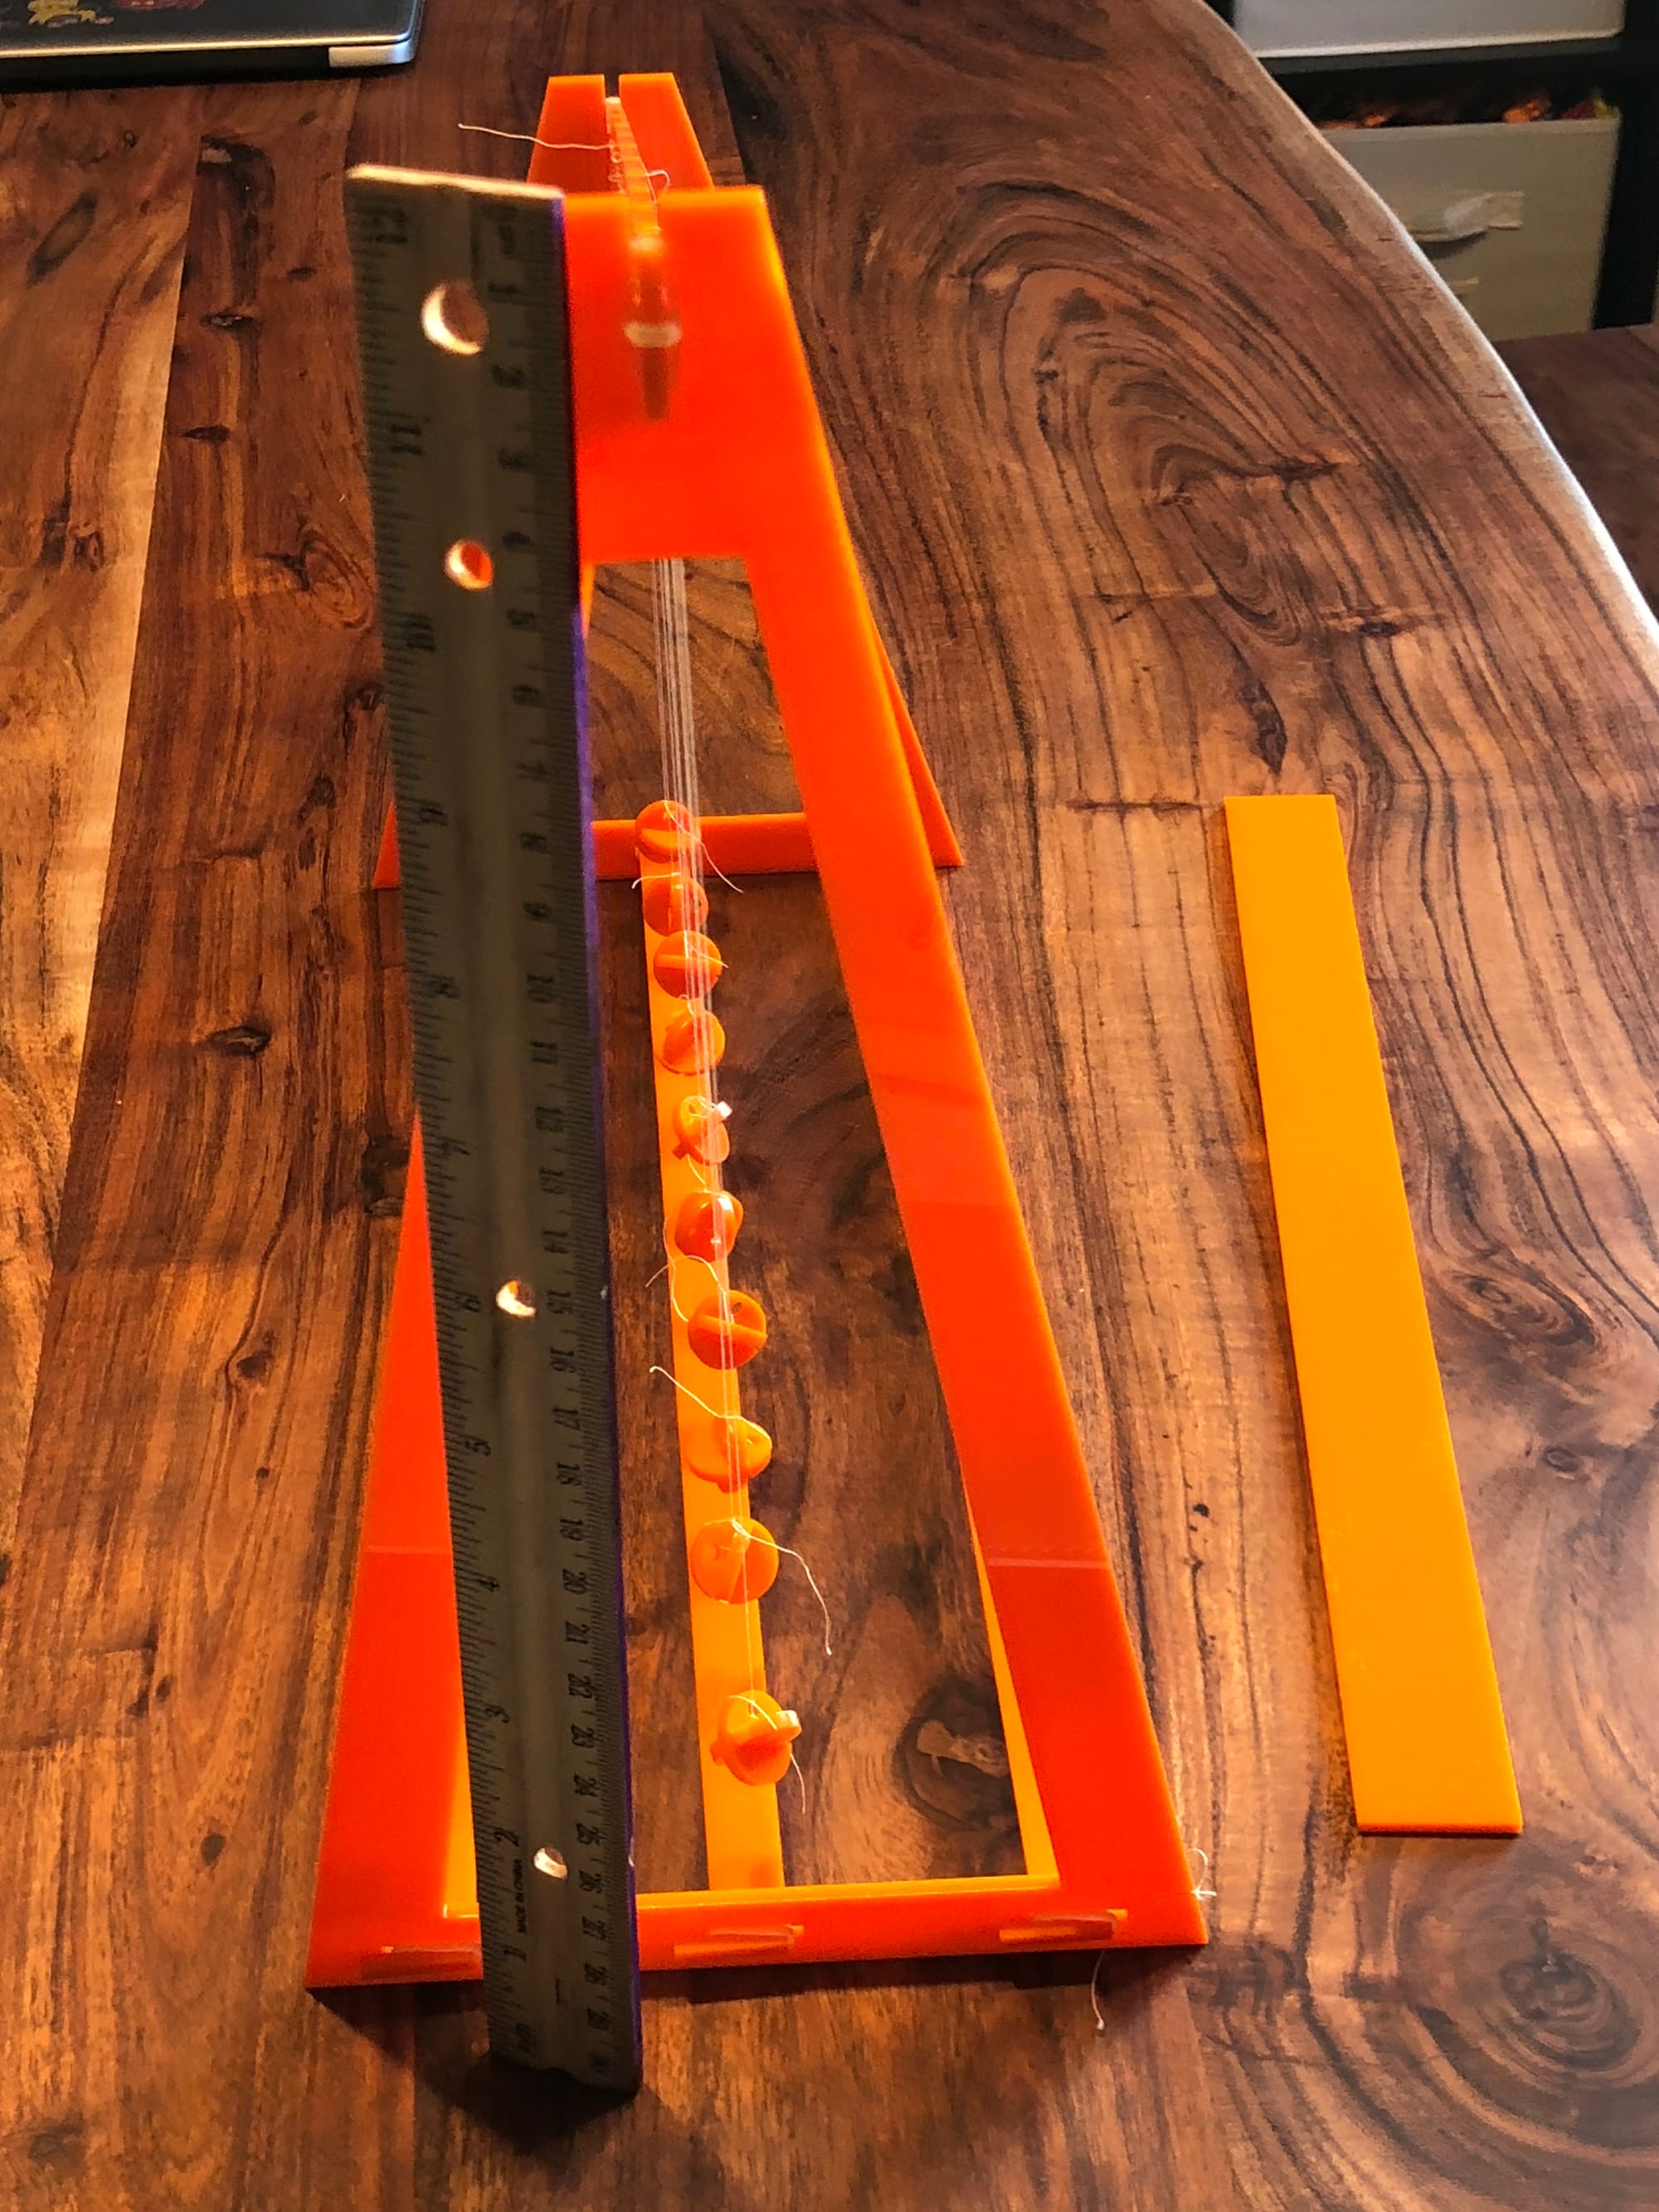
I decided to joint it with orthodontic rubber bands and I used sewing thread to hang the weights. I went with sharp triangles to hold the thread and found that I don’t have to tie it. This one is acrylic, but I am contemplating a wooden one.
Here are my pictures: I know the orange is a bit of an eyesore, but I love it for this sort of stuff. Instructions are at the bottom of this page.
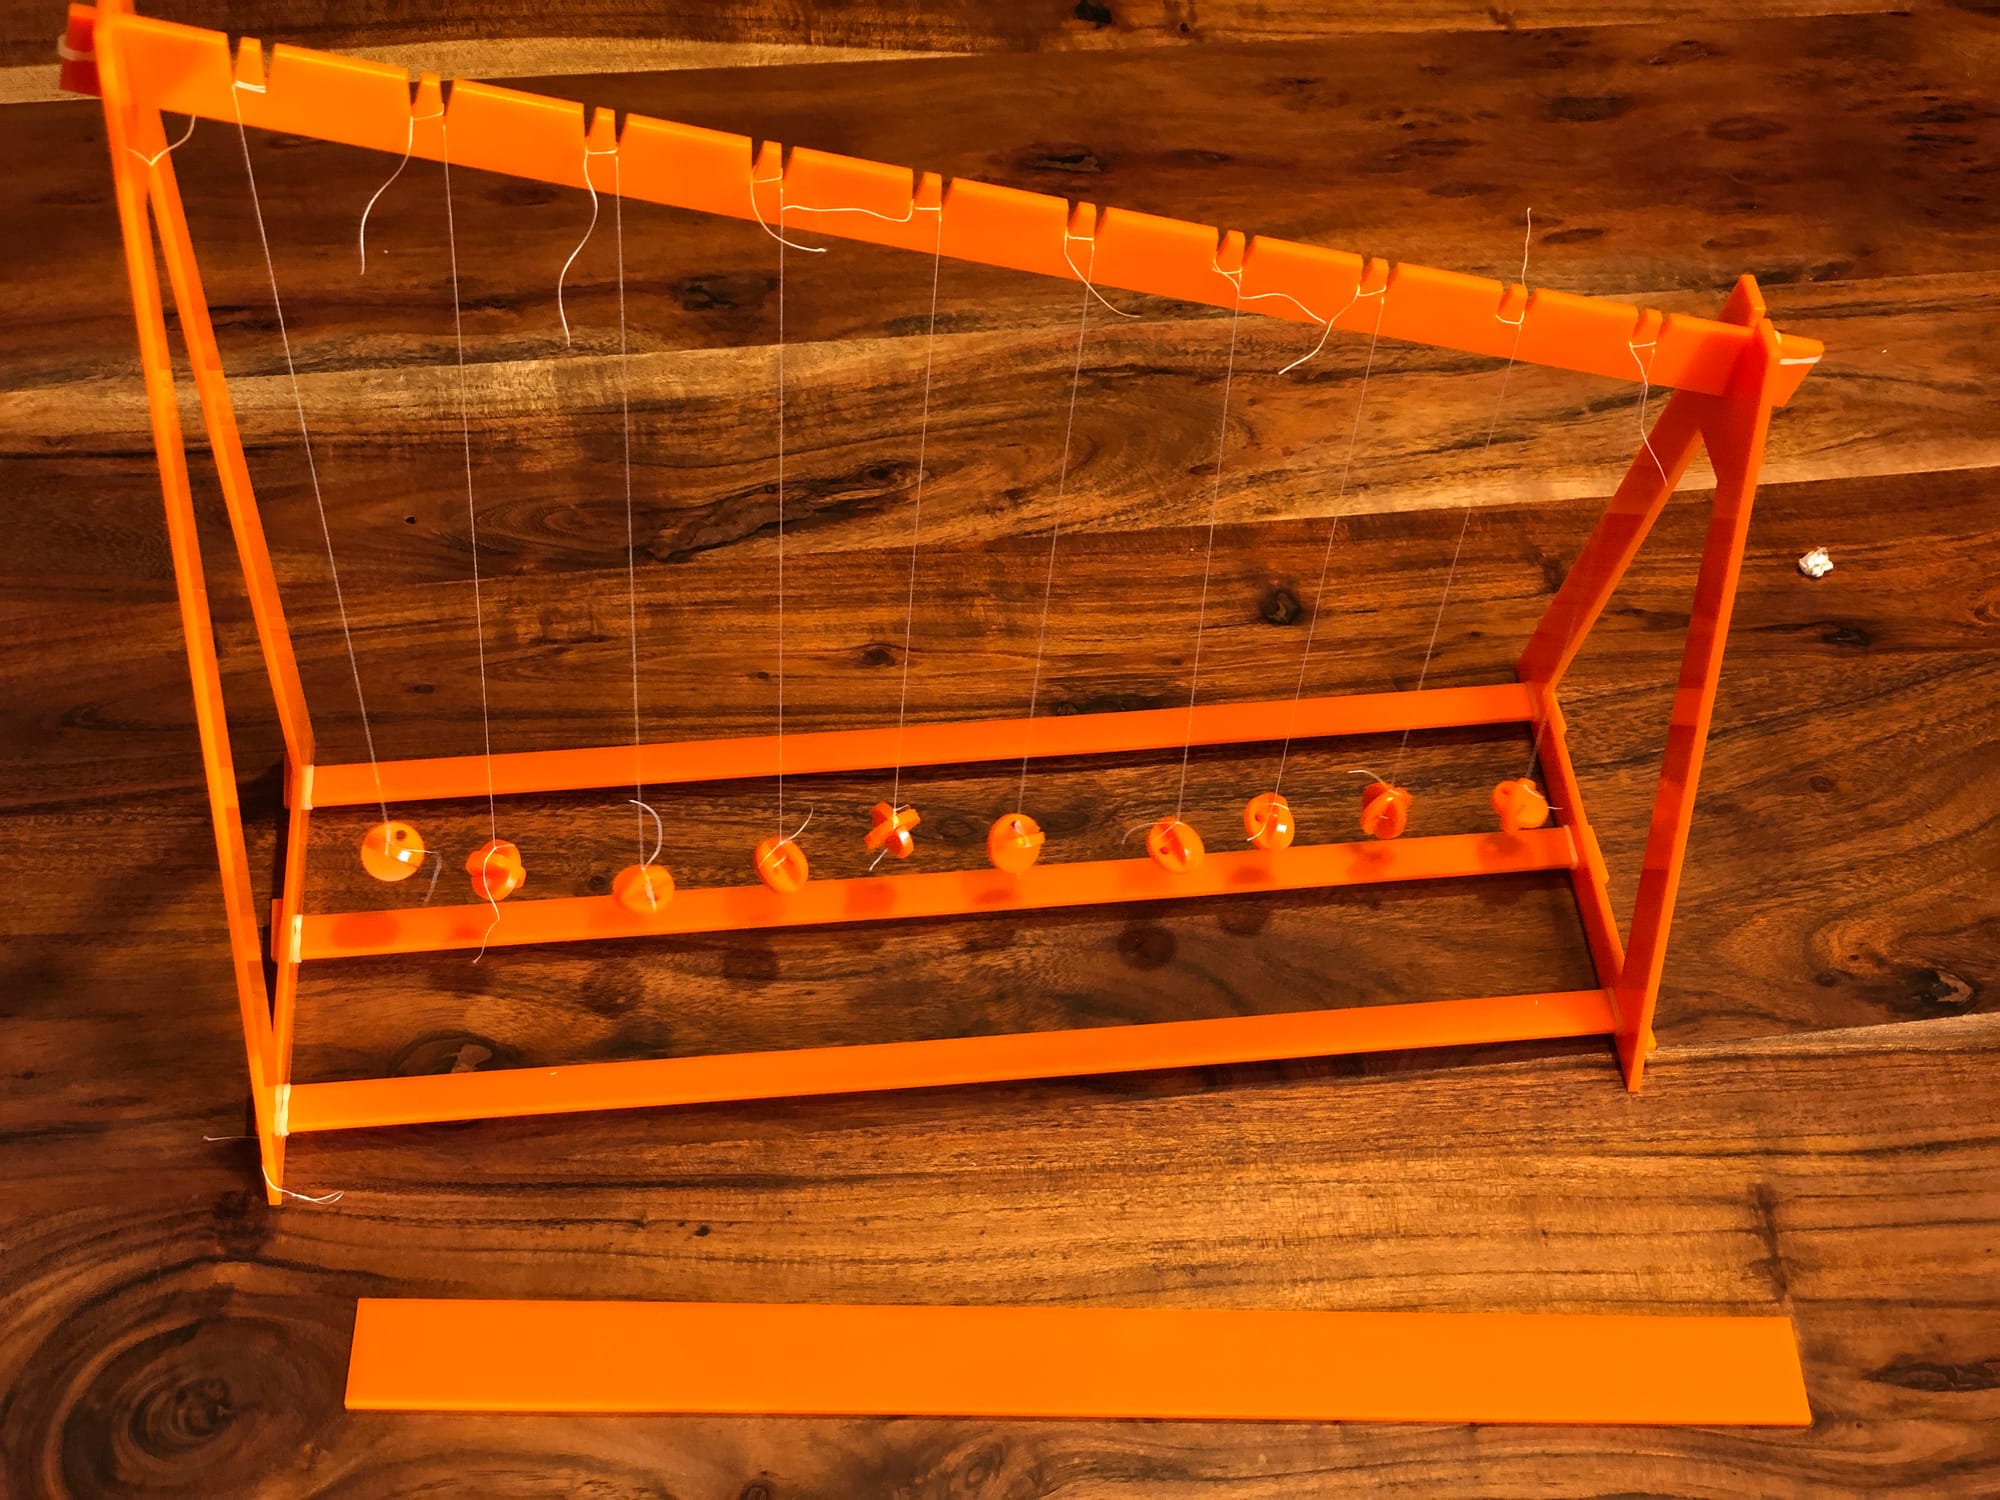
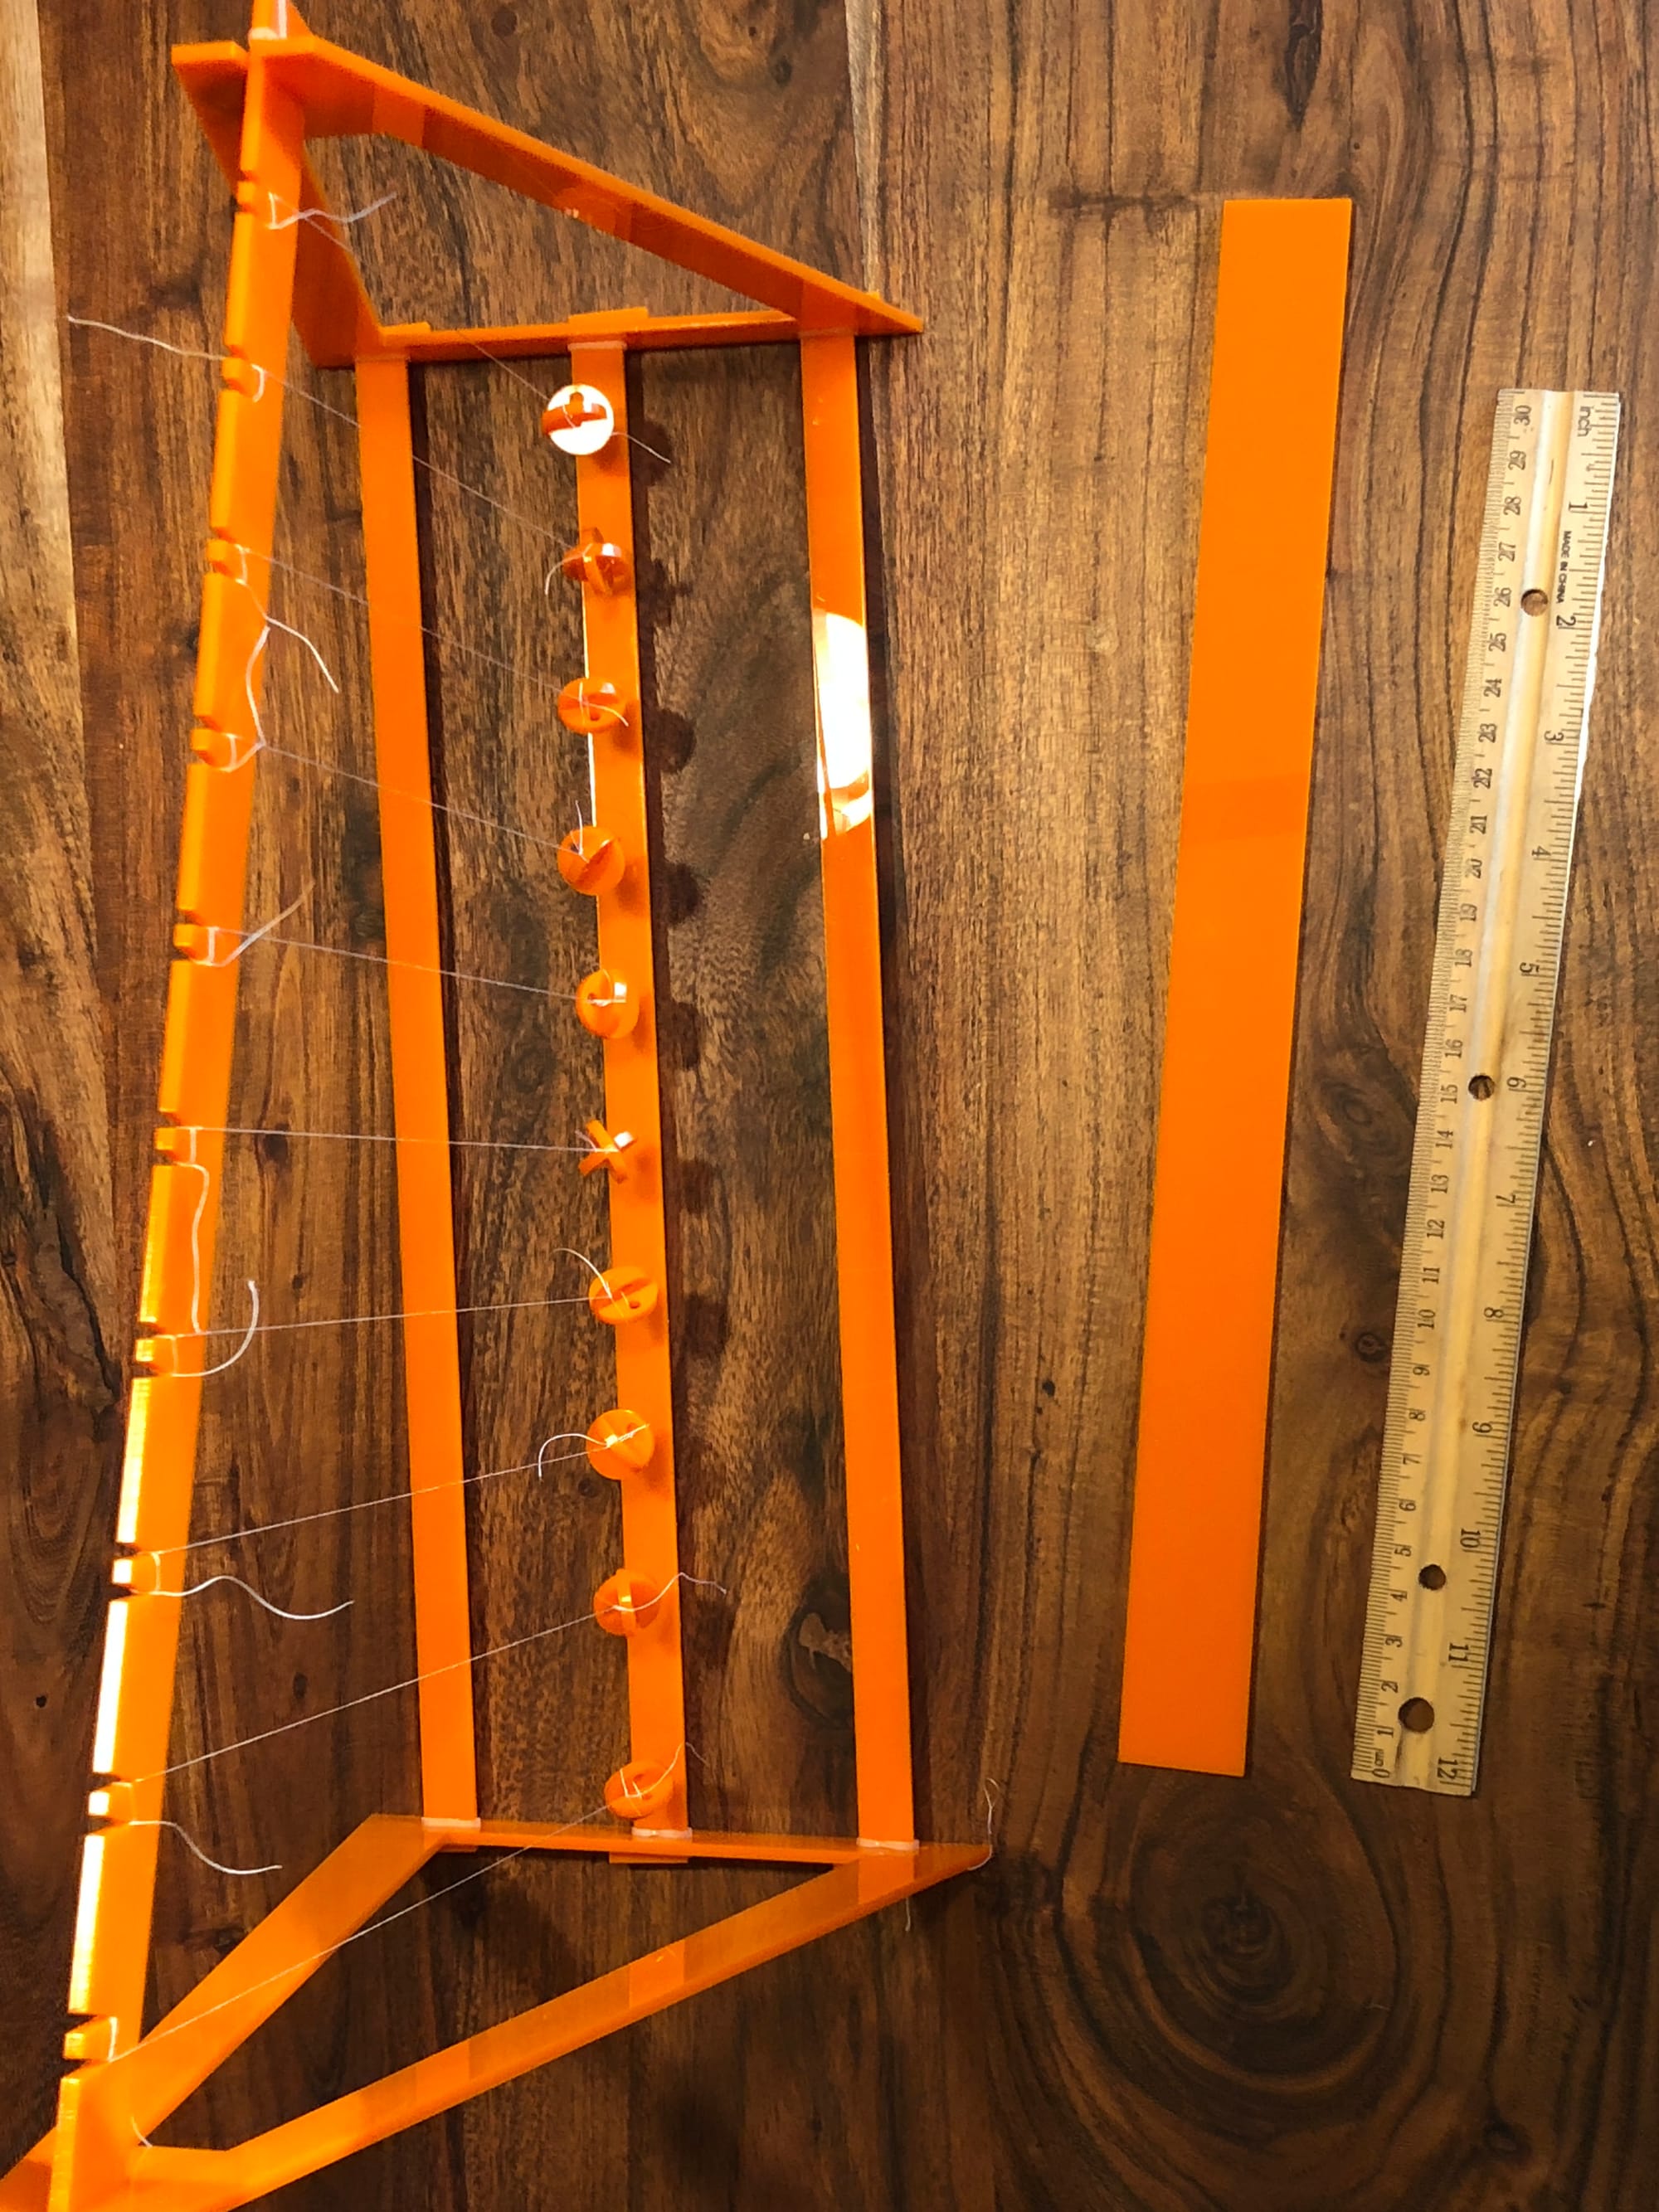

And a video…
Below are some simple instructions and the file for creating your own if you have access to a laser cutter. I did this one on a Glowforge.
Materials needed:
- 12″ x 20″ sheet of 1/8 acrylic (or similar material)
- 14 orthodontic (small) rubber bands to put on each joint (larger rubber bands work, but they just aren’t pretty)
- Thread to tie the weights together and hang (I don’t tie the weights to the pendulum, the acute angle is pretty good at grabbing the thread).
- The files for cutting are here.
Instructions:
1.) Place one band on each end of the three identical beams and insert them into the end pieces (you will have to angle them to get them in.
2.) Place another rubber band on the ends once they are inserted, so that you have one on each side of the joint.
3.) Place 1-2 rubber bands on the top beam piece (adjust as needed), and slide the slots into each end (It only fits one way, so you may need to rotate it).
4.) Each weight is two pieces. put the slots together and tie a thread through both holes to keep each one together.
5.) Hang each weight so that they are all at the same height from the ground (parallel to the floor). (I don’t tie mine and they hold).
6.) Use the additional bar to pull the weights to the side (keep them parallel to the centerline of the pendulum).
7.) Release and watch it it action.



Member discussion