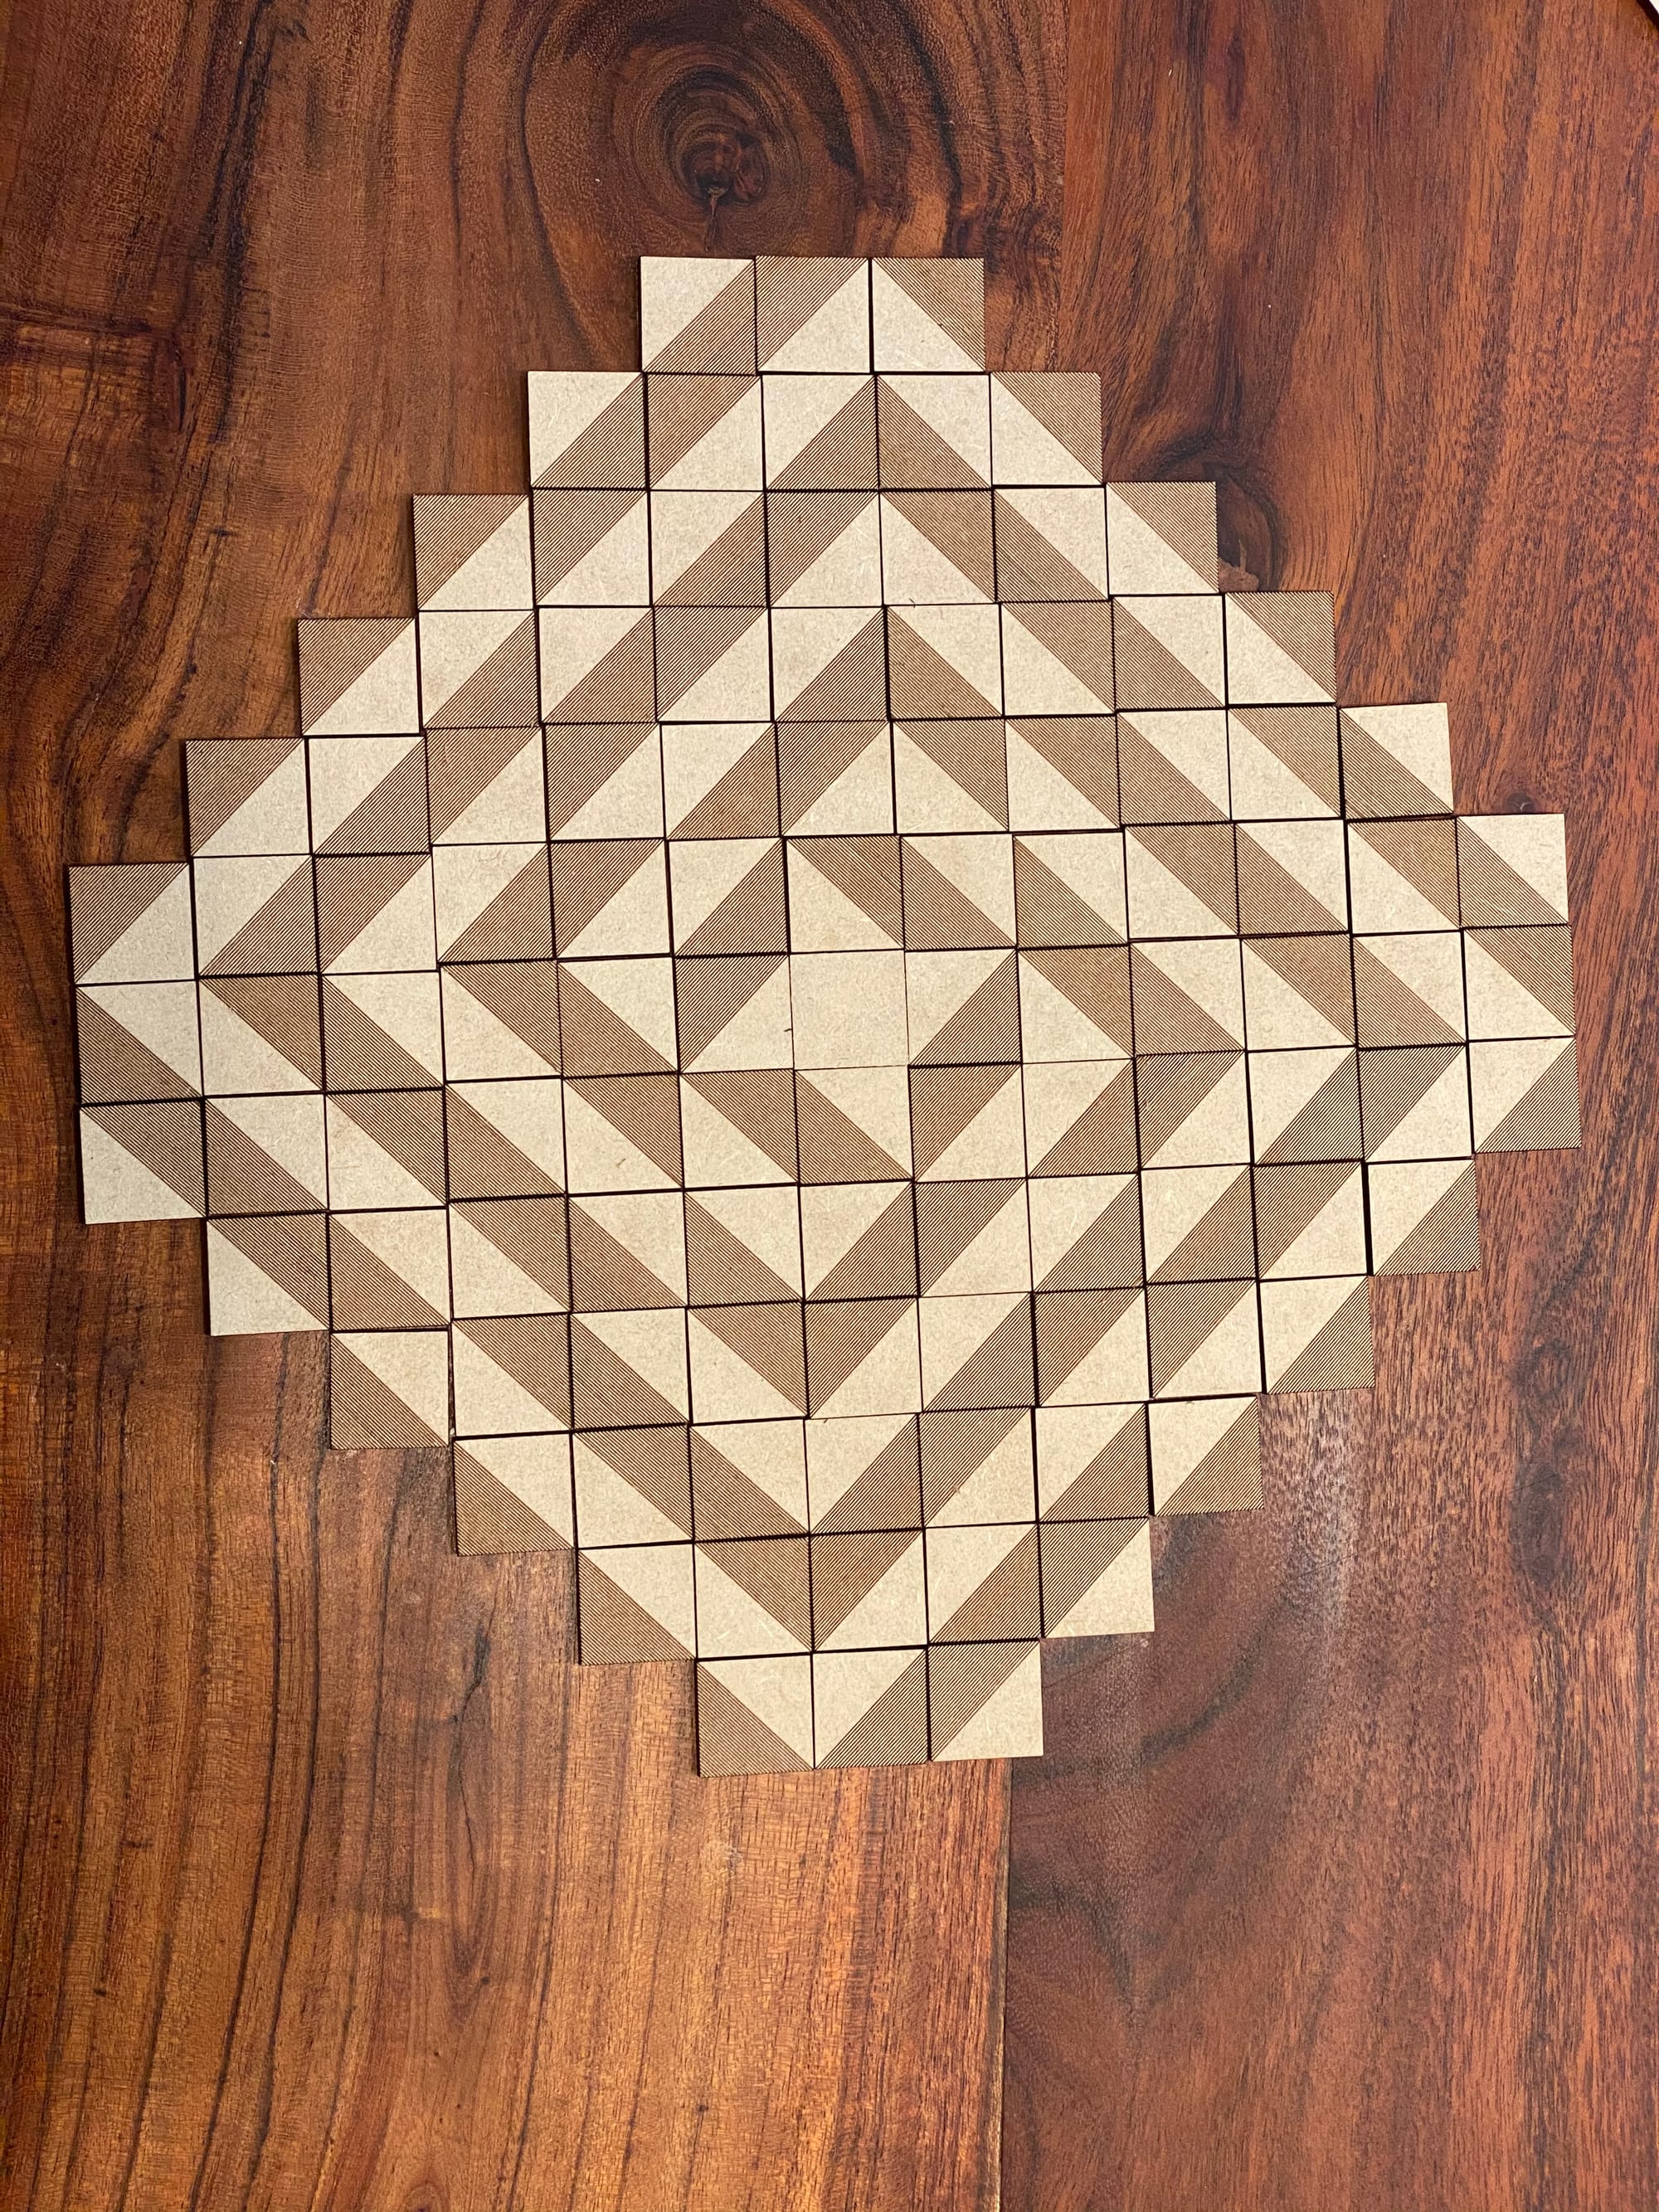
Week 46: Half-Square Triangles (Truchet Tiles)
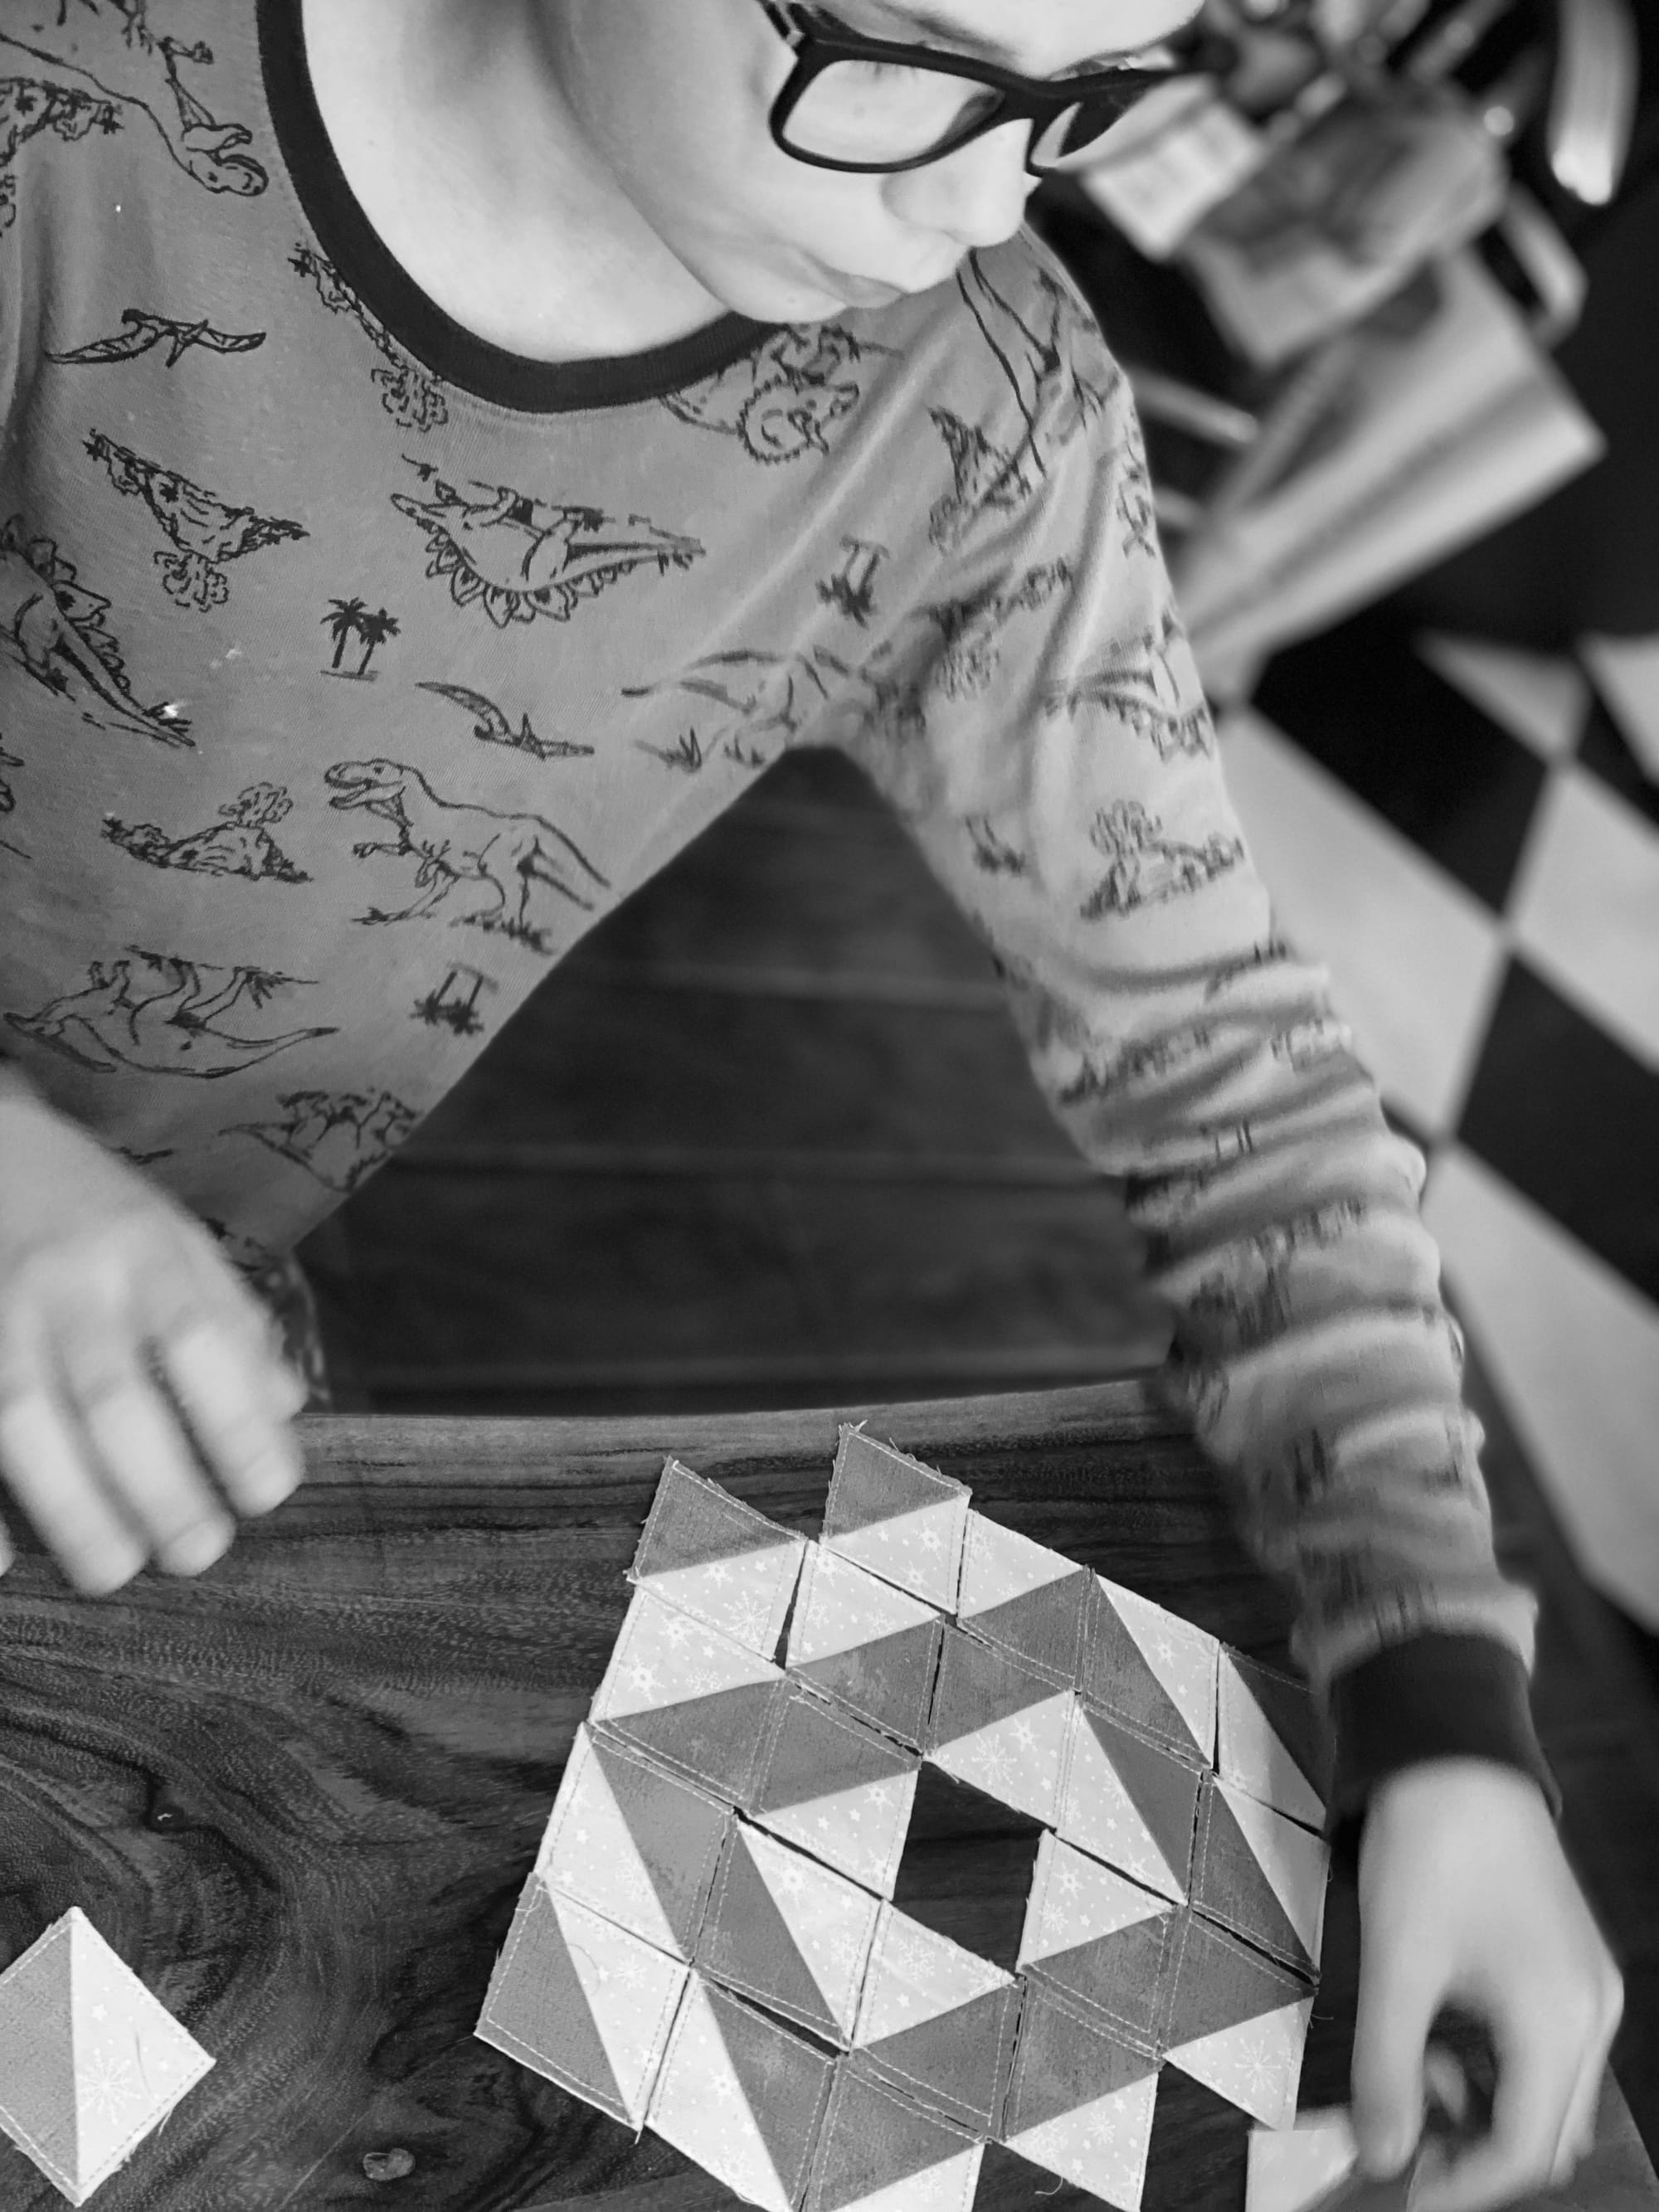
If you are a quilter, then you will be a pro with this week’s activity. For the last six months my quilting mother lived with us through chemo and we watched her quilt her heart out. Now that she moved back to her home, I had to laugh because she would have been so much fun making these tiles this week – I should have done this sooner! So many traditional and historical quilts use these squares (a great segue into history – Underground Railroad, folk art, stories, family histories, etc.).
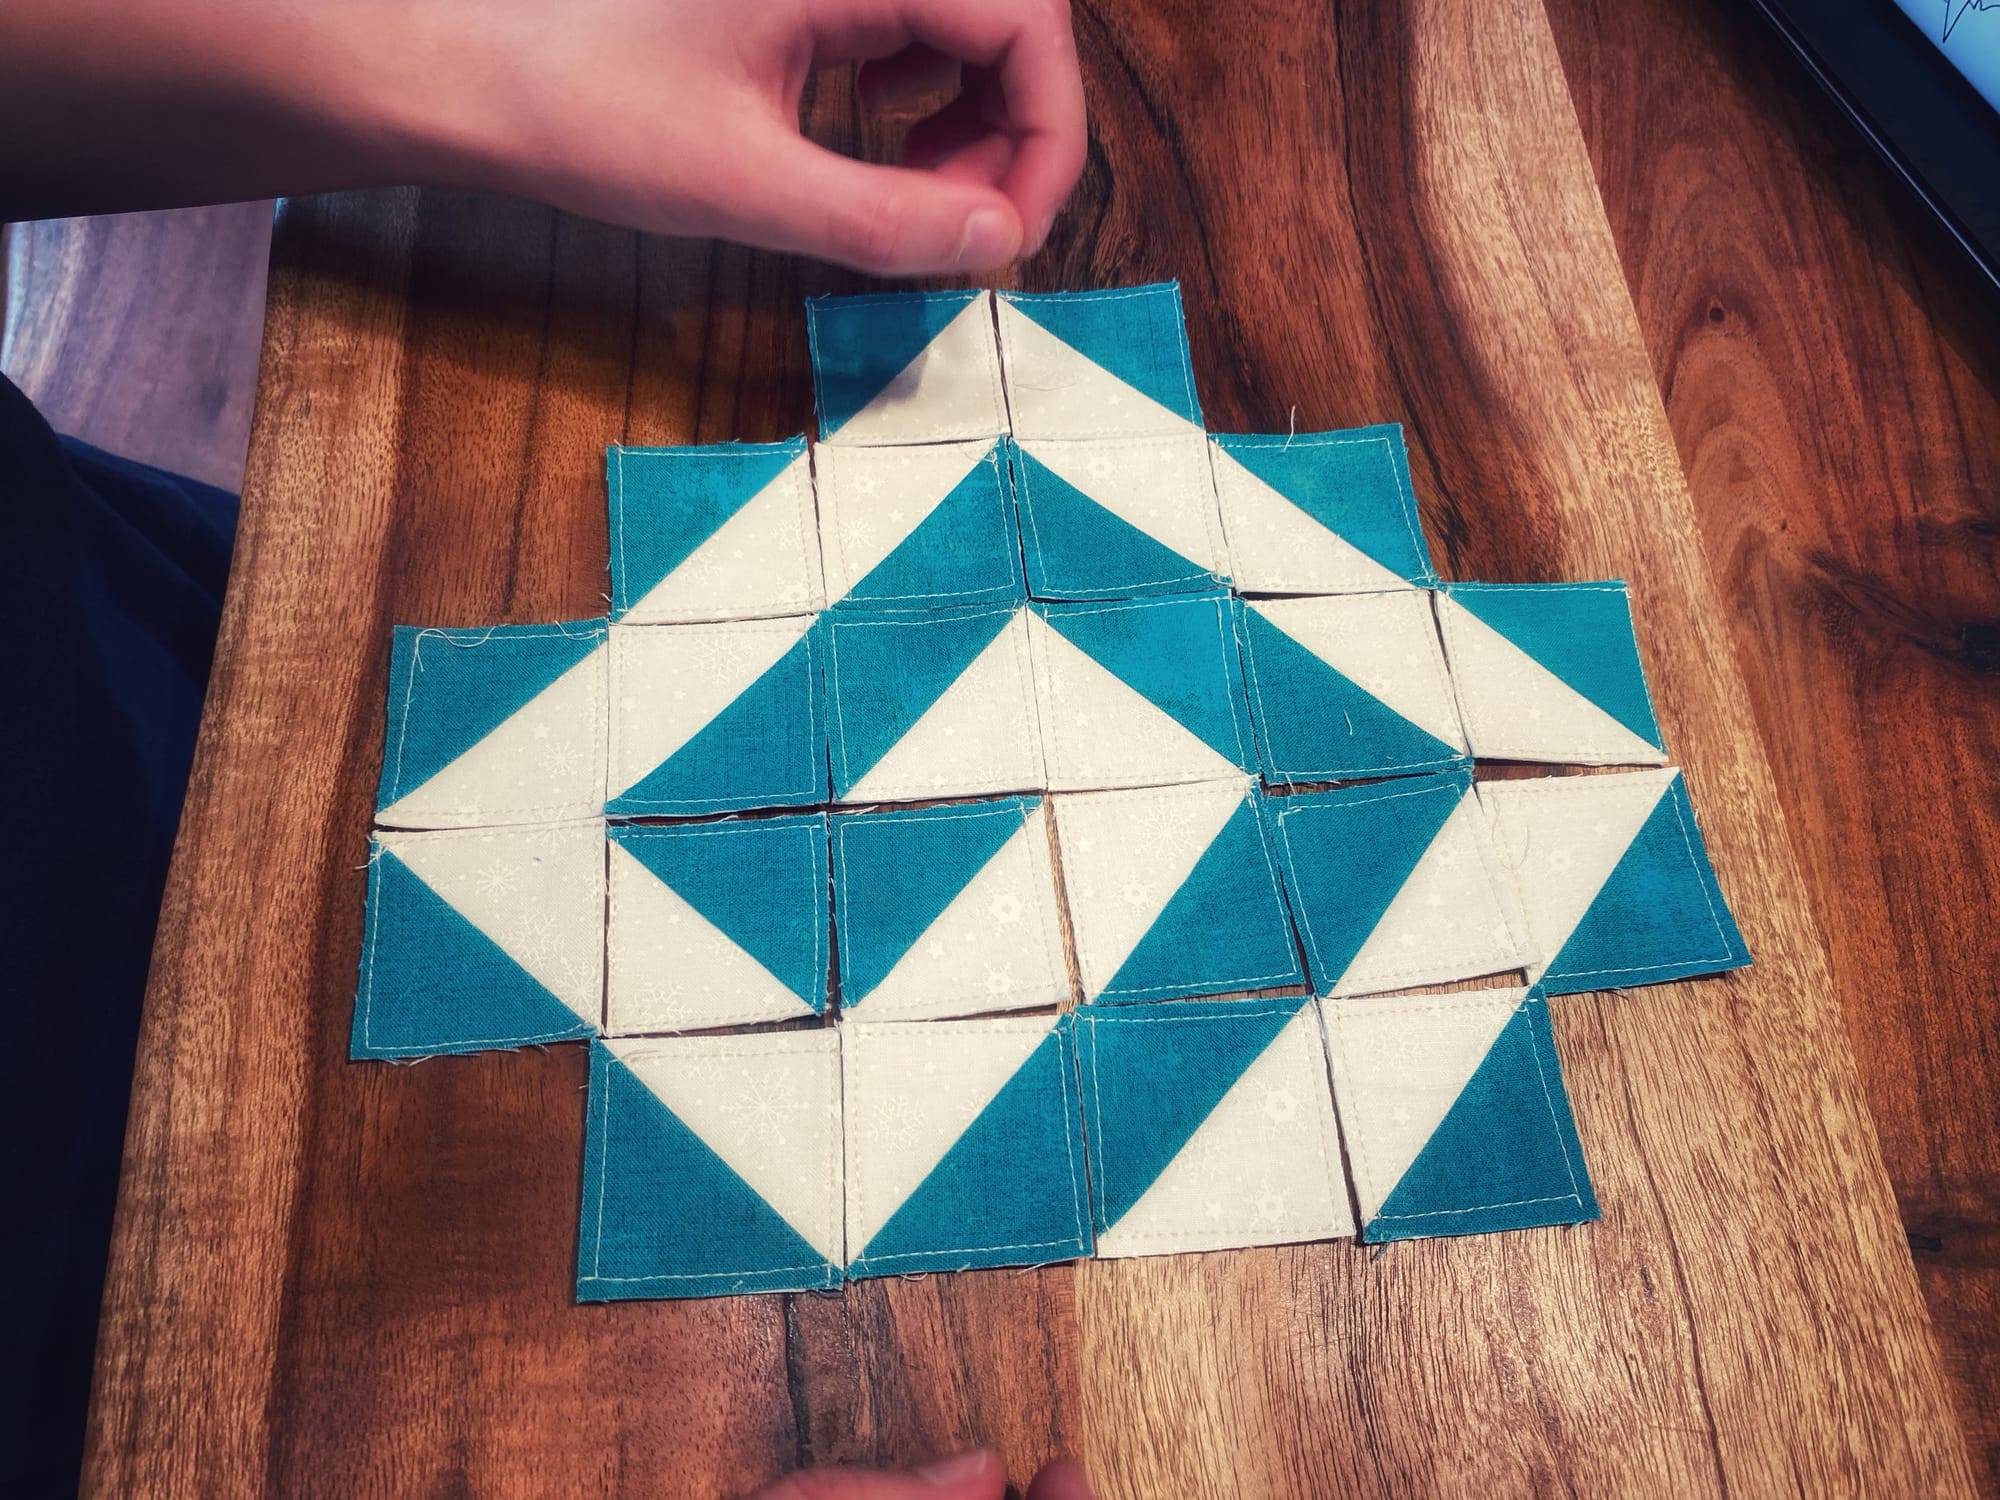
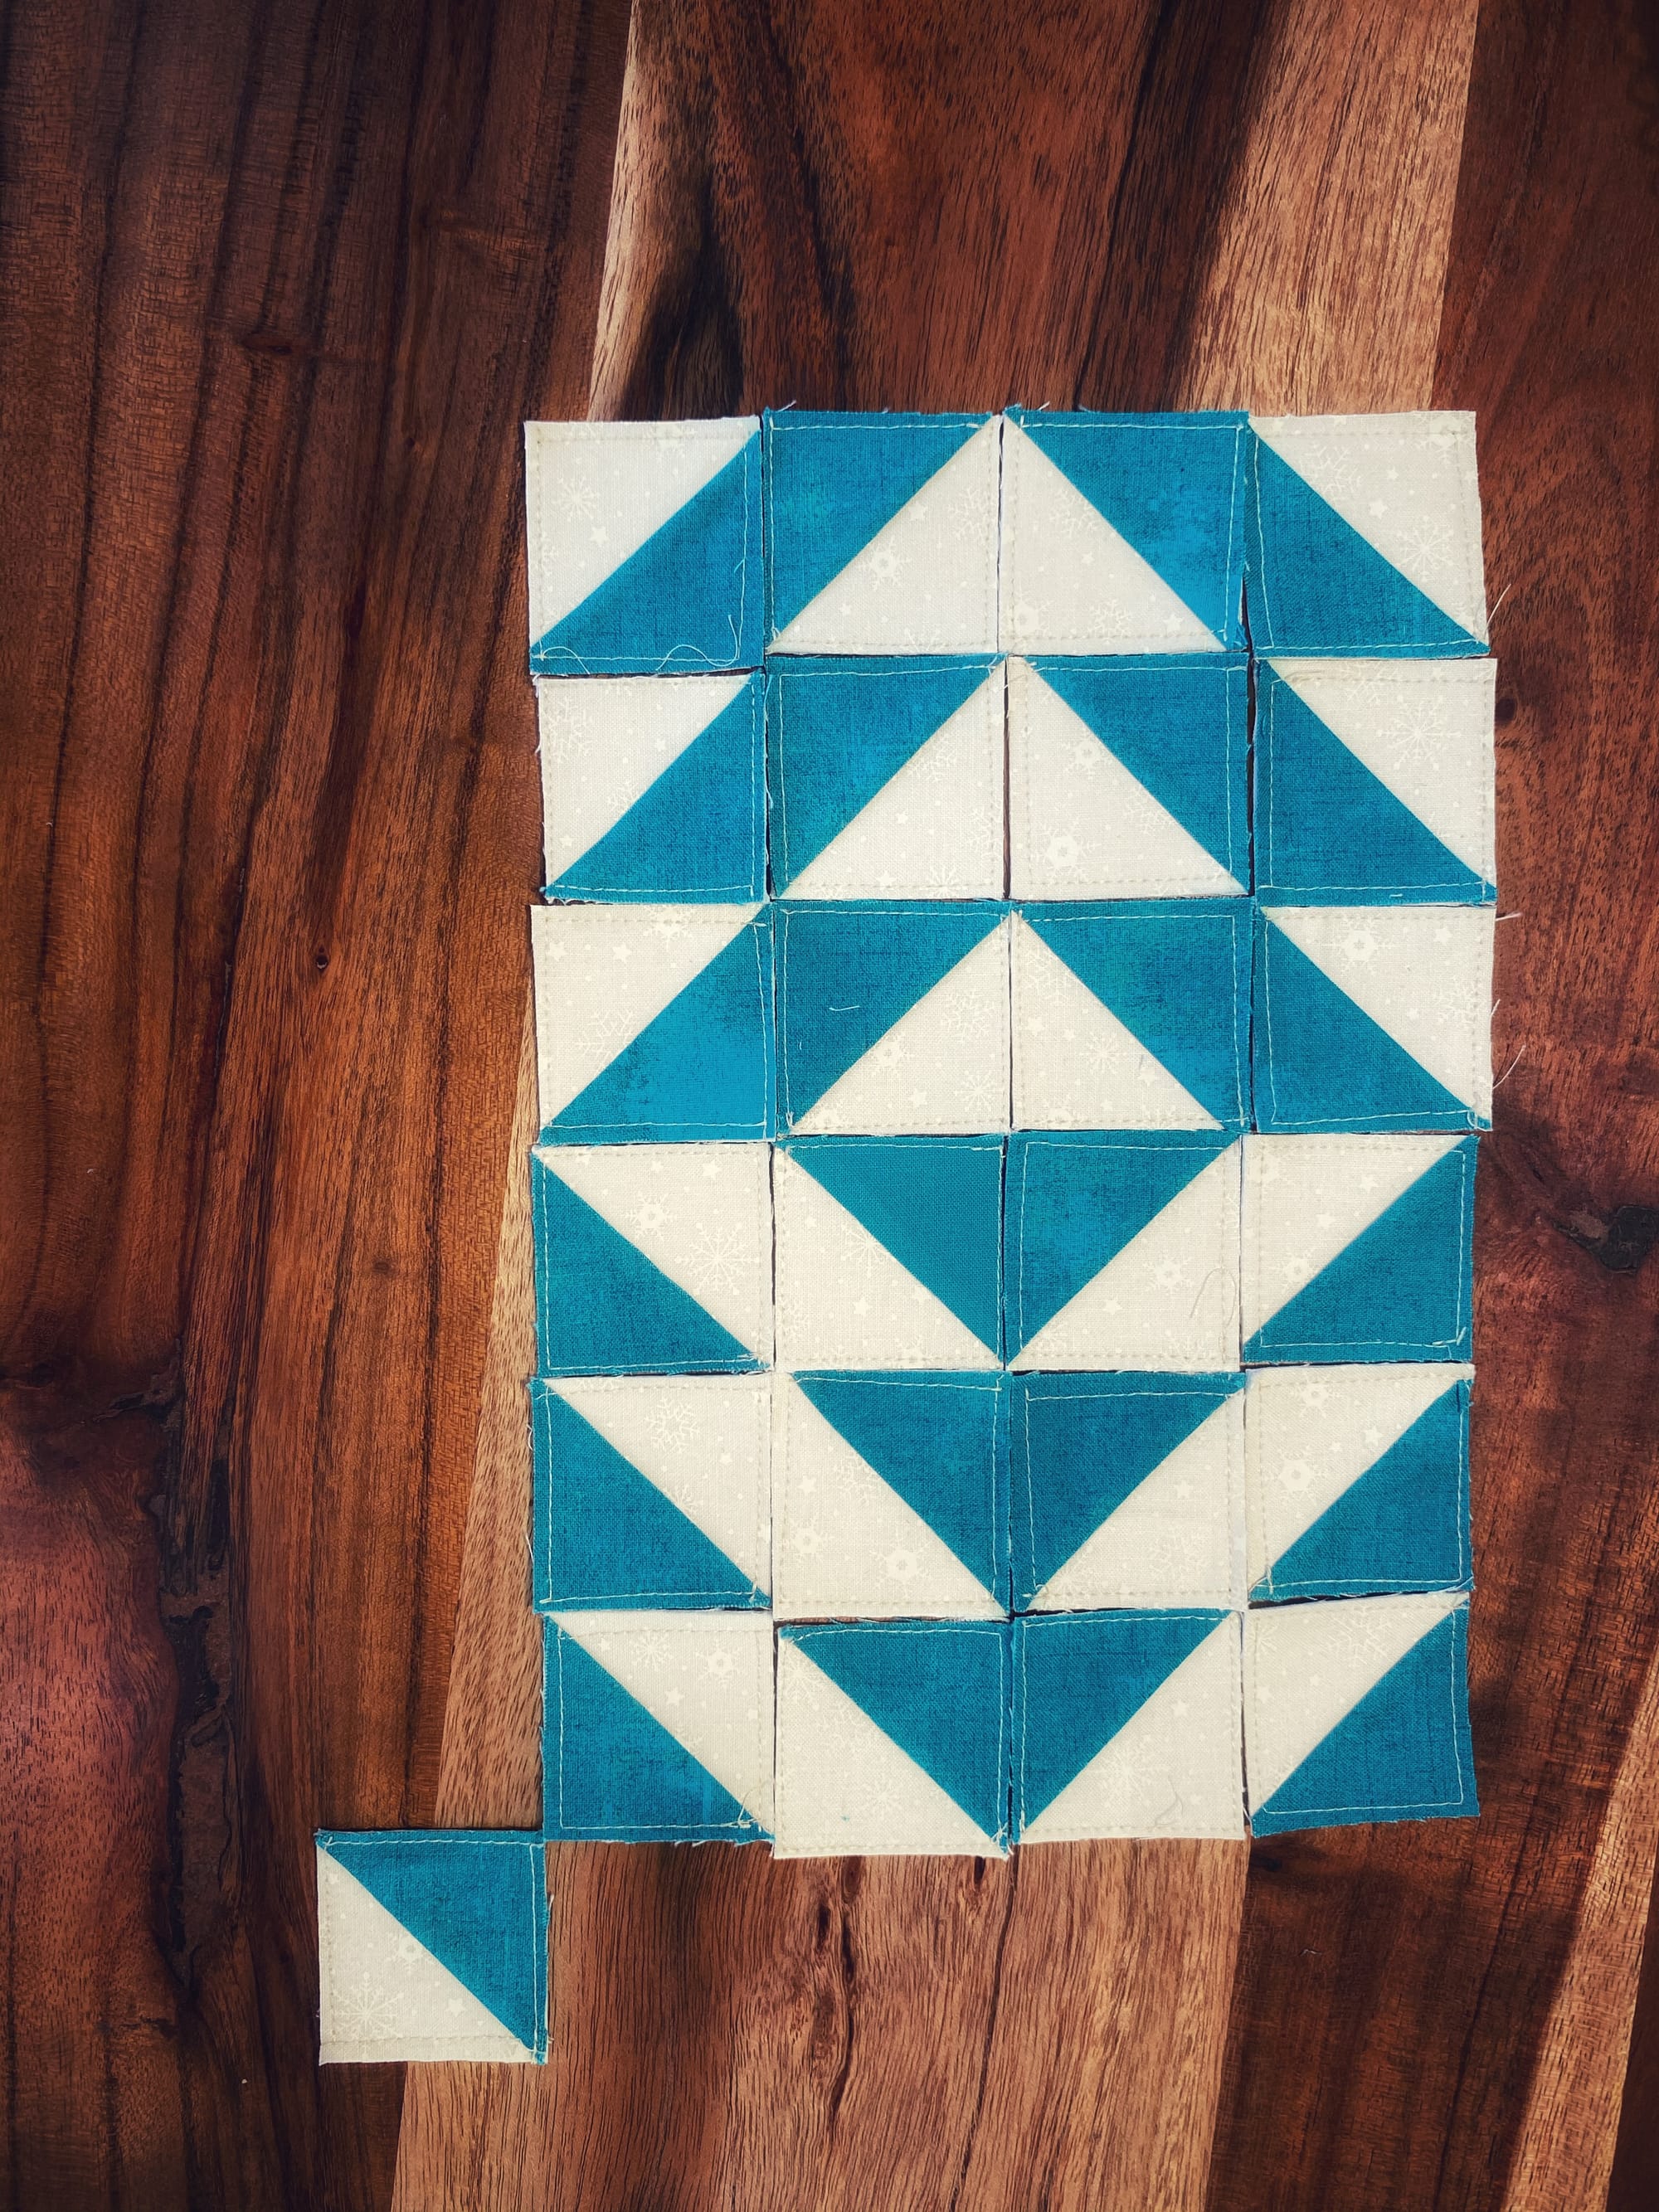
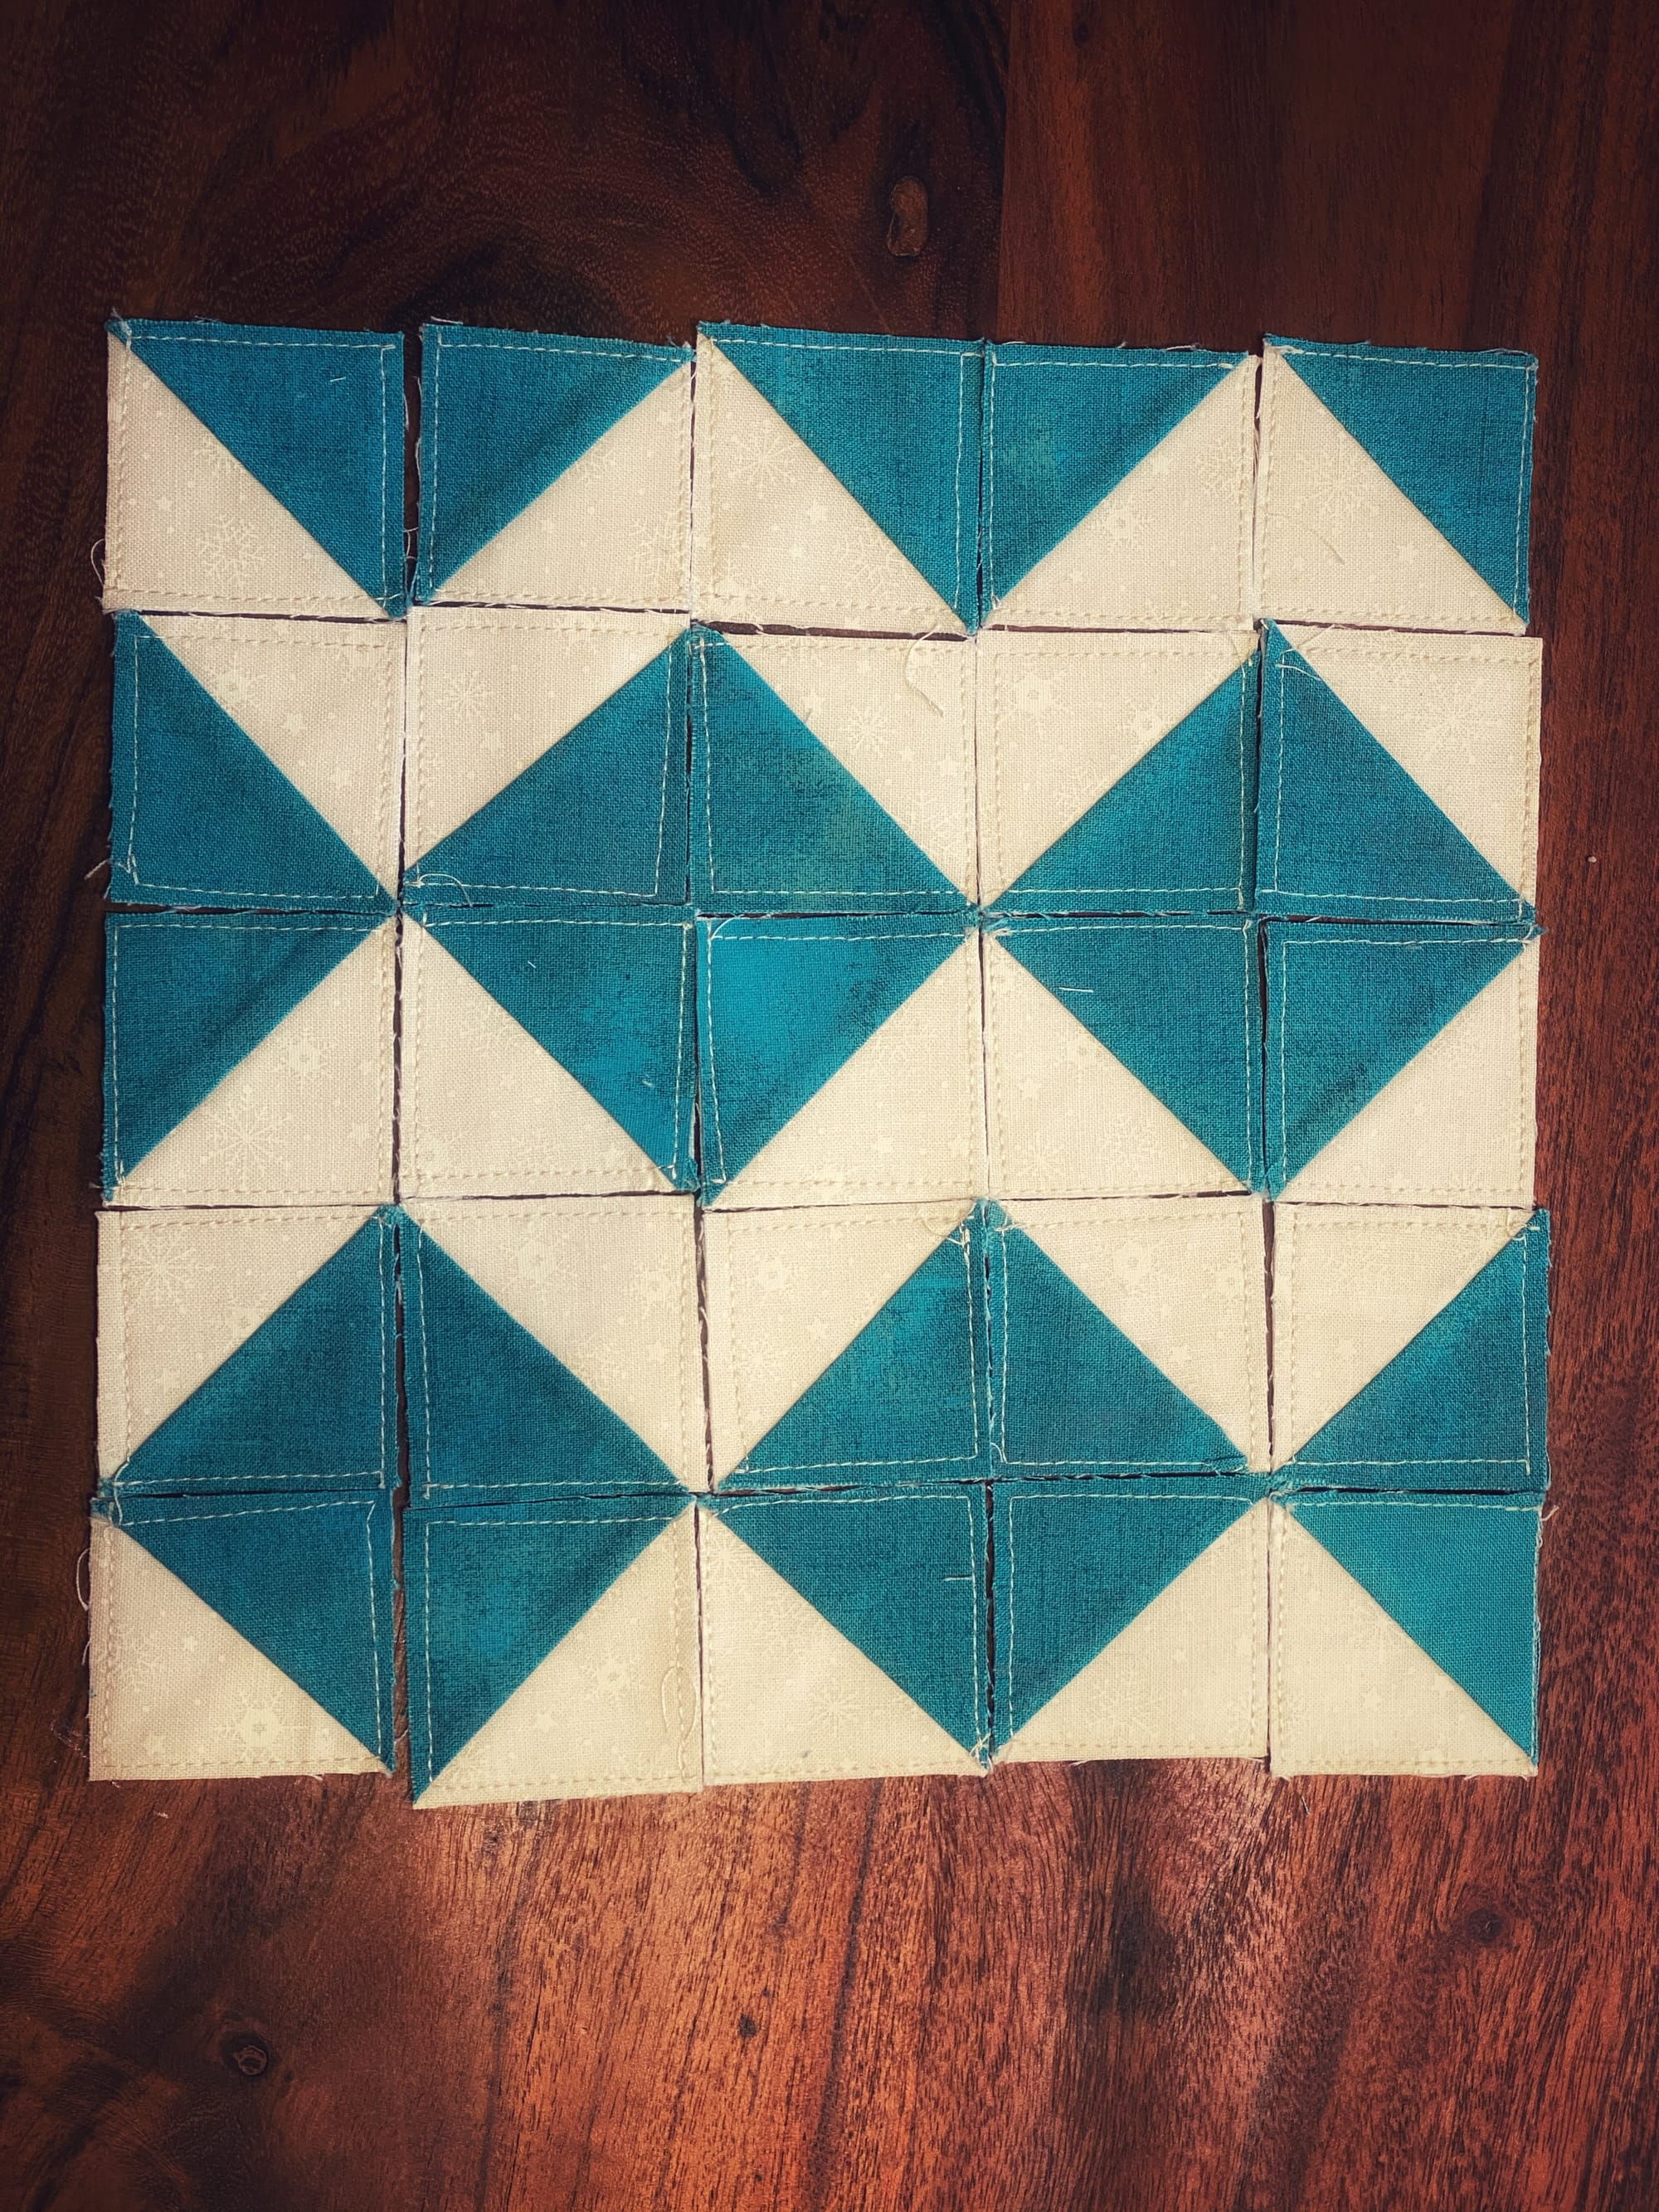
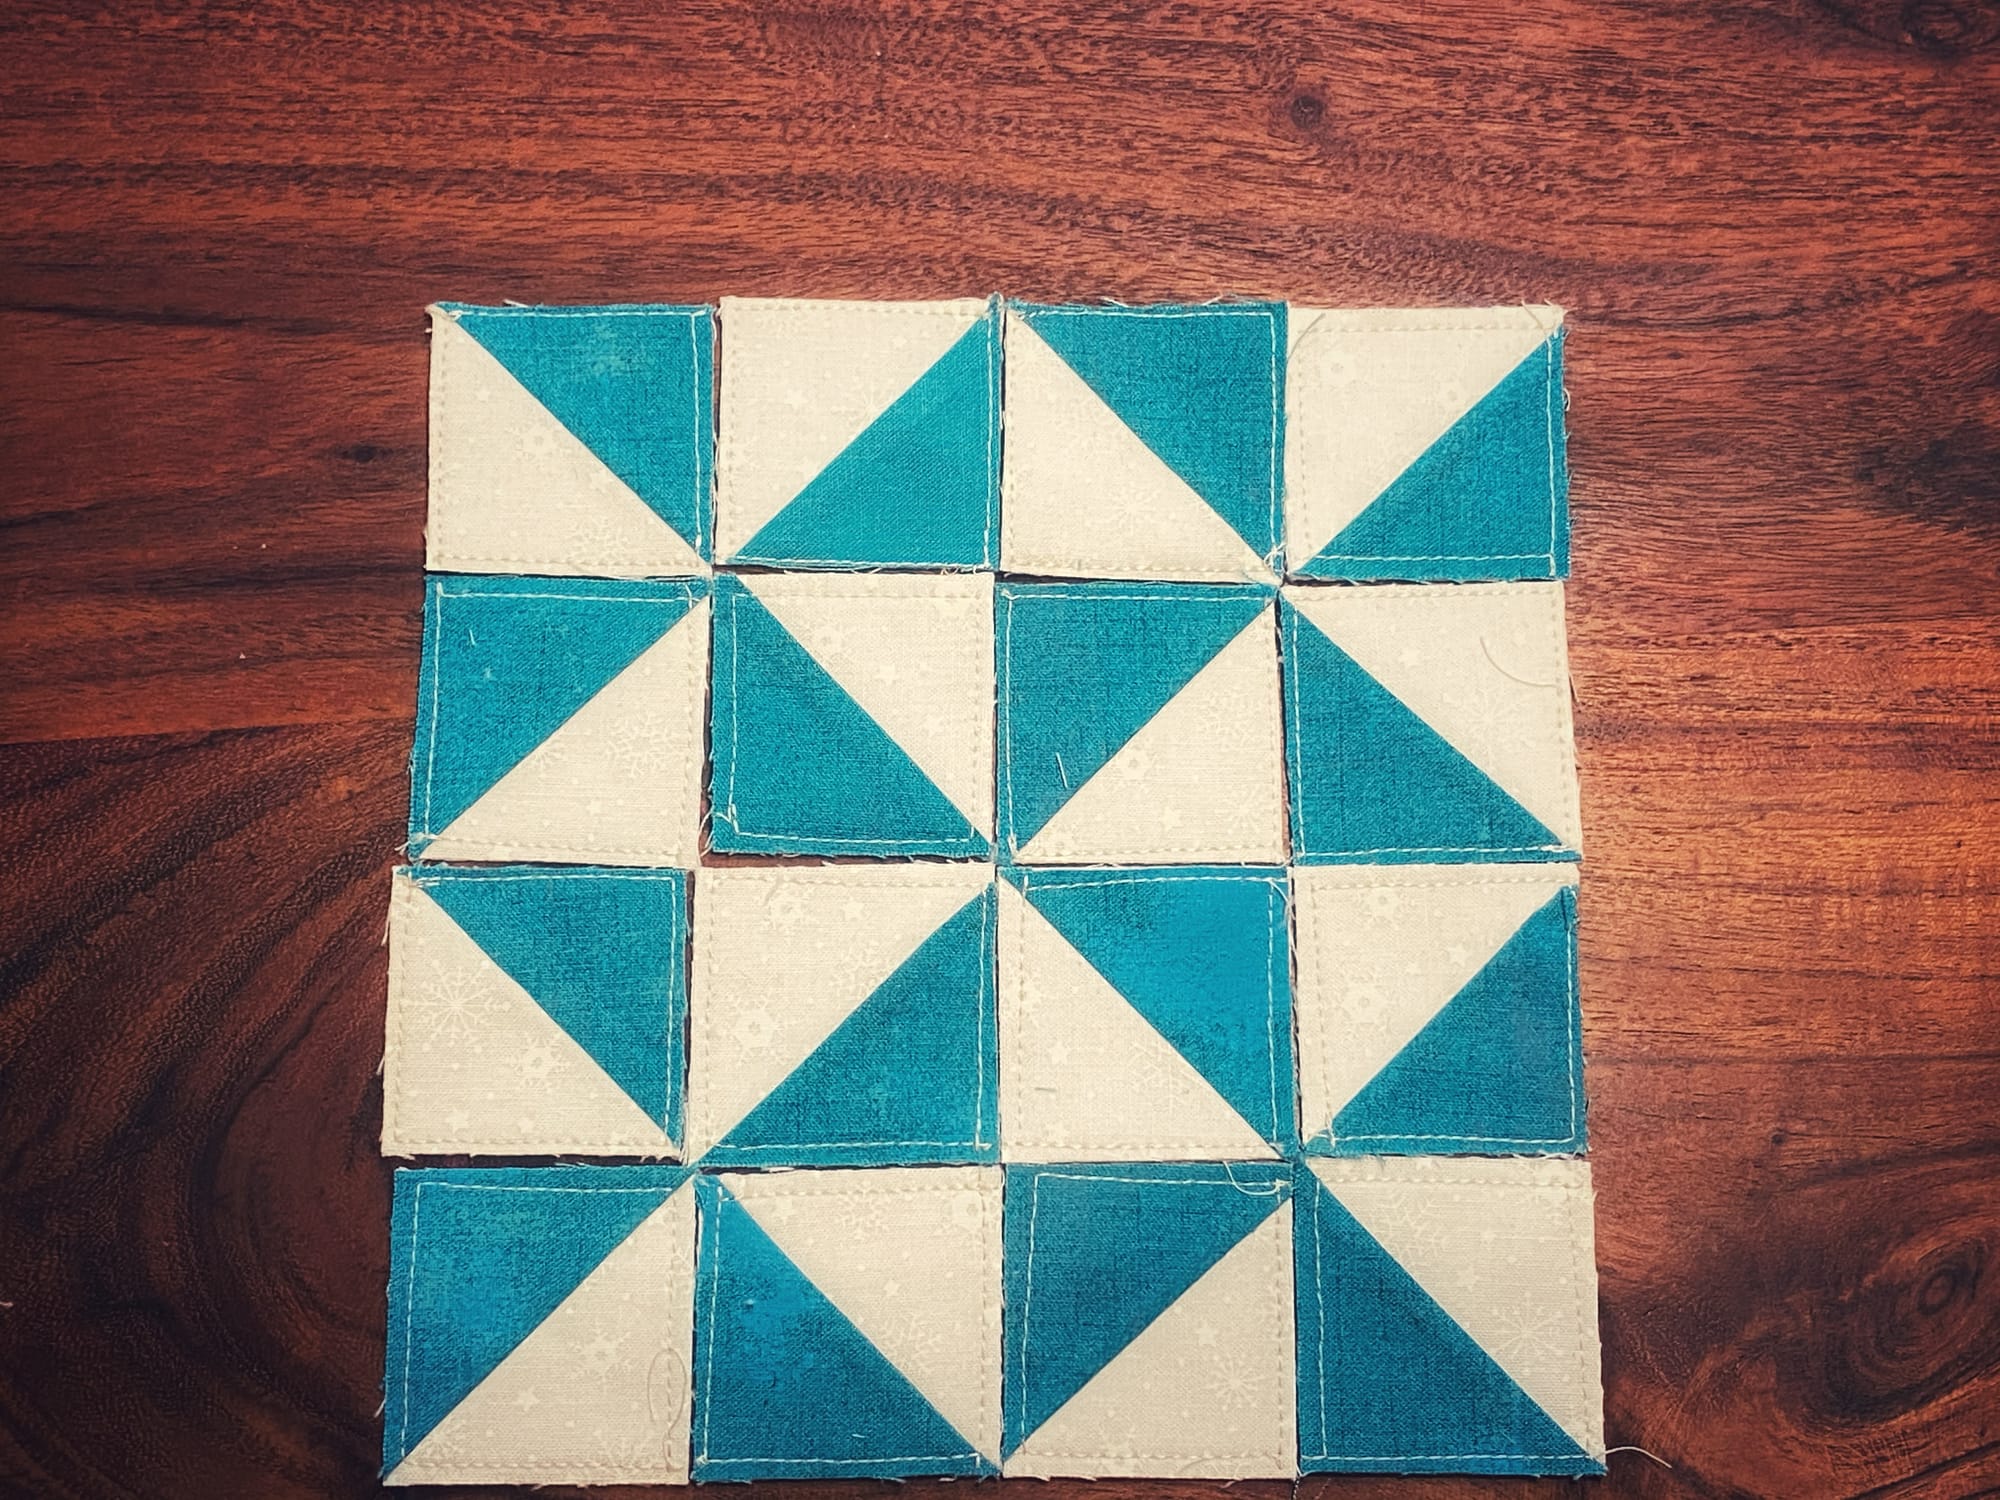
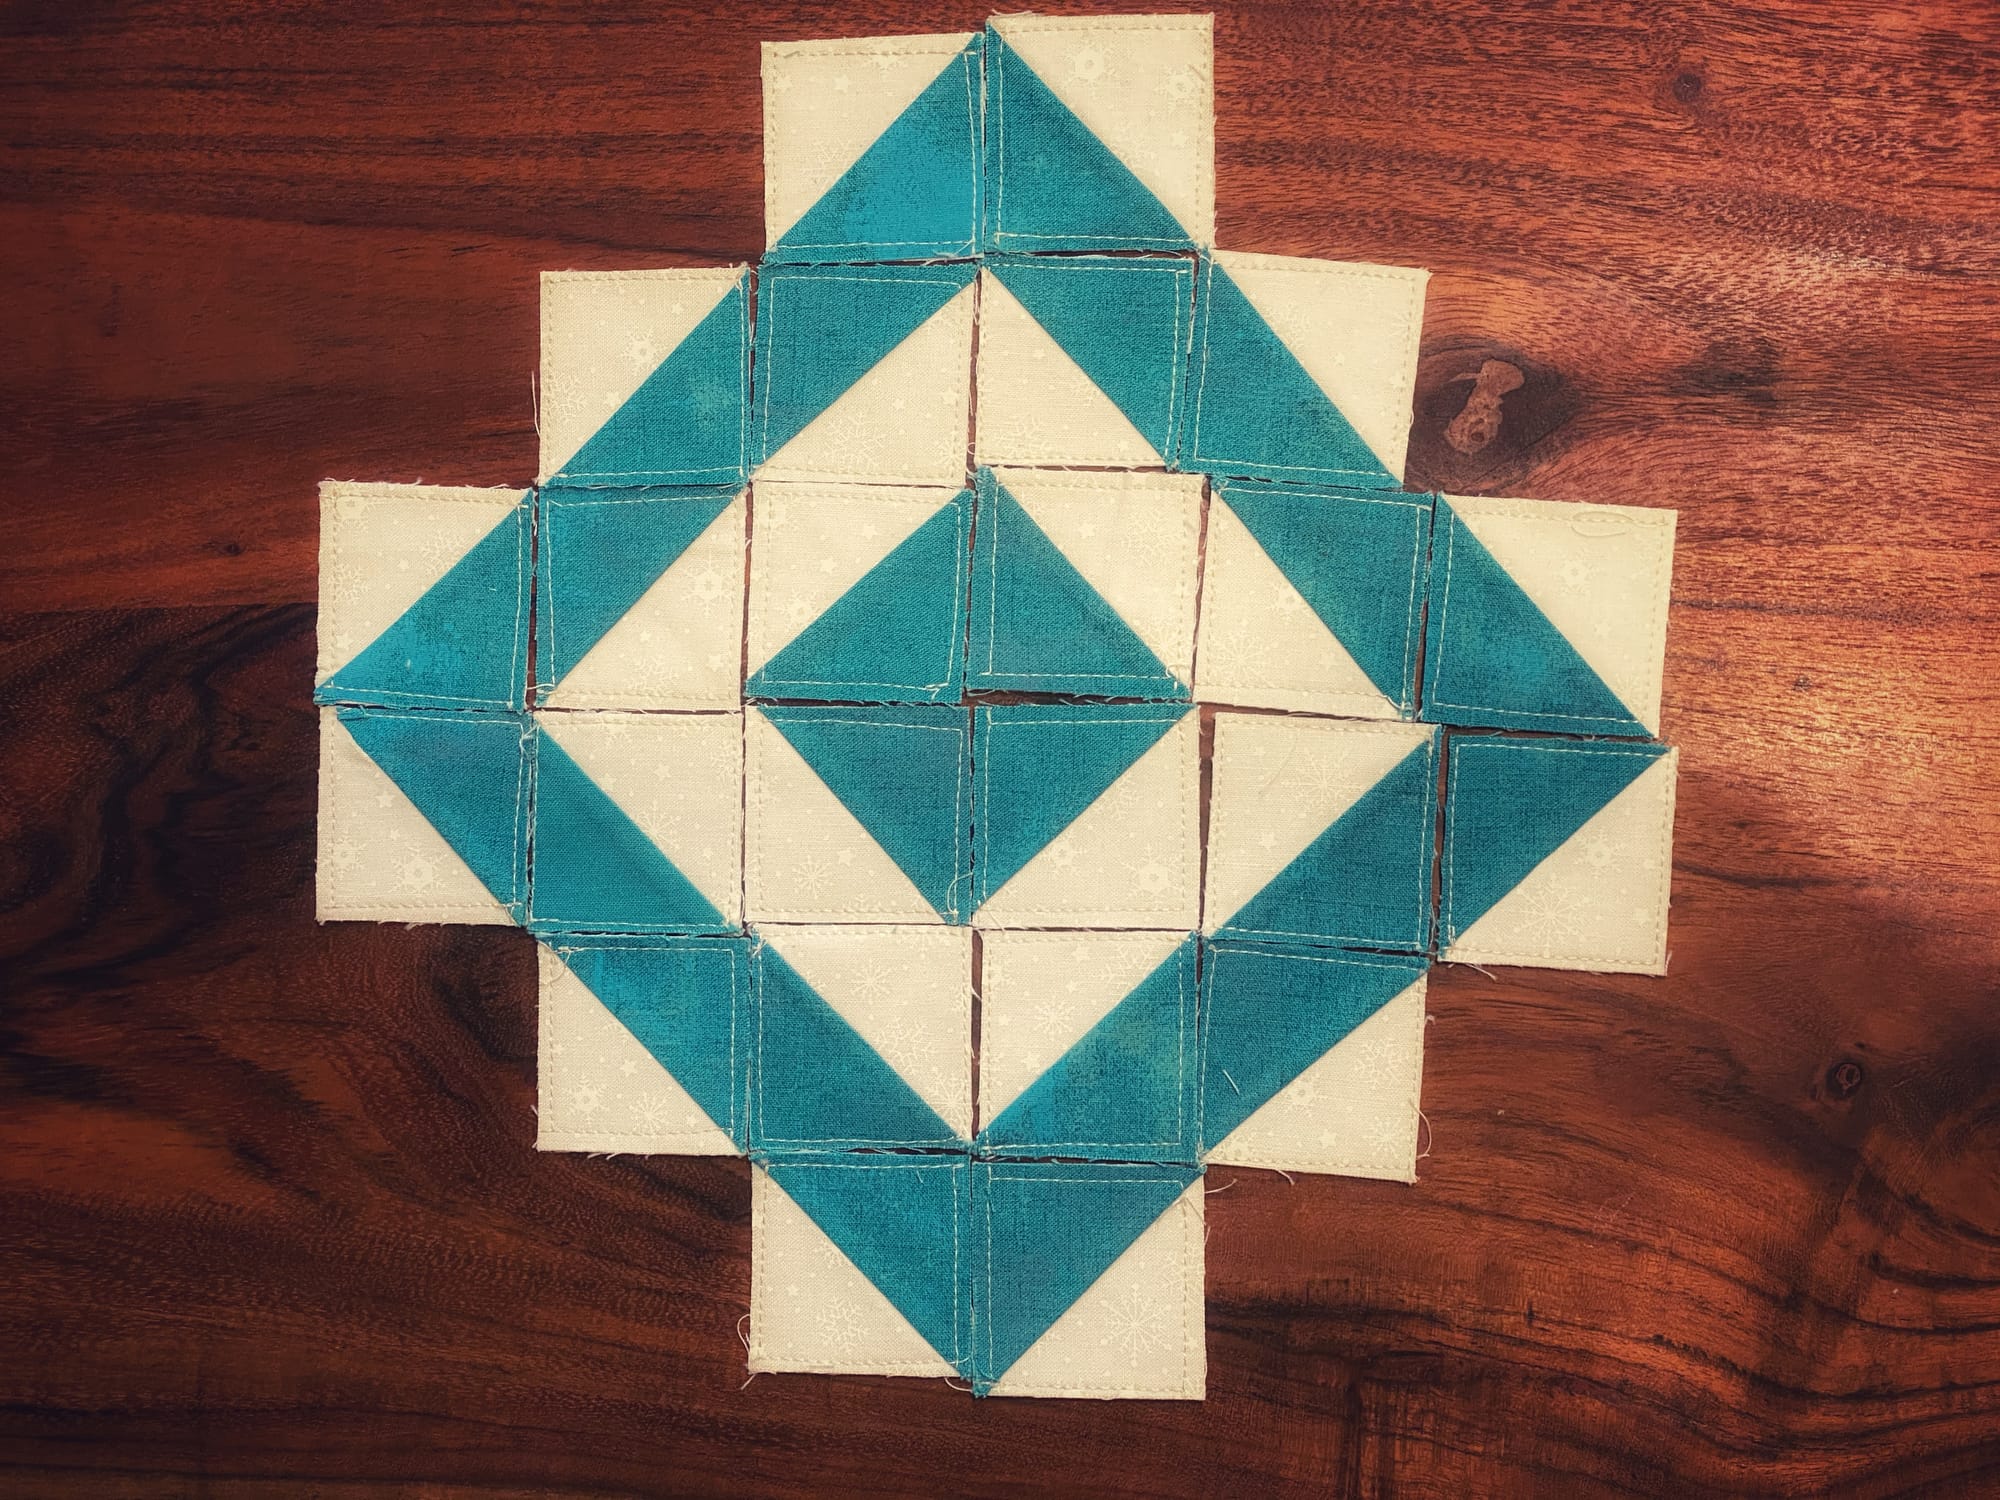
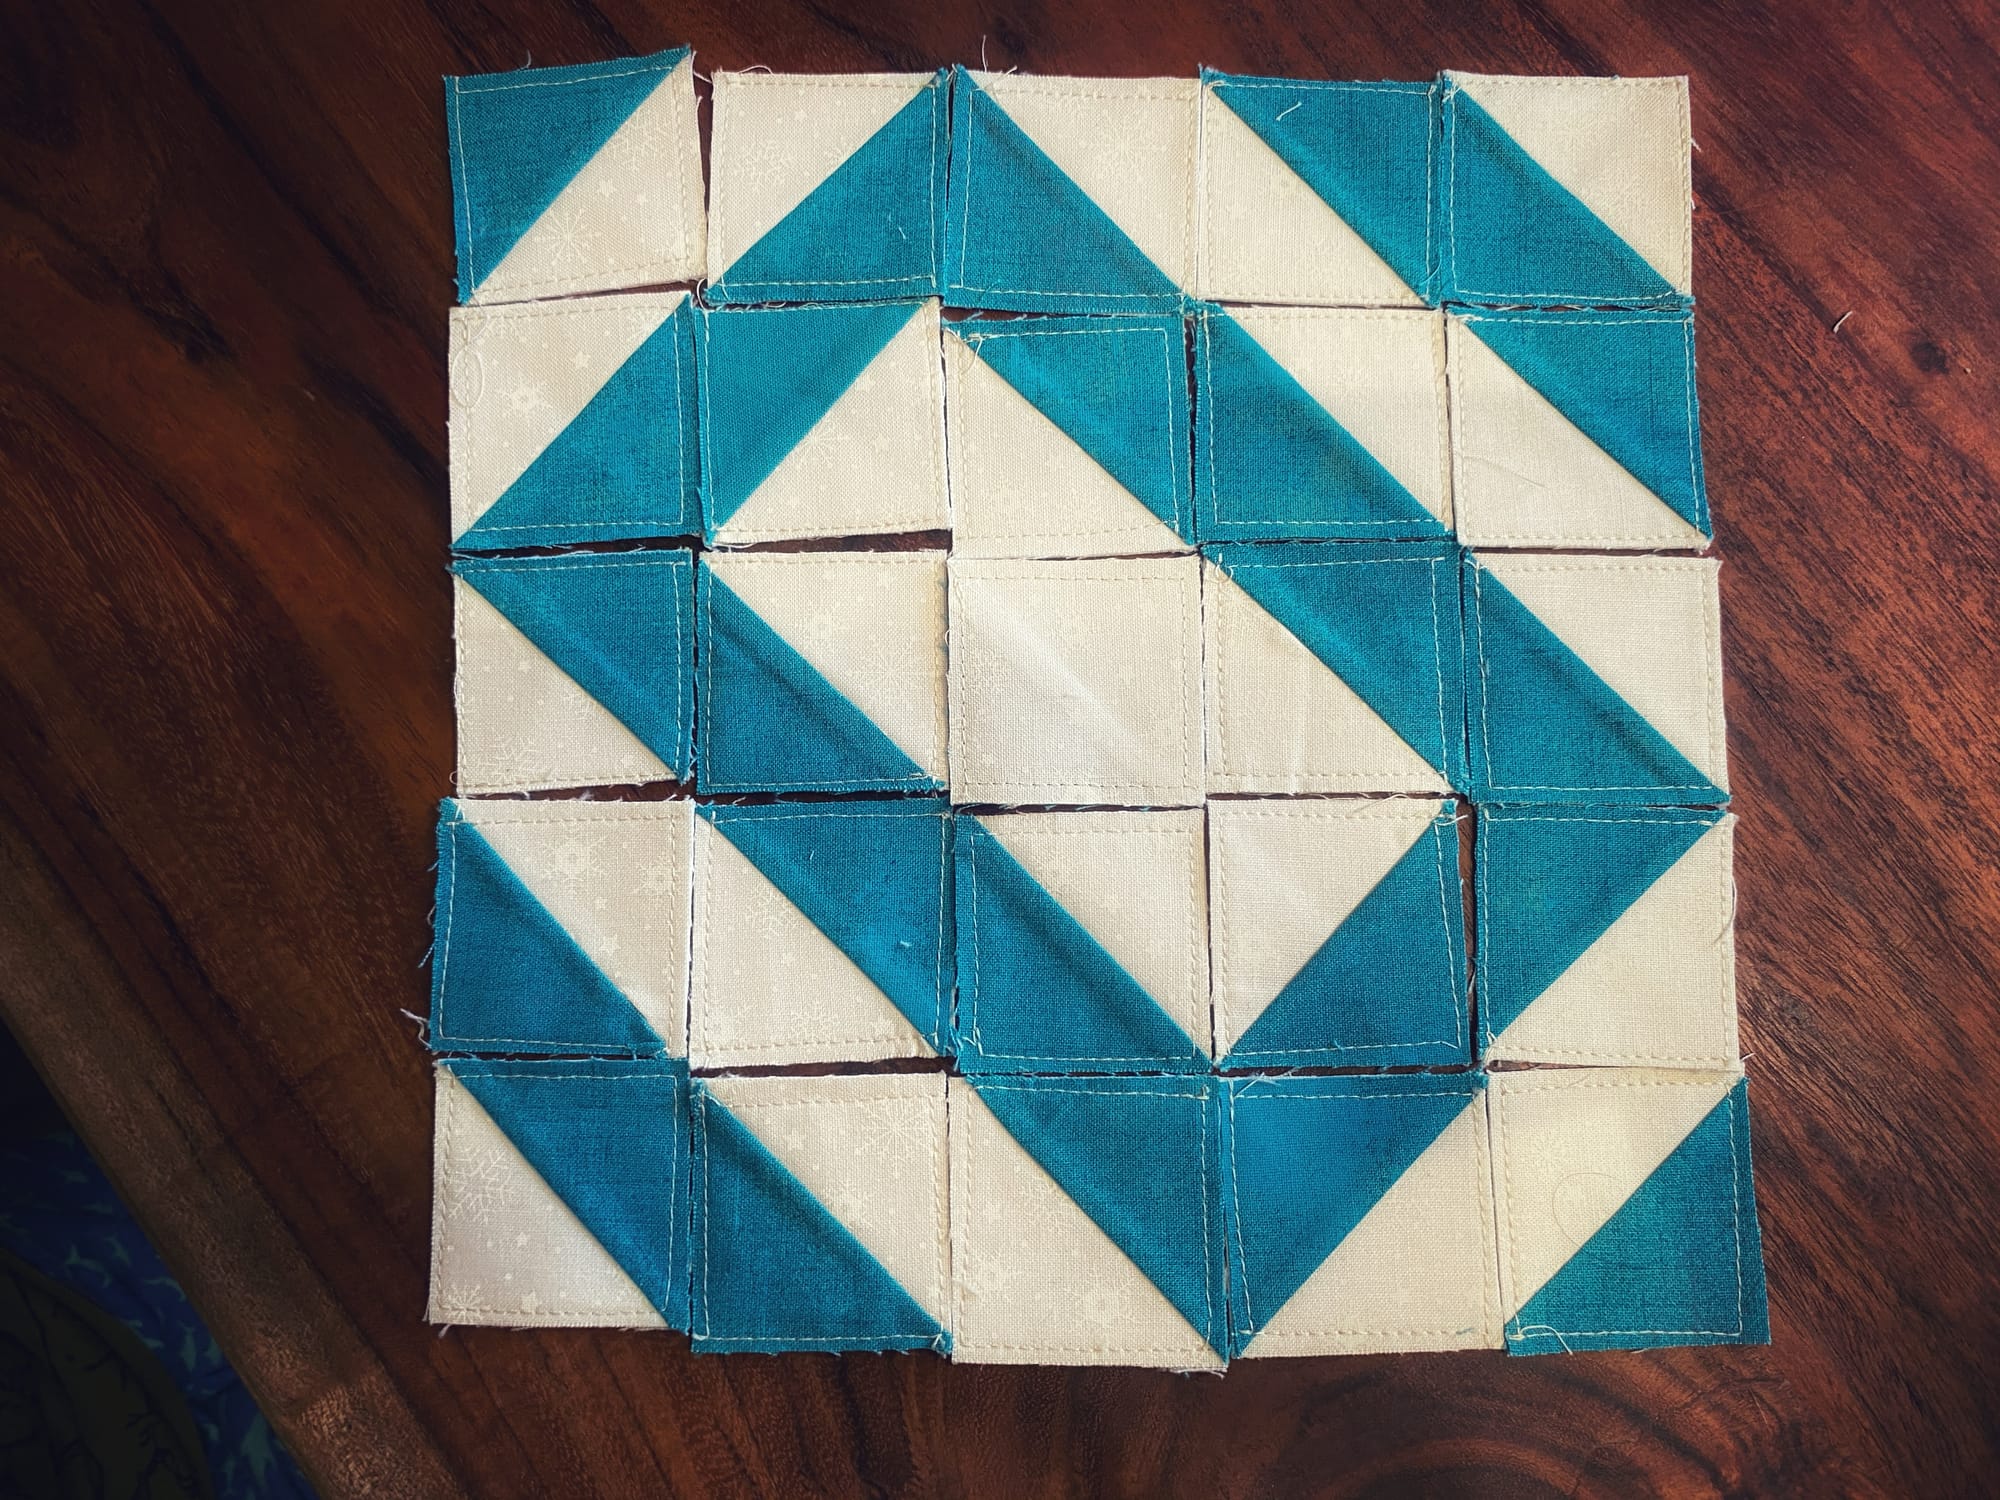
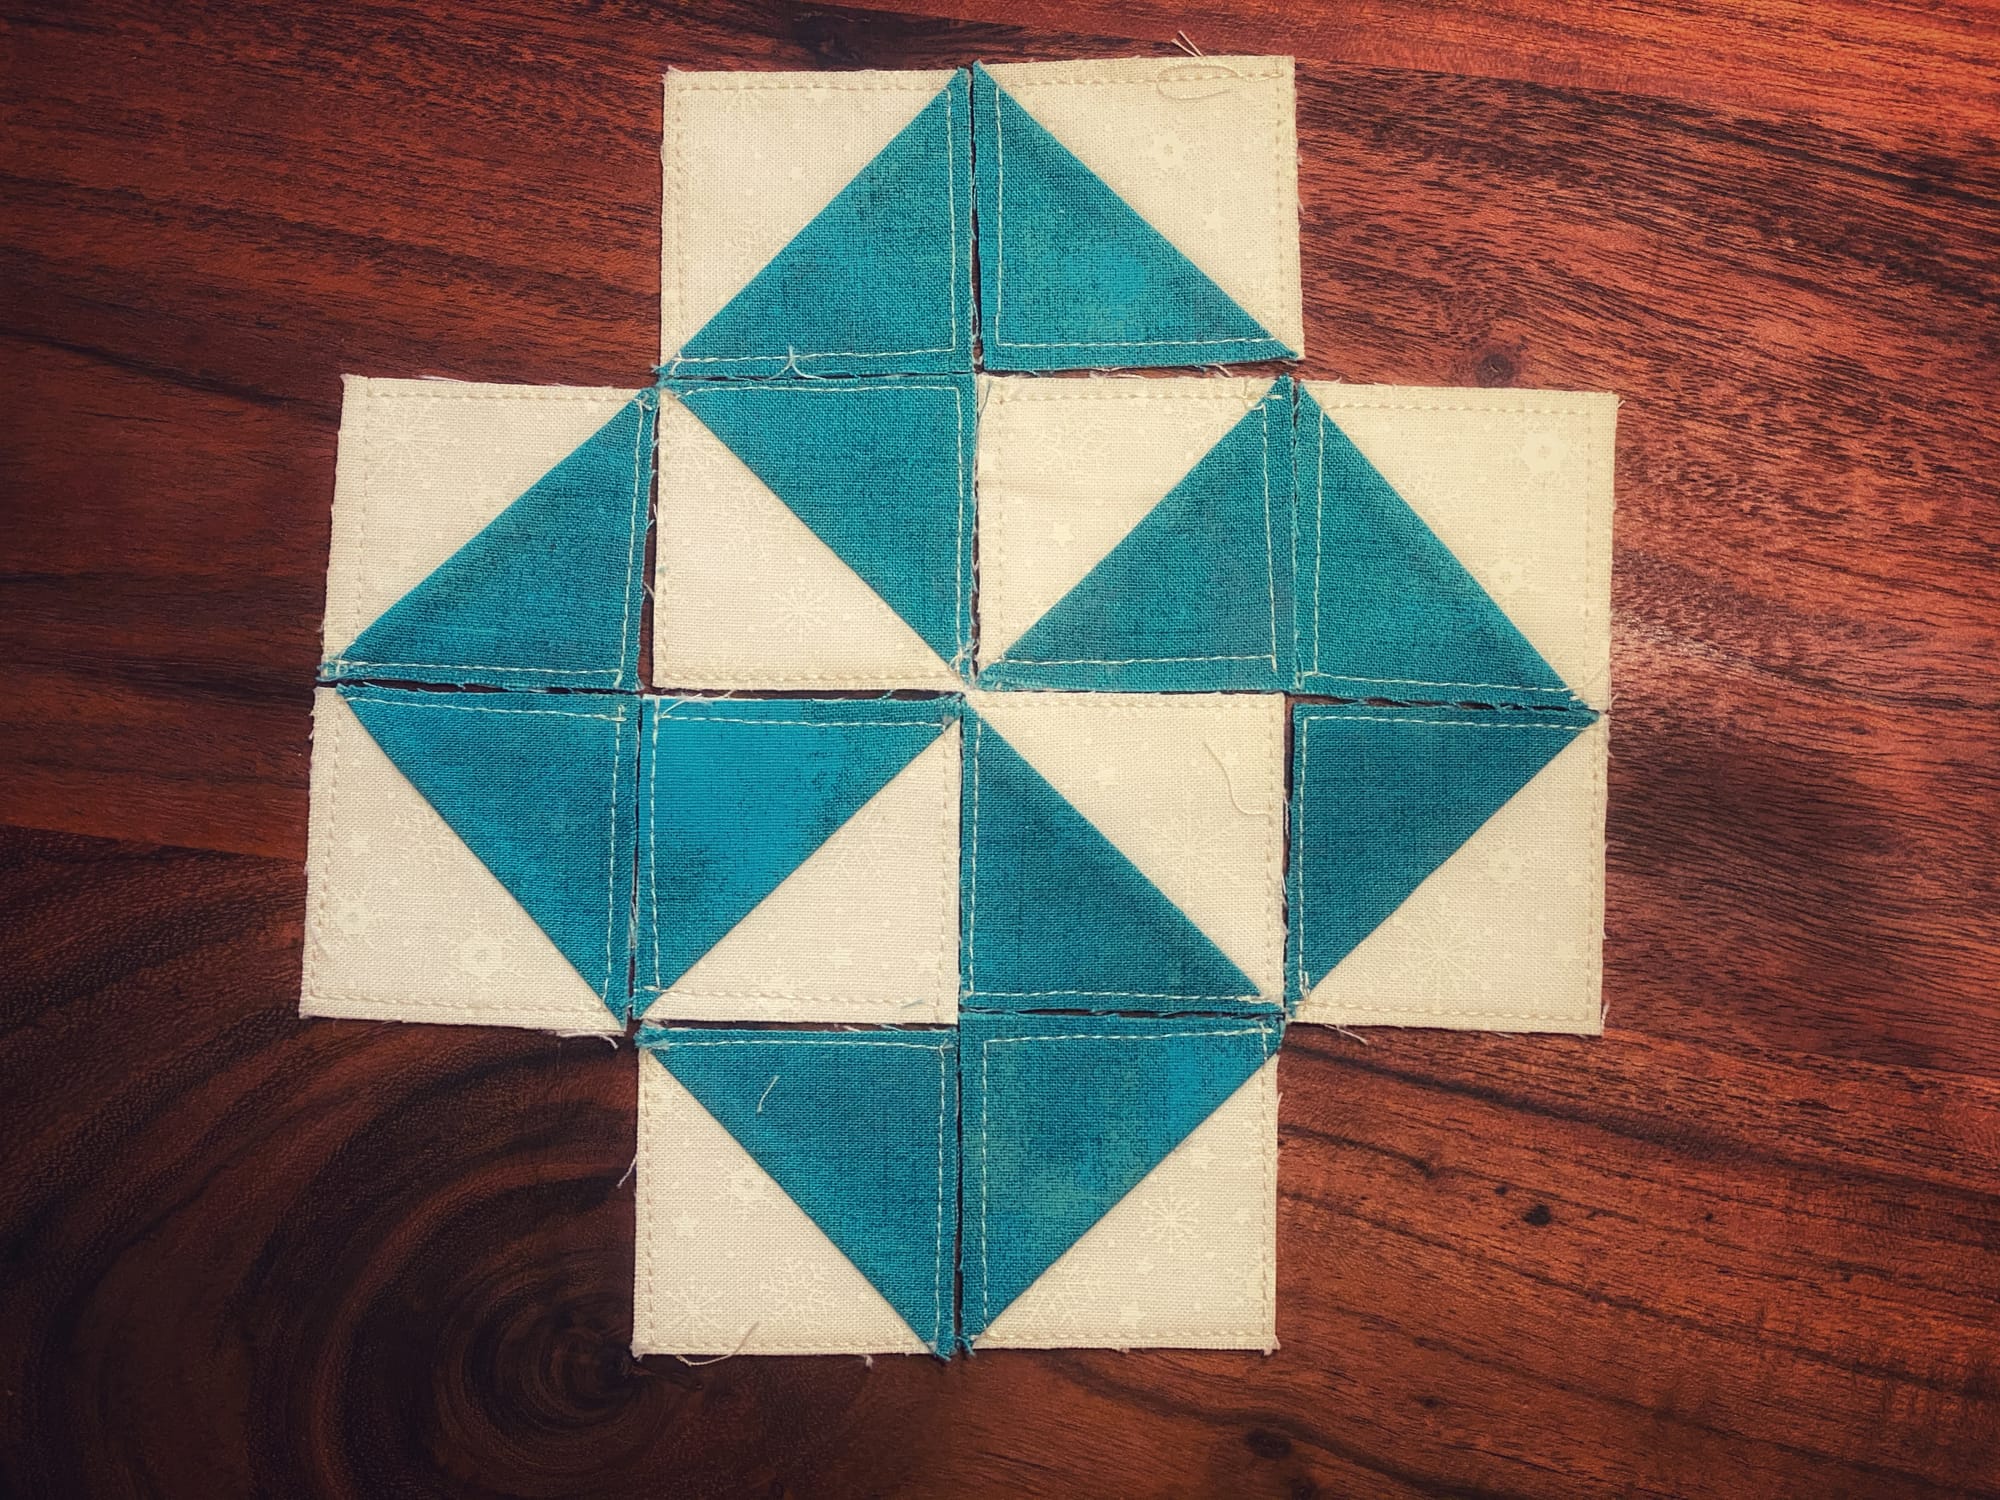
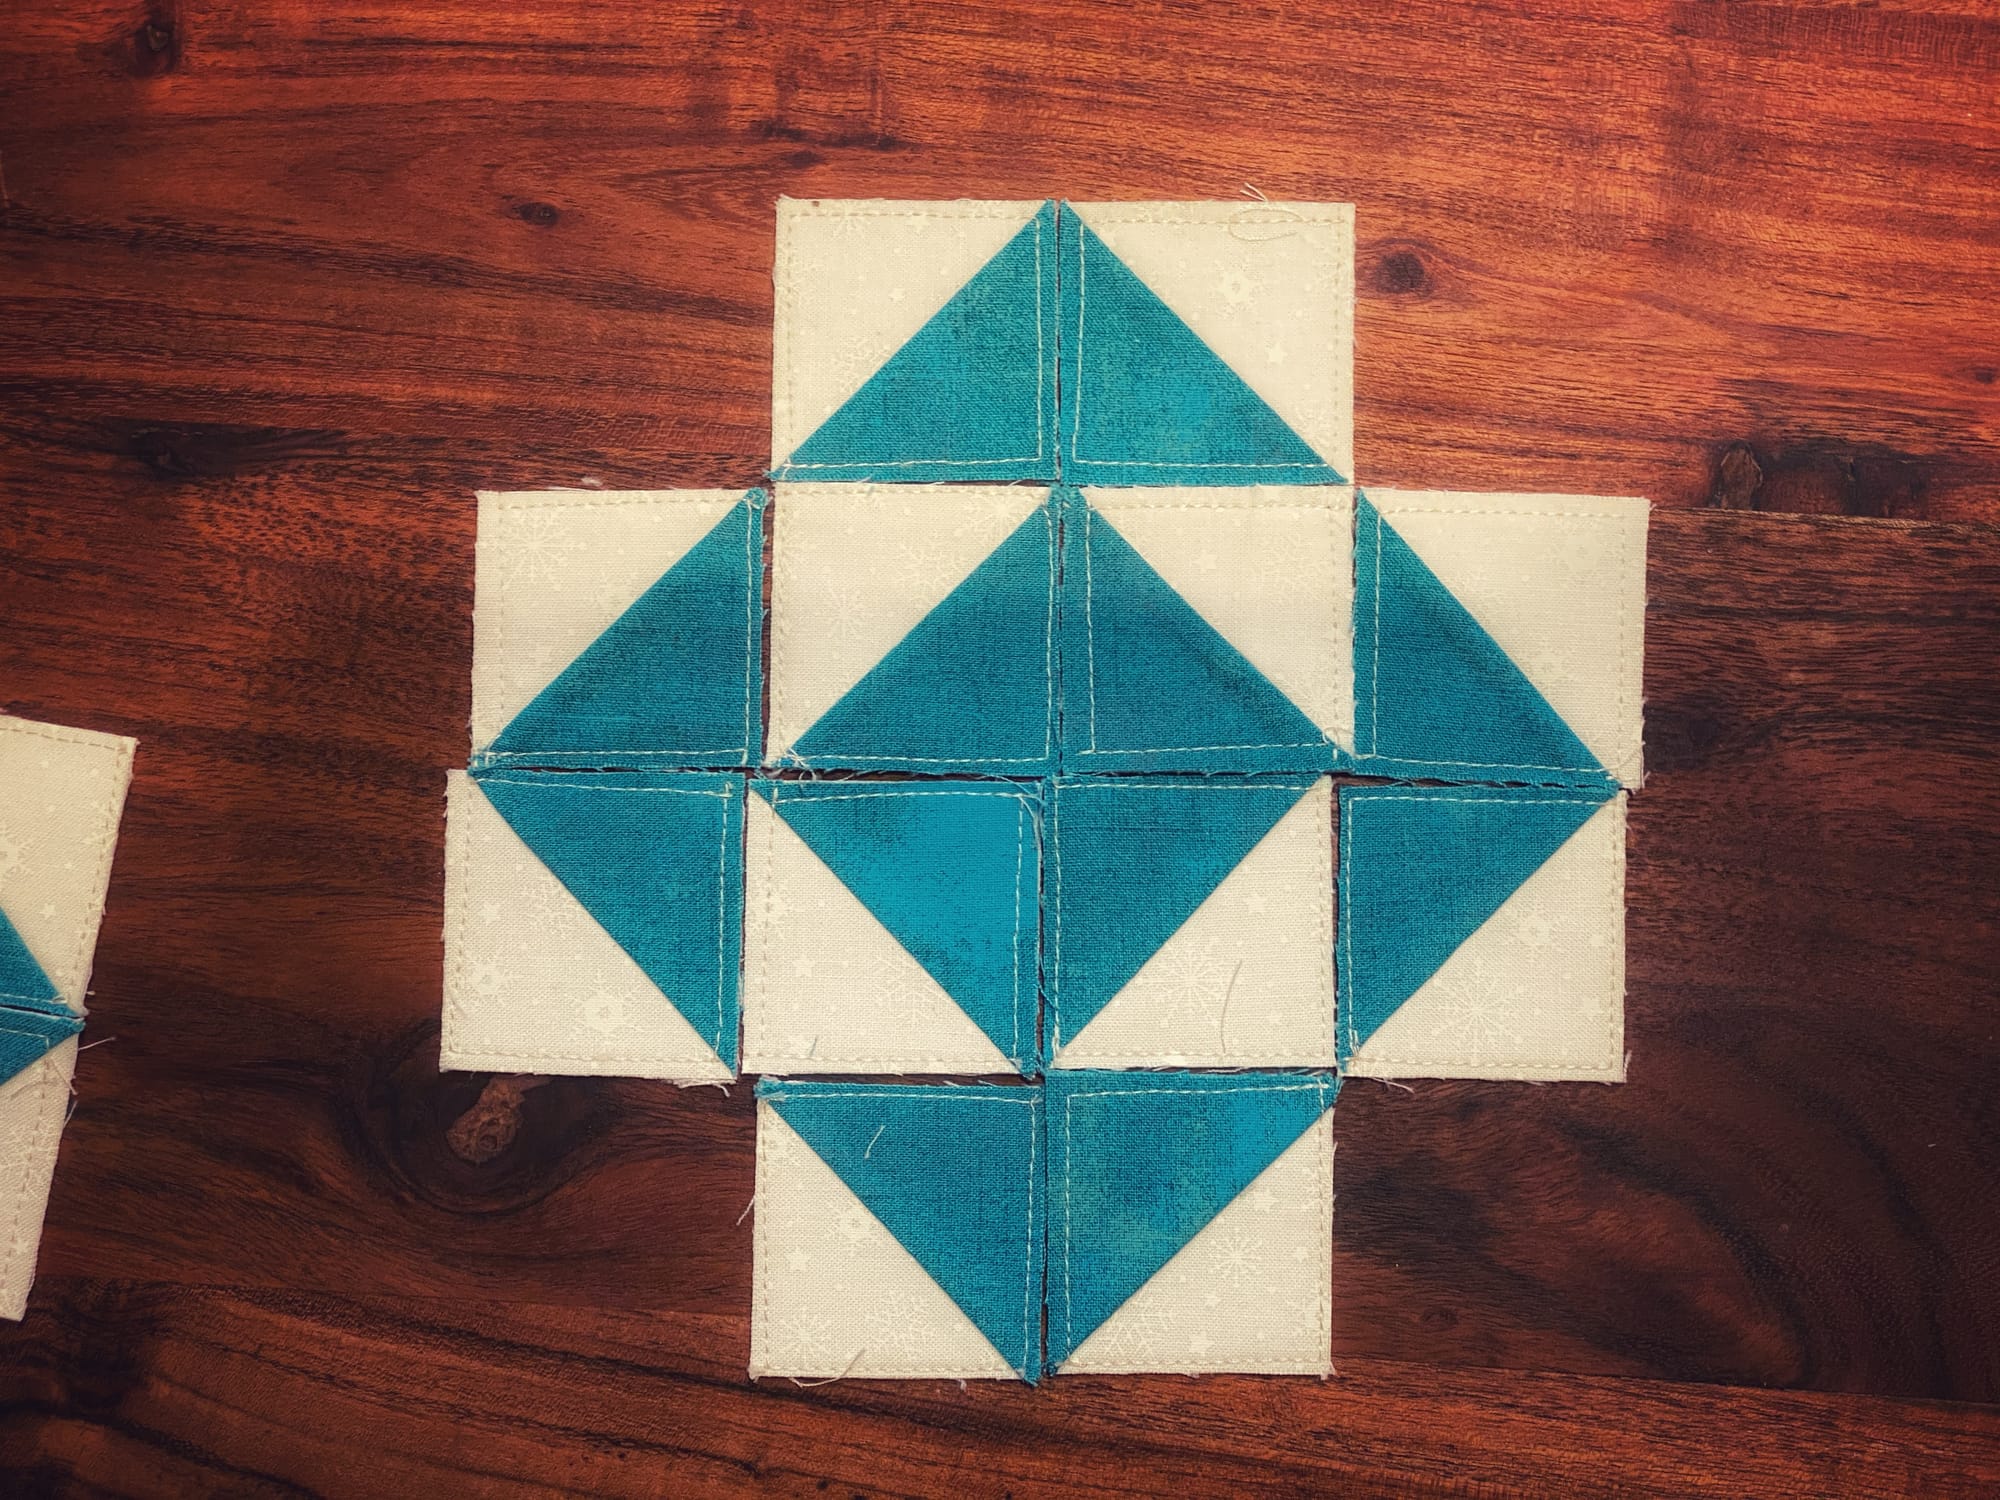
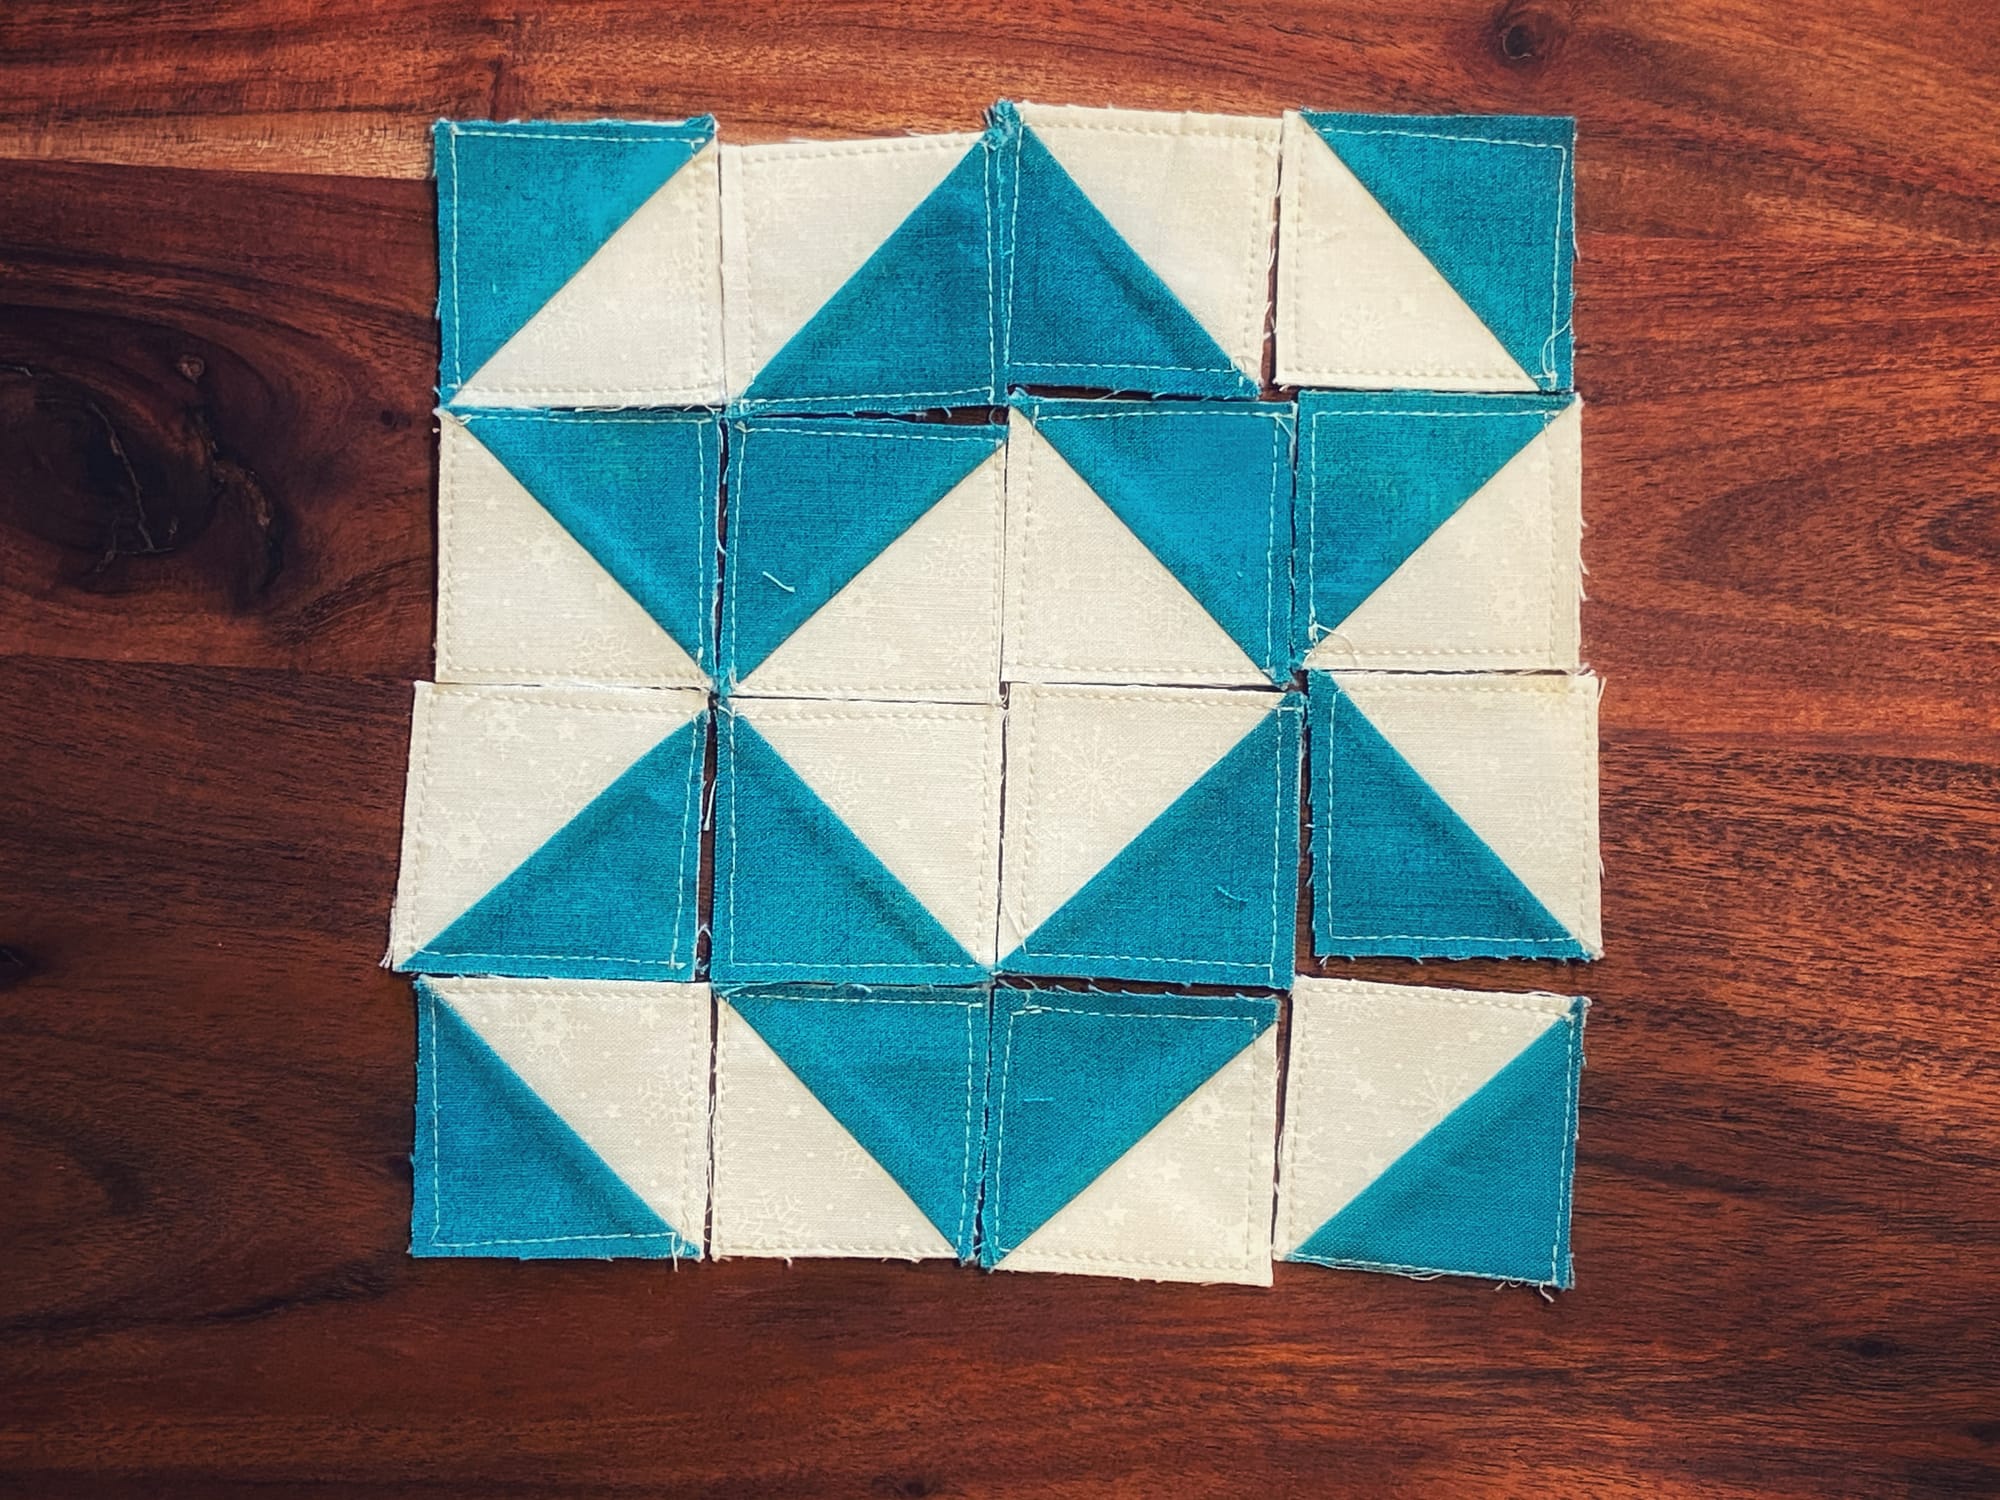
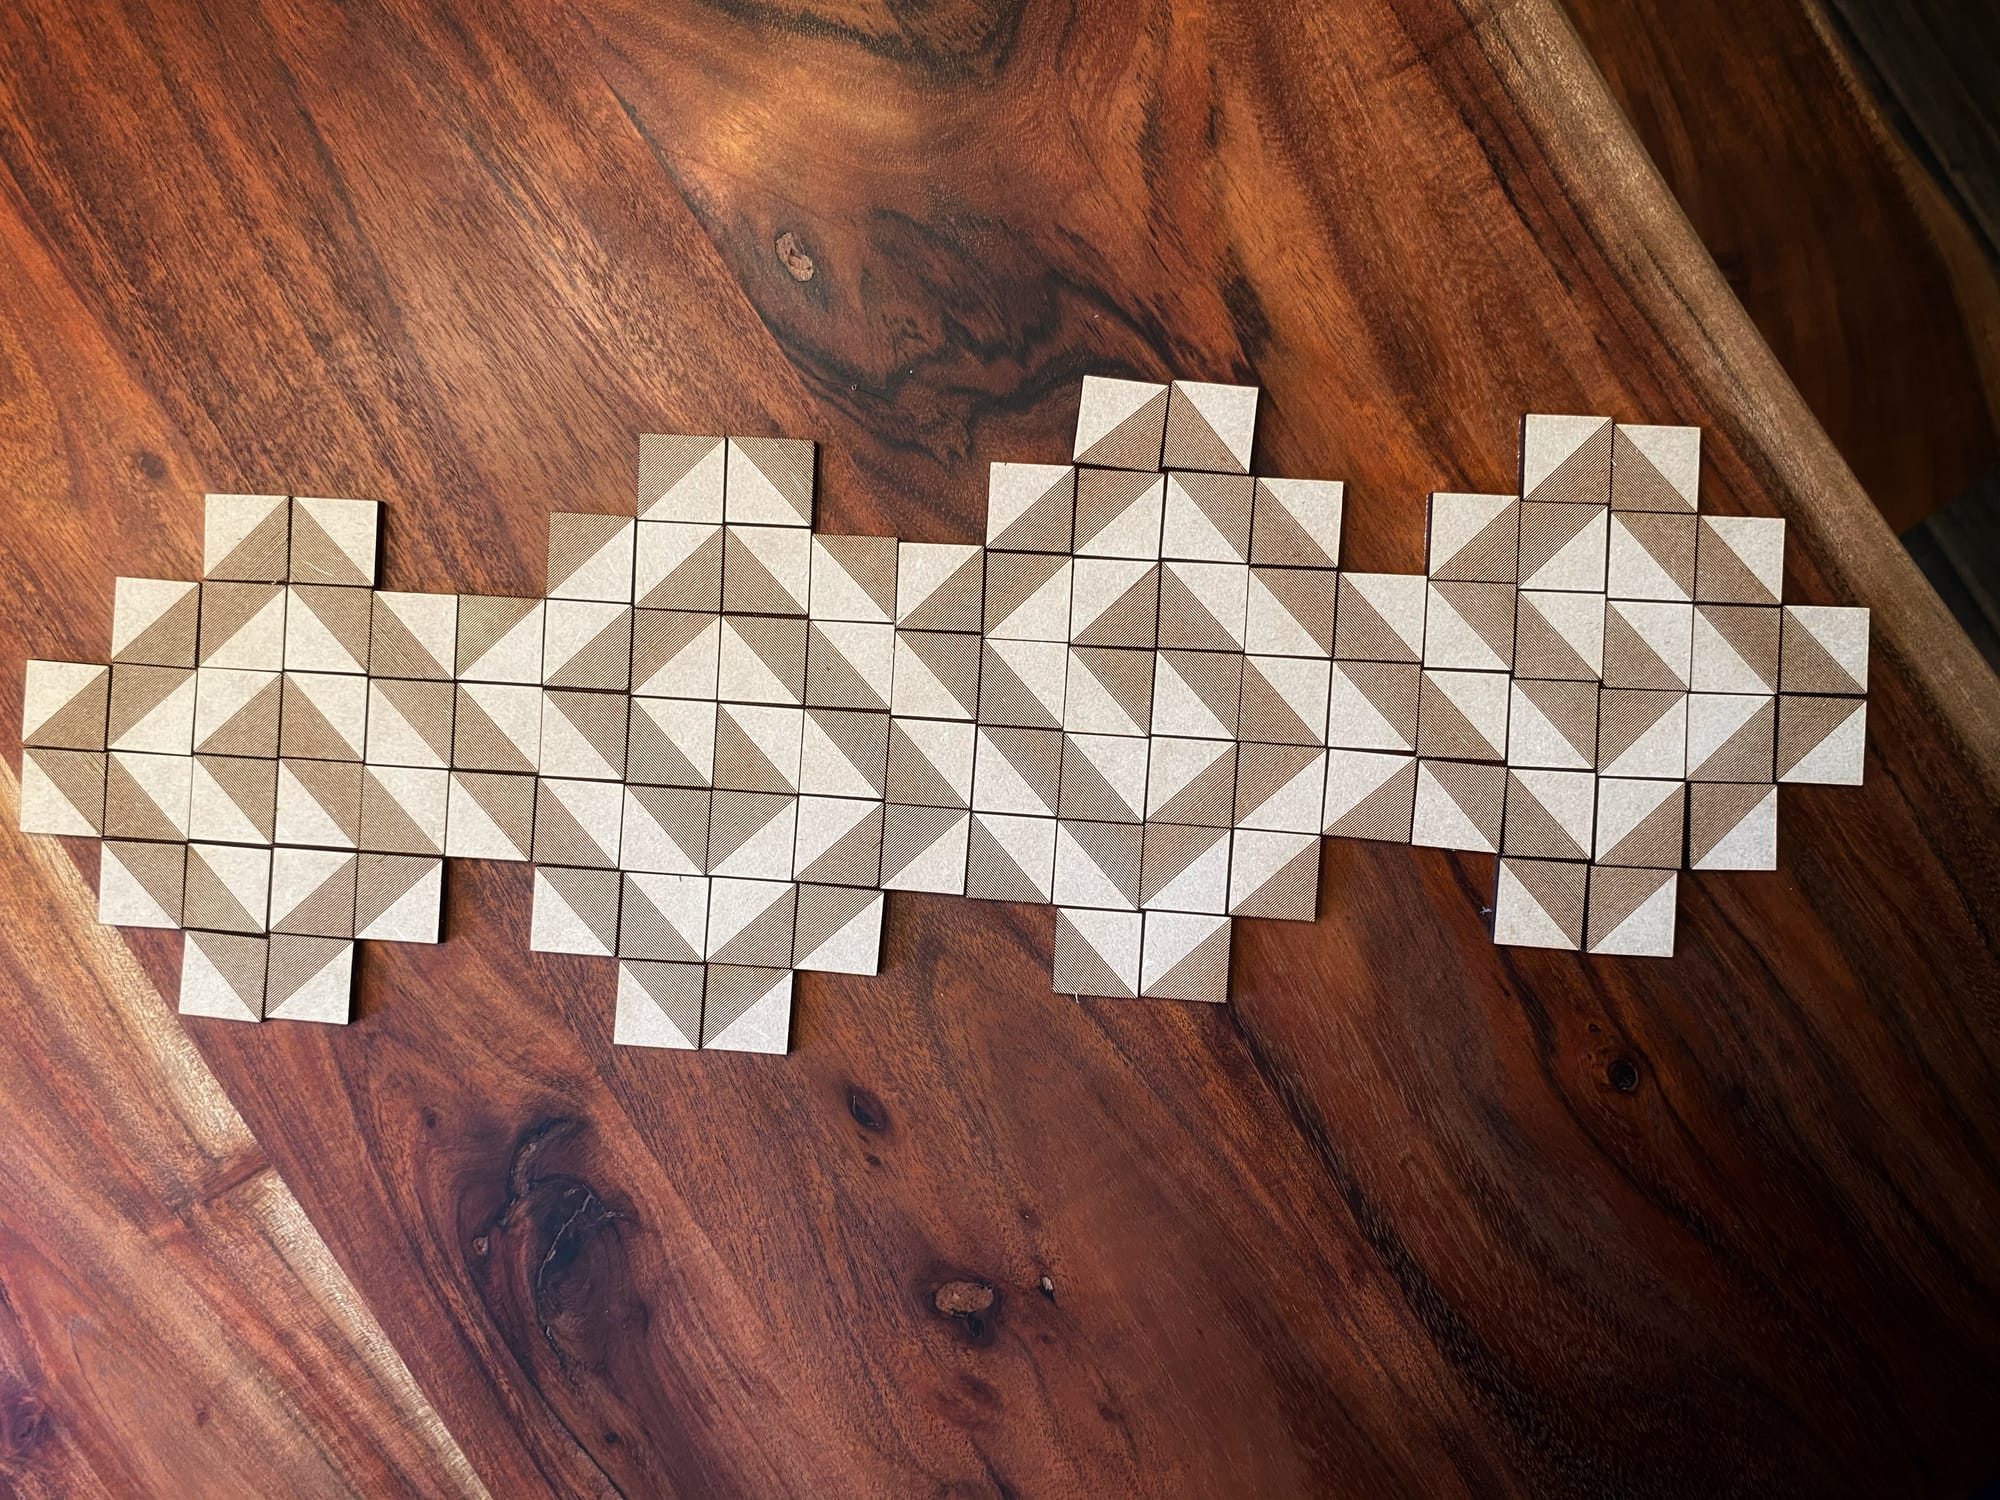
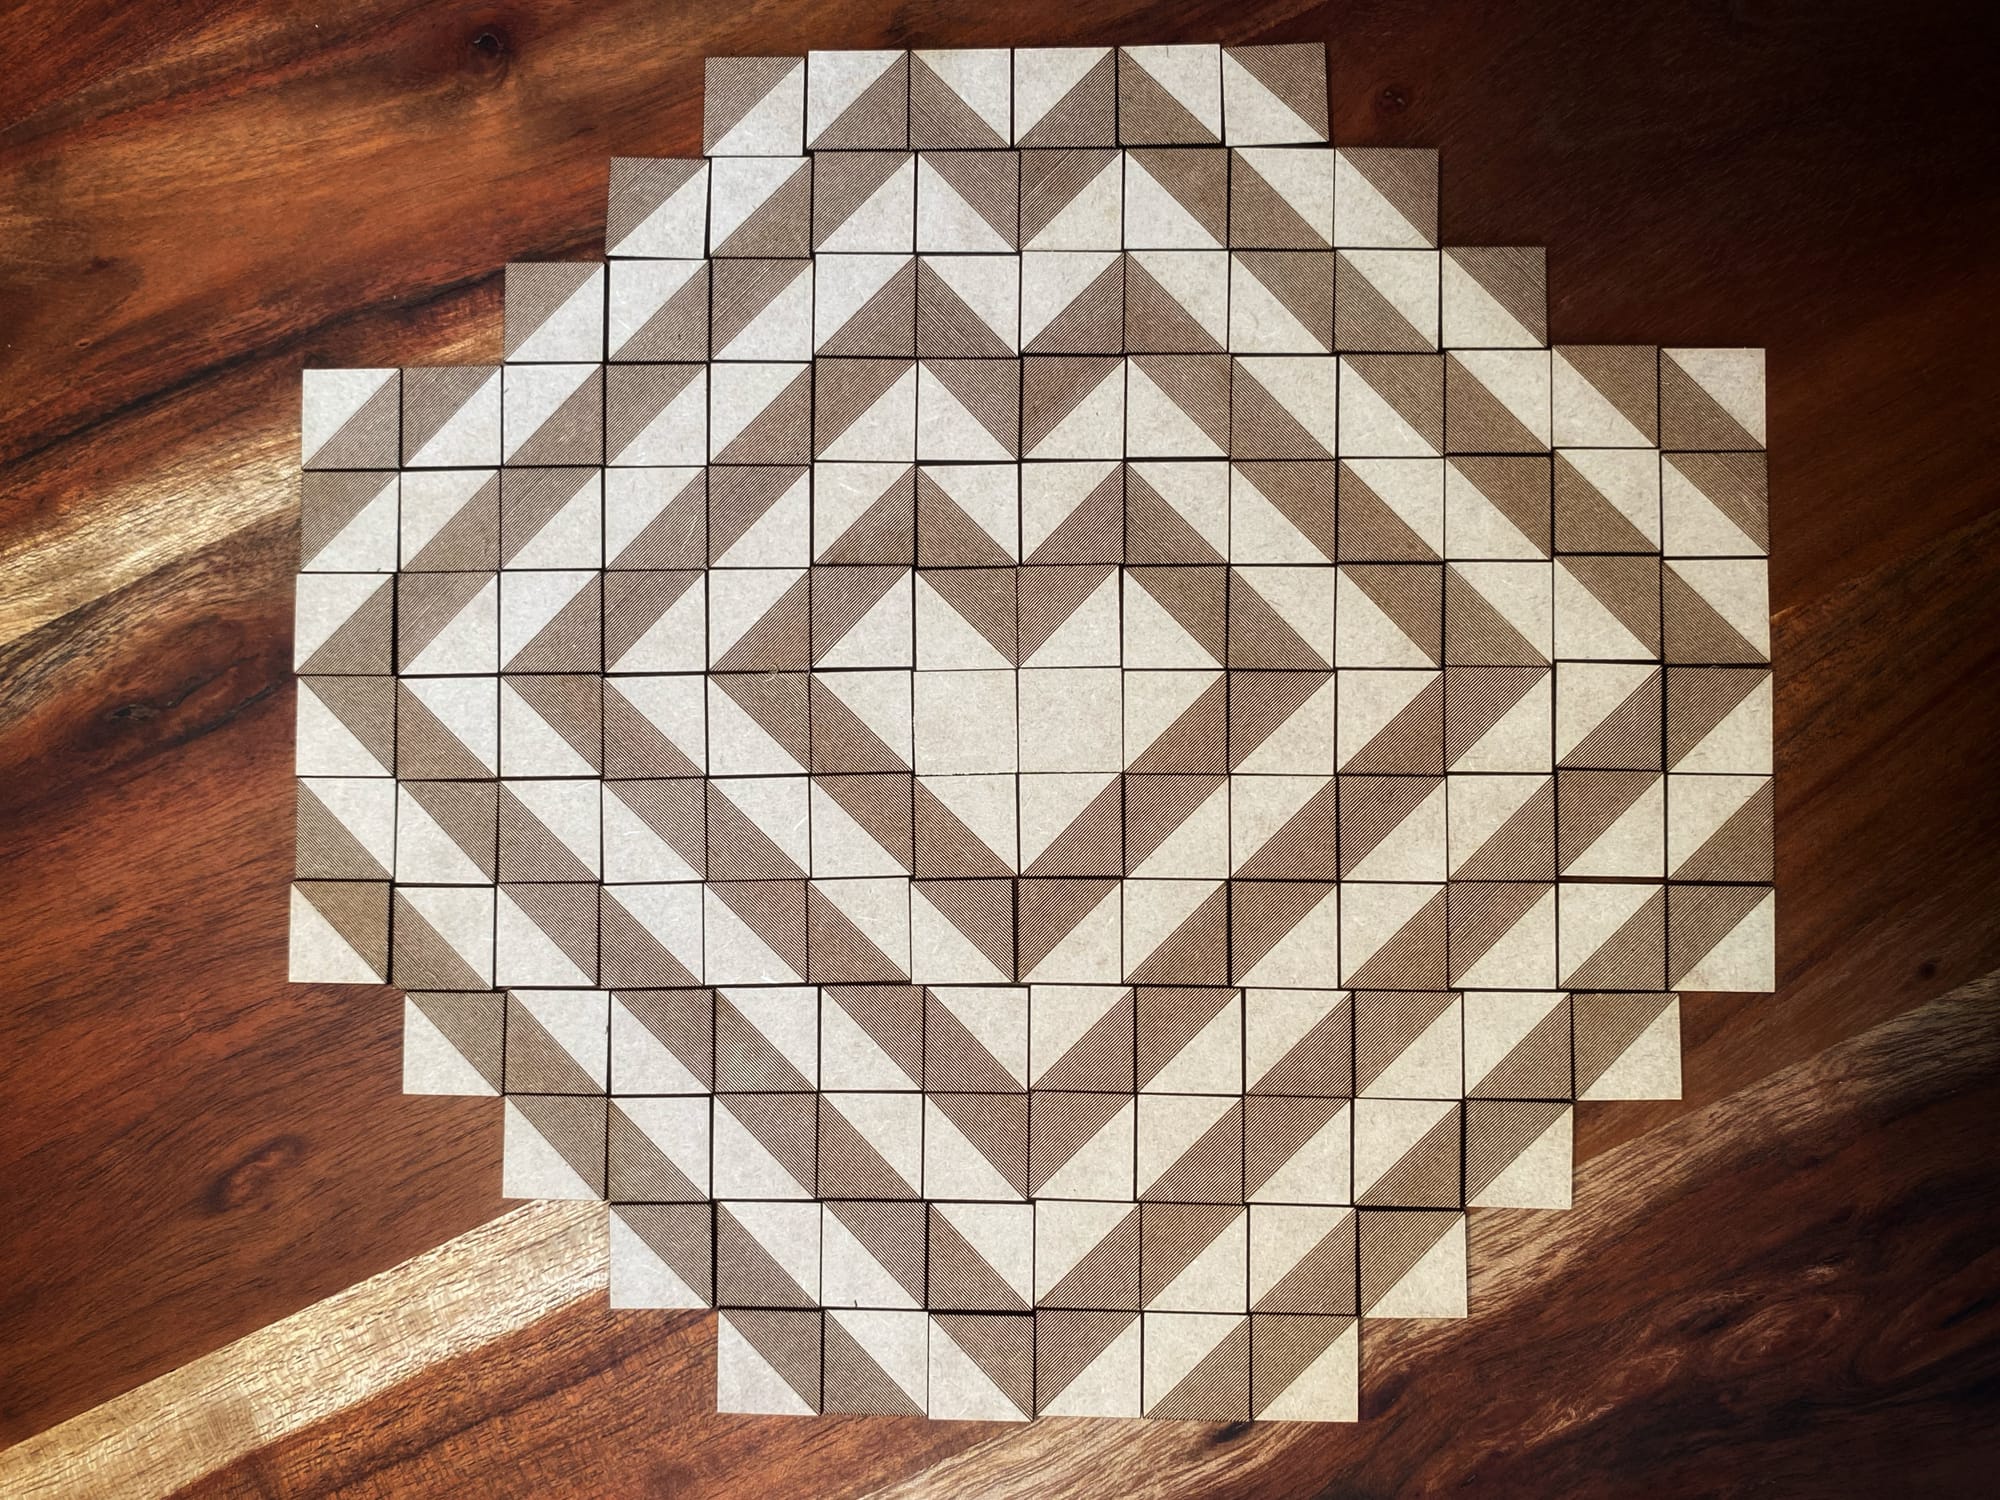
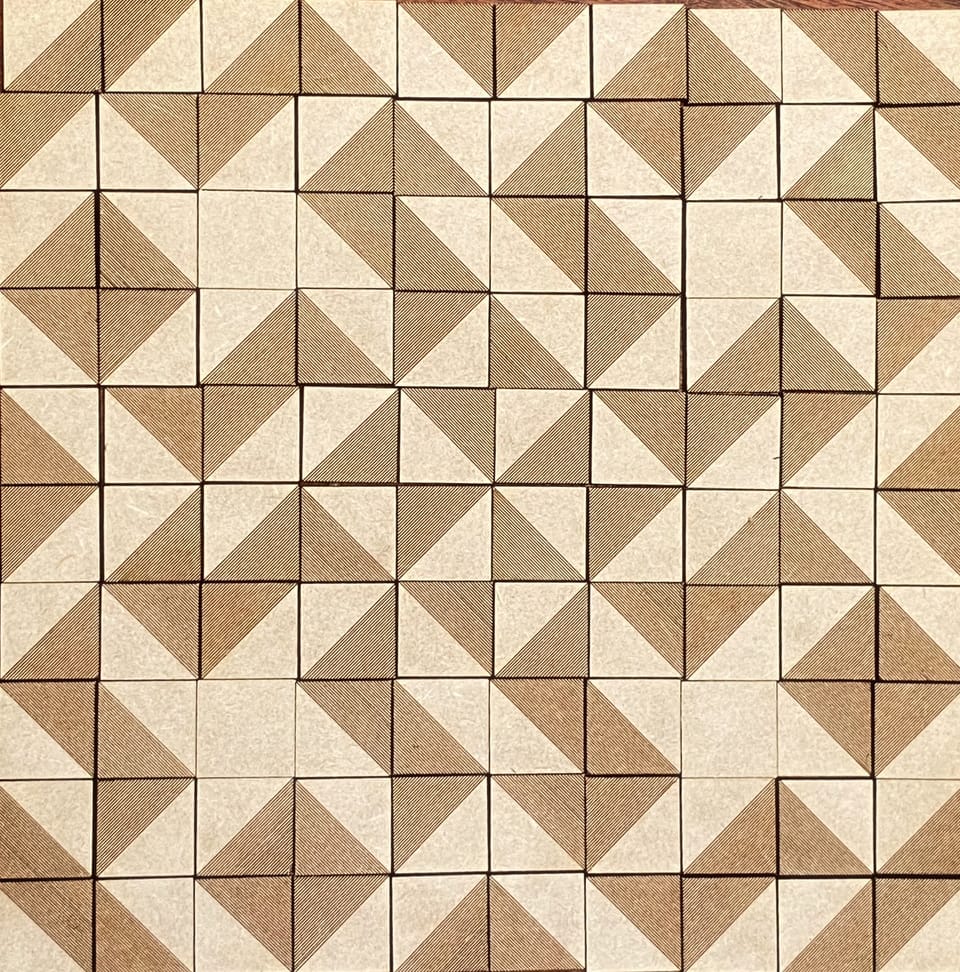
This week I encourage learners to actually sew some tiles, specifically half-square triangles. Another name for these squares is Truchet Tiles. These are tiles that are not rotationally symmetric. The tiles can create a variety of patterns and tessellations. Make some tiles and then play. (The reason I encourage sewing is that the problem-solving, process, and mistakes lead to so much learning.)
If sewing isn’t your thing, then I have a JPG file below you can print and play with. There are also tons of maker ideas for these tiles (Paint squares of cardboard, wood, felt, etc.). A piece of graph paper will also work (shade in half of the squares diagonally).

How to sew:
- Iron the fabric that you wish to use.
- First cut out 25 squares of Color-1 and 50 squares of a Color-2. (You may want to do 2×2″ squares for small tiles or 10×10″ for larger tiles.) You can also do 36 squares of Color-1 and 72 of Color-2. Do you see the ratio? NOTE: Cut these squares carefully (millimeters matter).

- Next cut down the diagonals of 25 of Color-1 and 25 of Color-2 (The same amount of each color if you are doing more than 25 tiles).

- Now, take one triangle of each color and place them face to face and sew them with a quarter inch seam (make sure your seam width is consistent for all of this work).

- Iron the square you just made so that the seam is folded flat to one side and then place it on one of the squares of Color-2. Sew around the border to attach the half-square triangle to the square bottom.


- Now cut the extra fabric, while squaring the tile (make sure you use a grid or corner to make sure it is square as you cut).

- Repeat this for the other 24 tiles (or more if you so chose).

We also made draftboard versions of these tiles to play even more:

