Week 51: Block Prints


I love thinking of mirror images when I am block printing. I will never forget the time I printed SPARK backwards on accident for a summer art camp and my kids laughed at the reverse phonics. This week I encourage learners to take a math concept, tessellation, or shape and create a print.
Ways to create plates for printing:

- For younger learners, foam boards easily take impressions.
- For those that are semi-comfortable carving, potatoes, apples, or rubber blocks can provide semi-soft mediums to carve.
- For those that are skilled with sharp objects, wood or lino-blocks may be preferred.
When I teach I say these words at least a few dozen times:
- Do not ever force a blade.
- Do not cut towards yourself or others.
- Keep your tools sharp and cleaned.
- Be in control.
If you are going to carve on a block, foam, or rubber sheet:
- Sketch a design on paper with a pencil. (Keep in mind the size of your carving surface.)

- Transfer the design by rubbing the pencil onto the carving surface.
- Carve your design. (You can either carve in, tracing your lines, or around them.)

- Roll ink on the block with a brayer.

- Place a sheet of paper (or fabric) on the block and burnish (or rub) it with a flat surface to make sure that it makes contact with the block.
- Peel the paper/fabric off. (This can take a few tries to get it right.)

For this post I carved a circle composition with the Fibonacci sequence in mind. I think I run faster with math shirts, so I printed one as well:

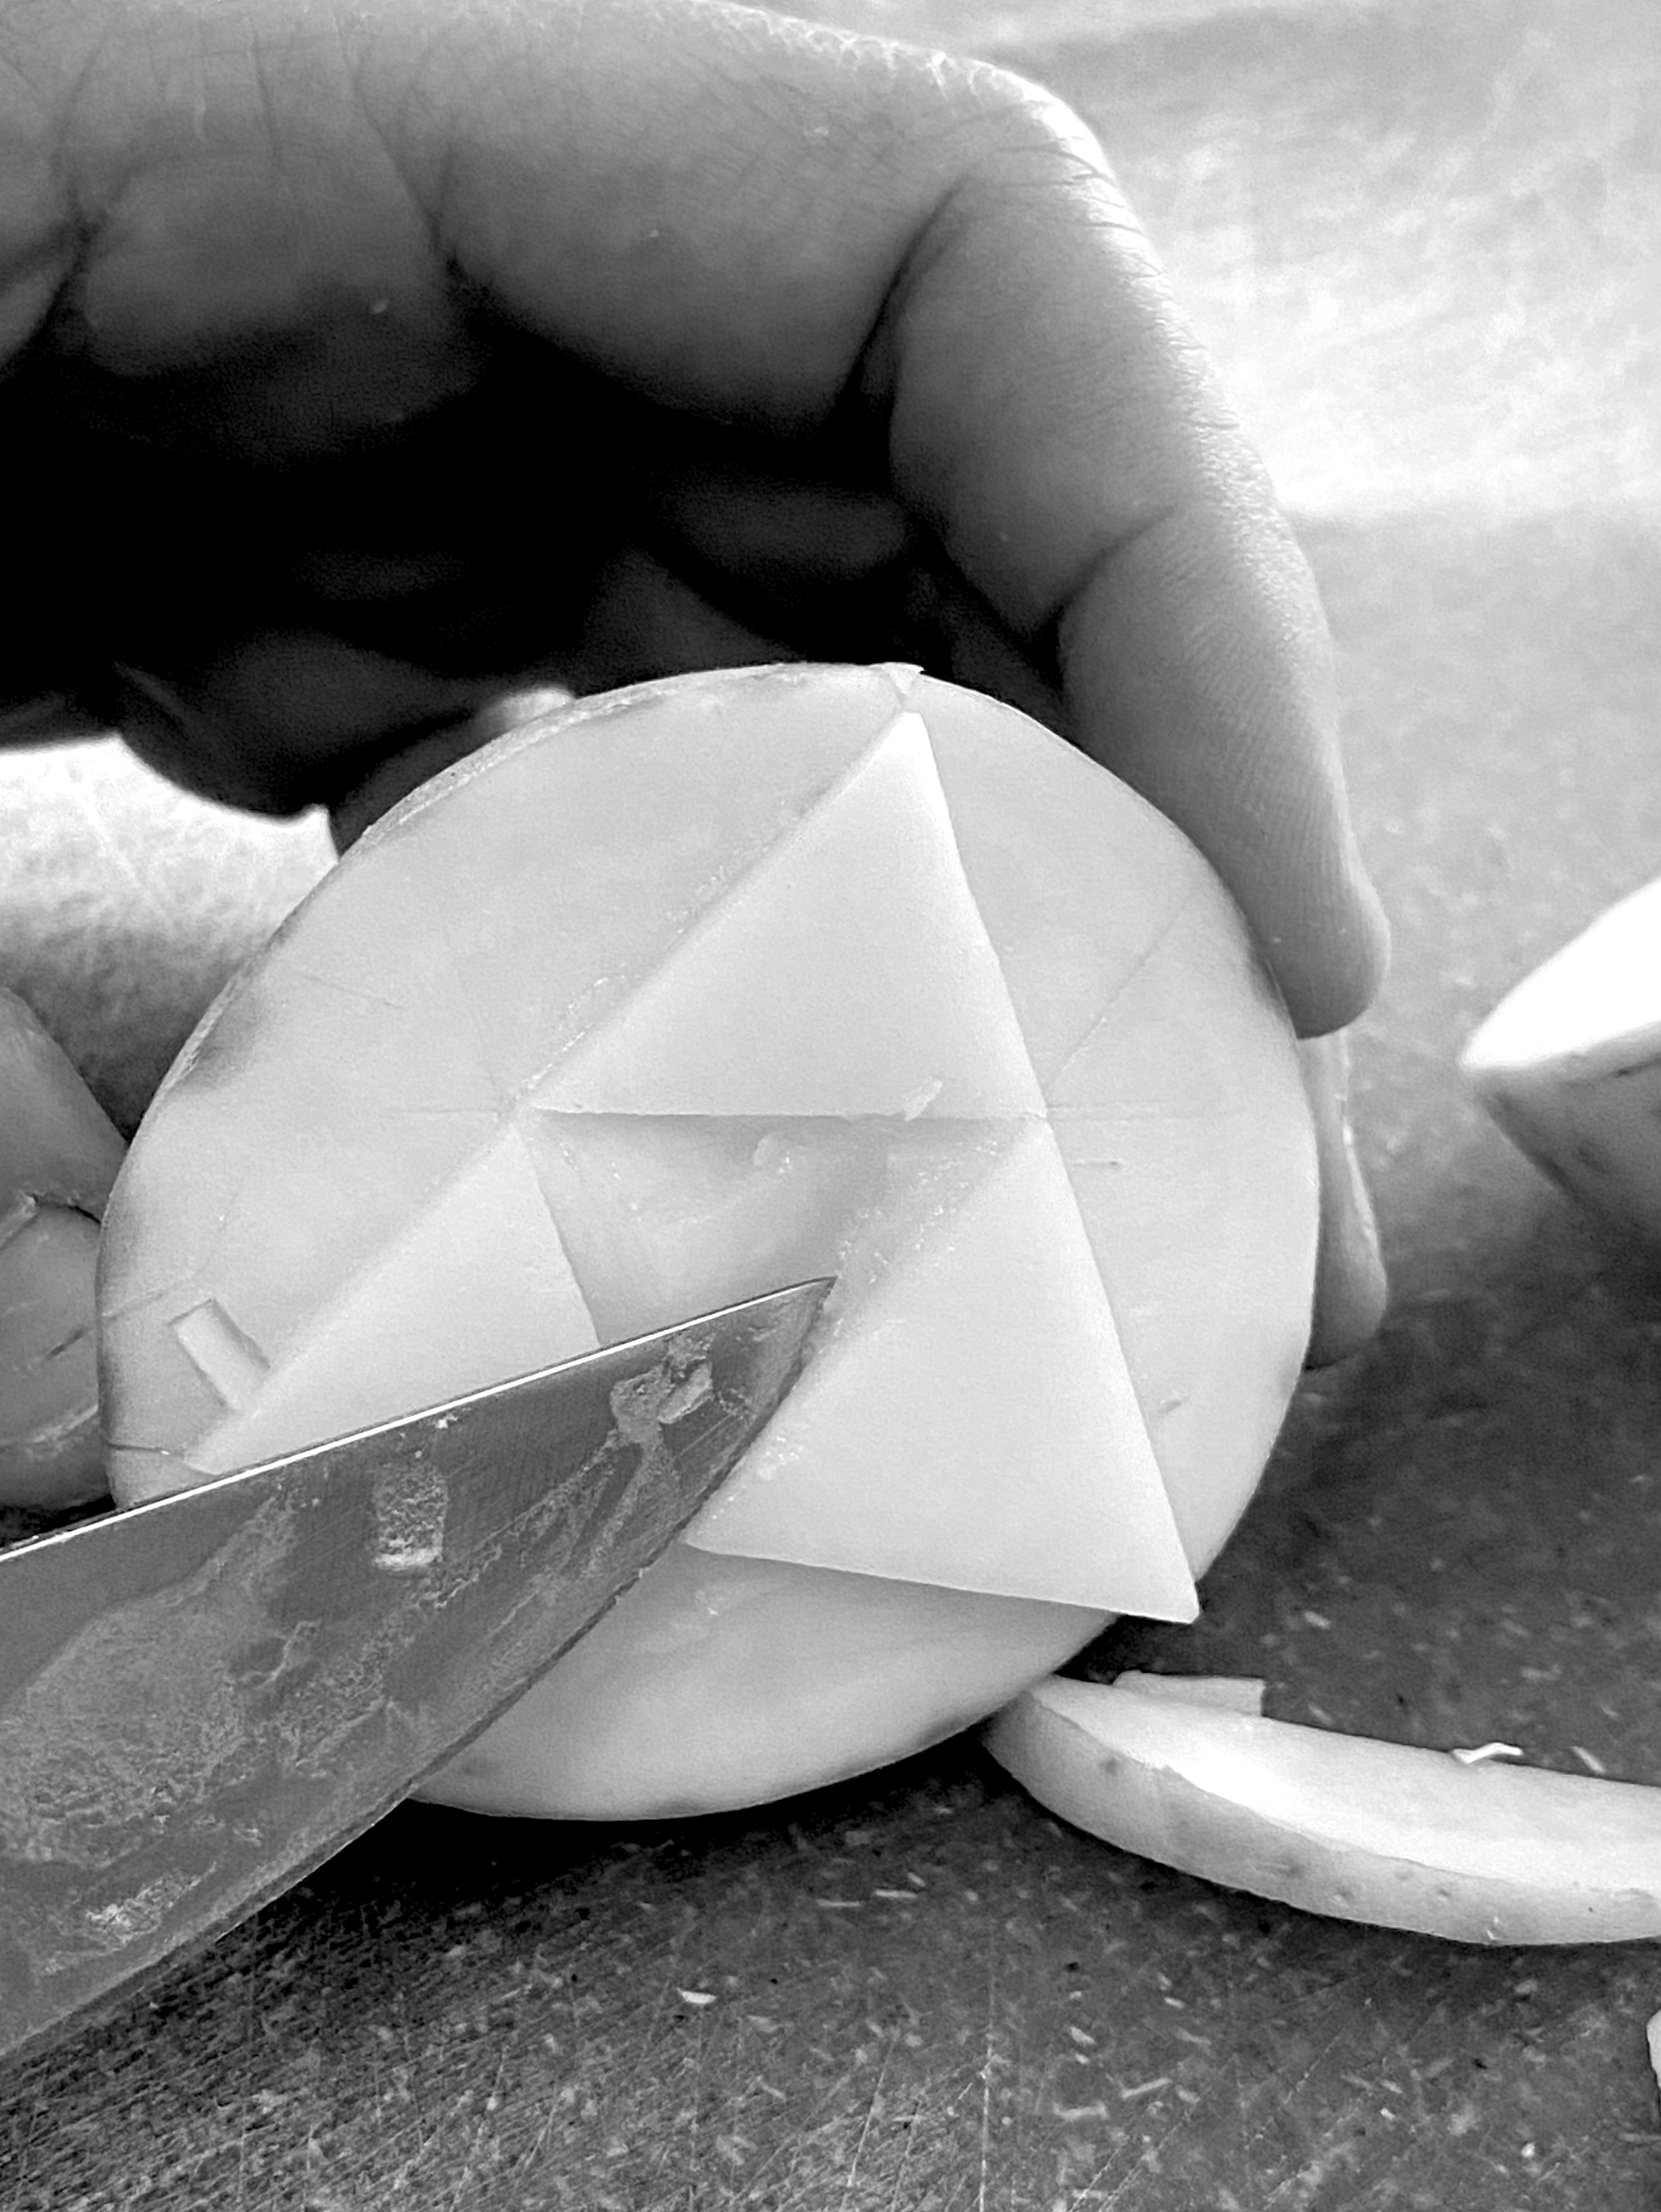
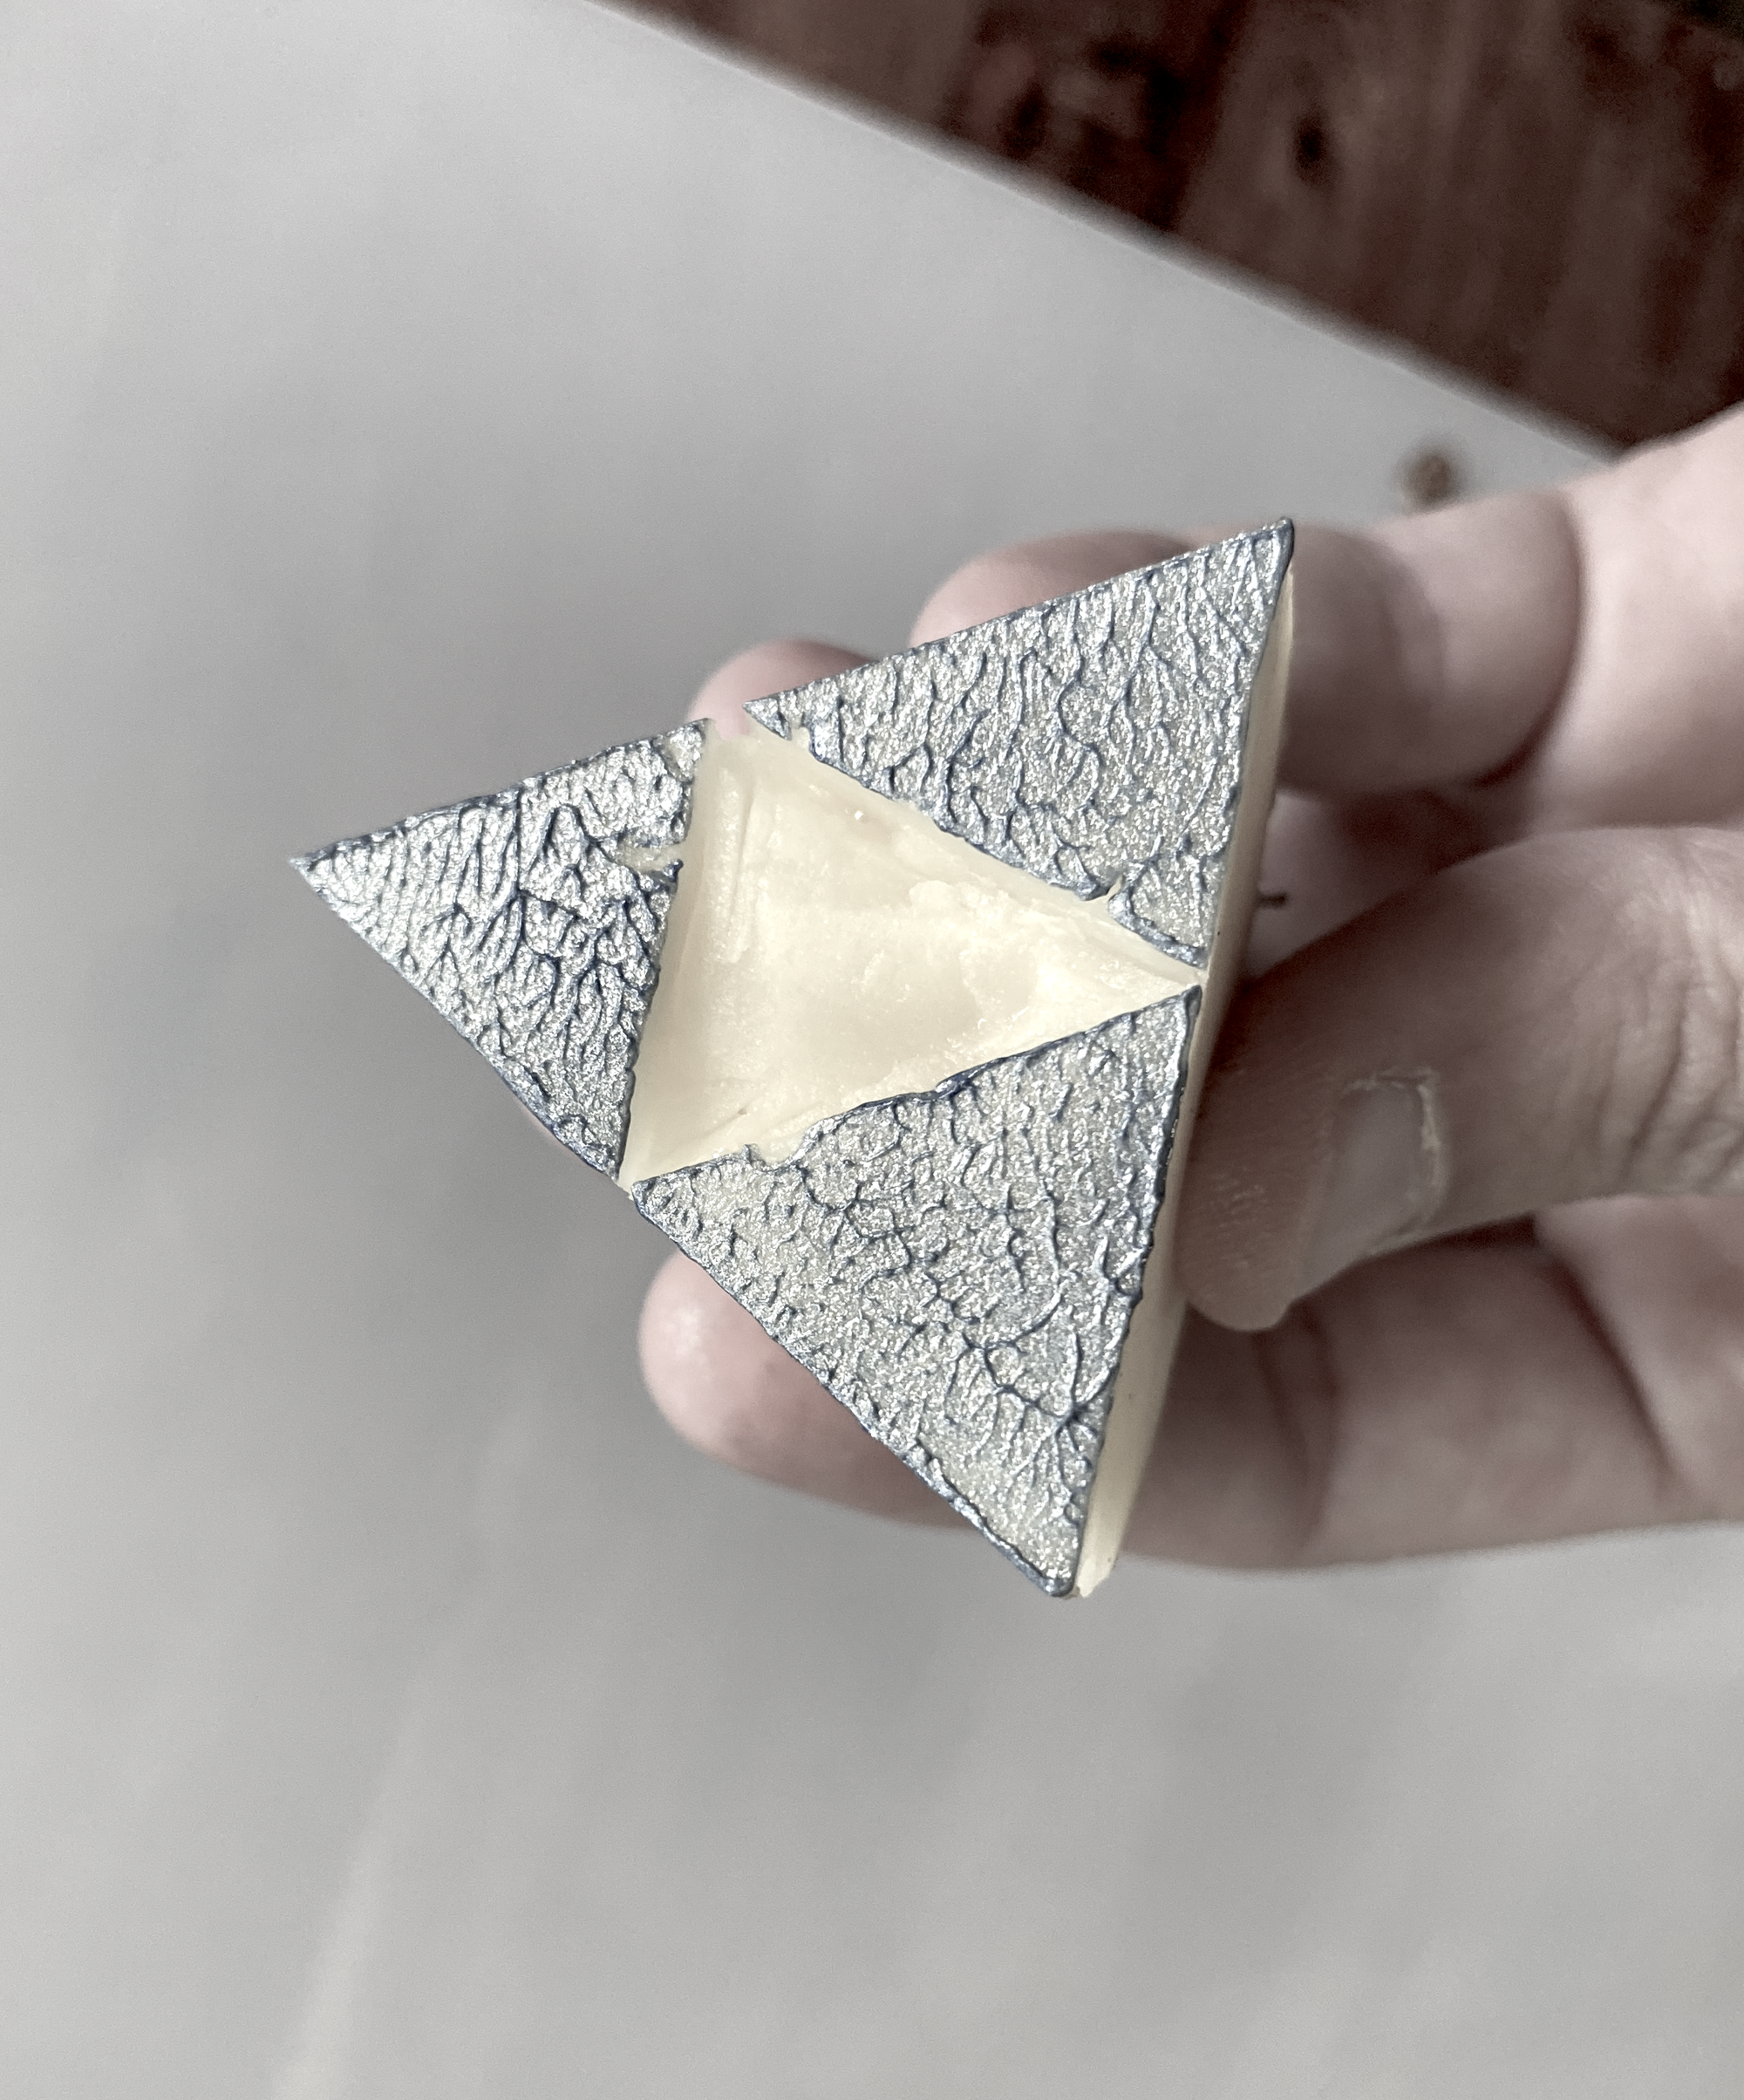
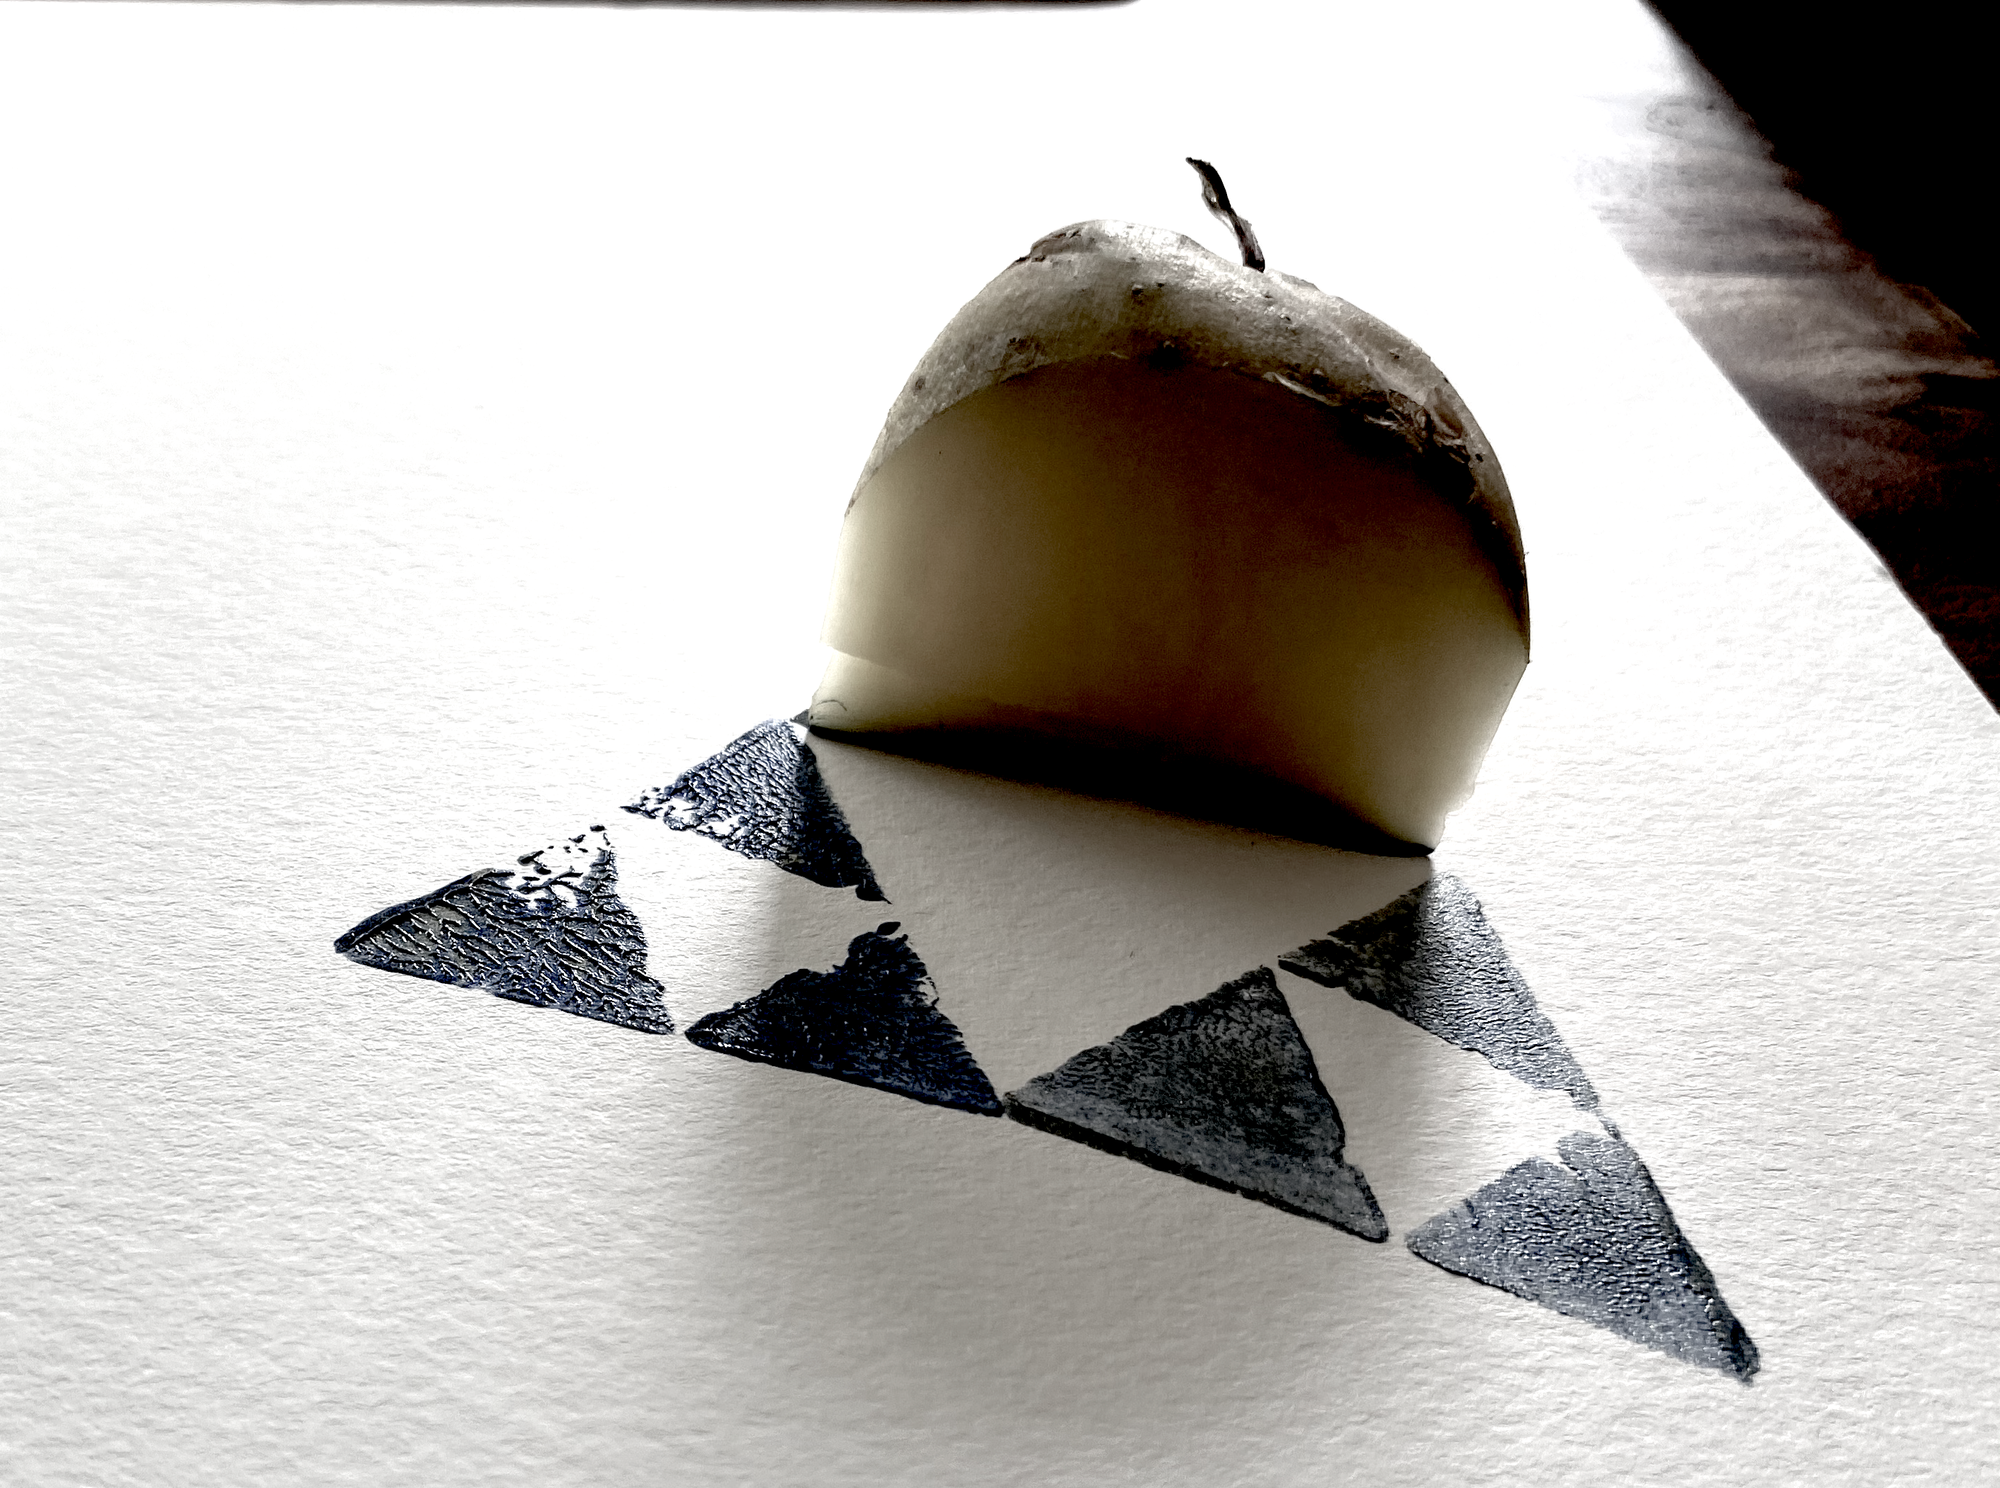
One of my children jumped in and we did a Sierpinski potato triangle. To use potatoes: Draw a sketch on the potato, cut out the design, and then treat it like a stamp.


